
It’s been awhile since I’ve sat down to type up the progress on the bike. I’ve gotten so far ahead of myself that I’m scared without proper documentation I won’t be able to get this thing back together! So taking a break from the garage to write up some past work.
In this entry, I’ll be looking at removing the back-end, including the lights, rear fender, and rear tire. Last time we finished up with removing the main harness and battery box.
Rear Turn Signal Removal
-
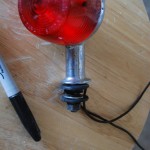
- Rear Blinker
-
- Rear Blinker Closeup
-
- Blinker Removed
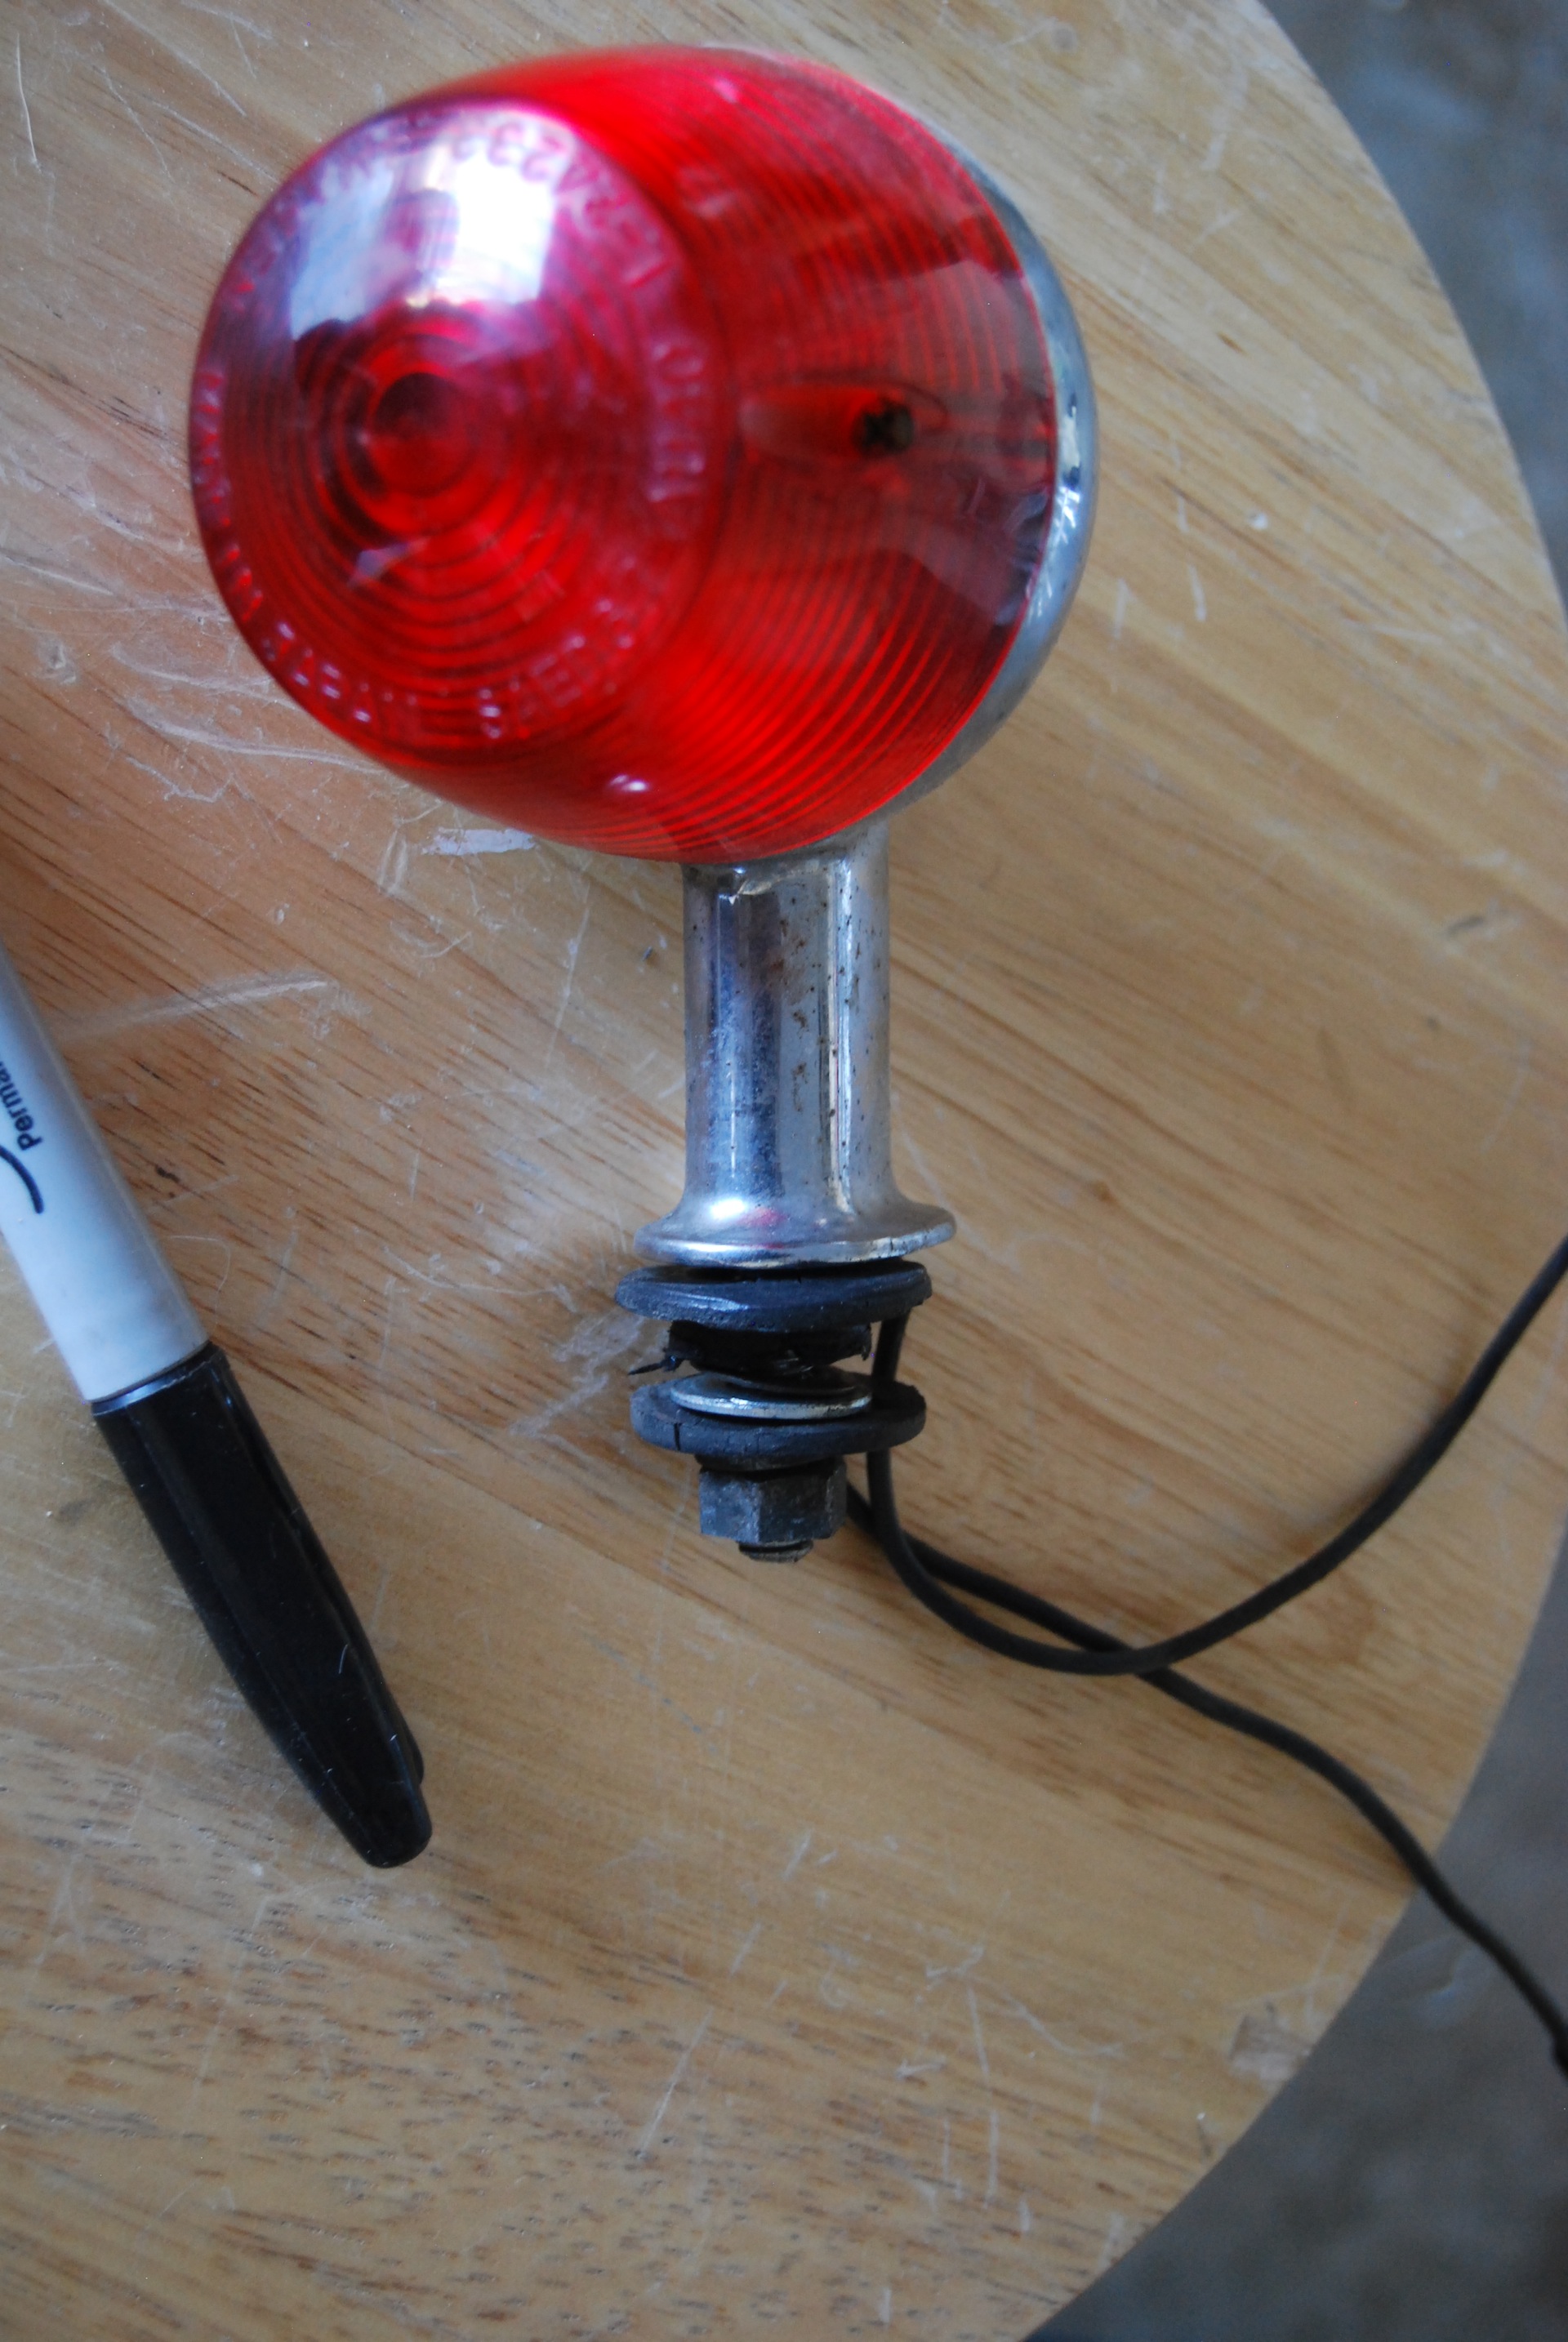
With the rear signals disconnected from the wiring harness, it’s a simple matter to unscrew the nut from the signal post and pull the signal and wires away from the frame. There is a rubber gasket on either side of the frame where the signal is installed.
Rear Brake Light Removal
-
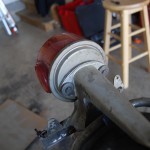
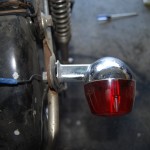
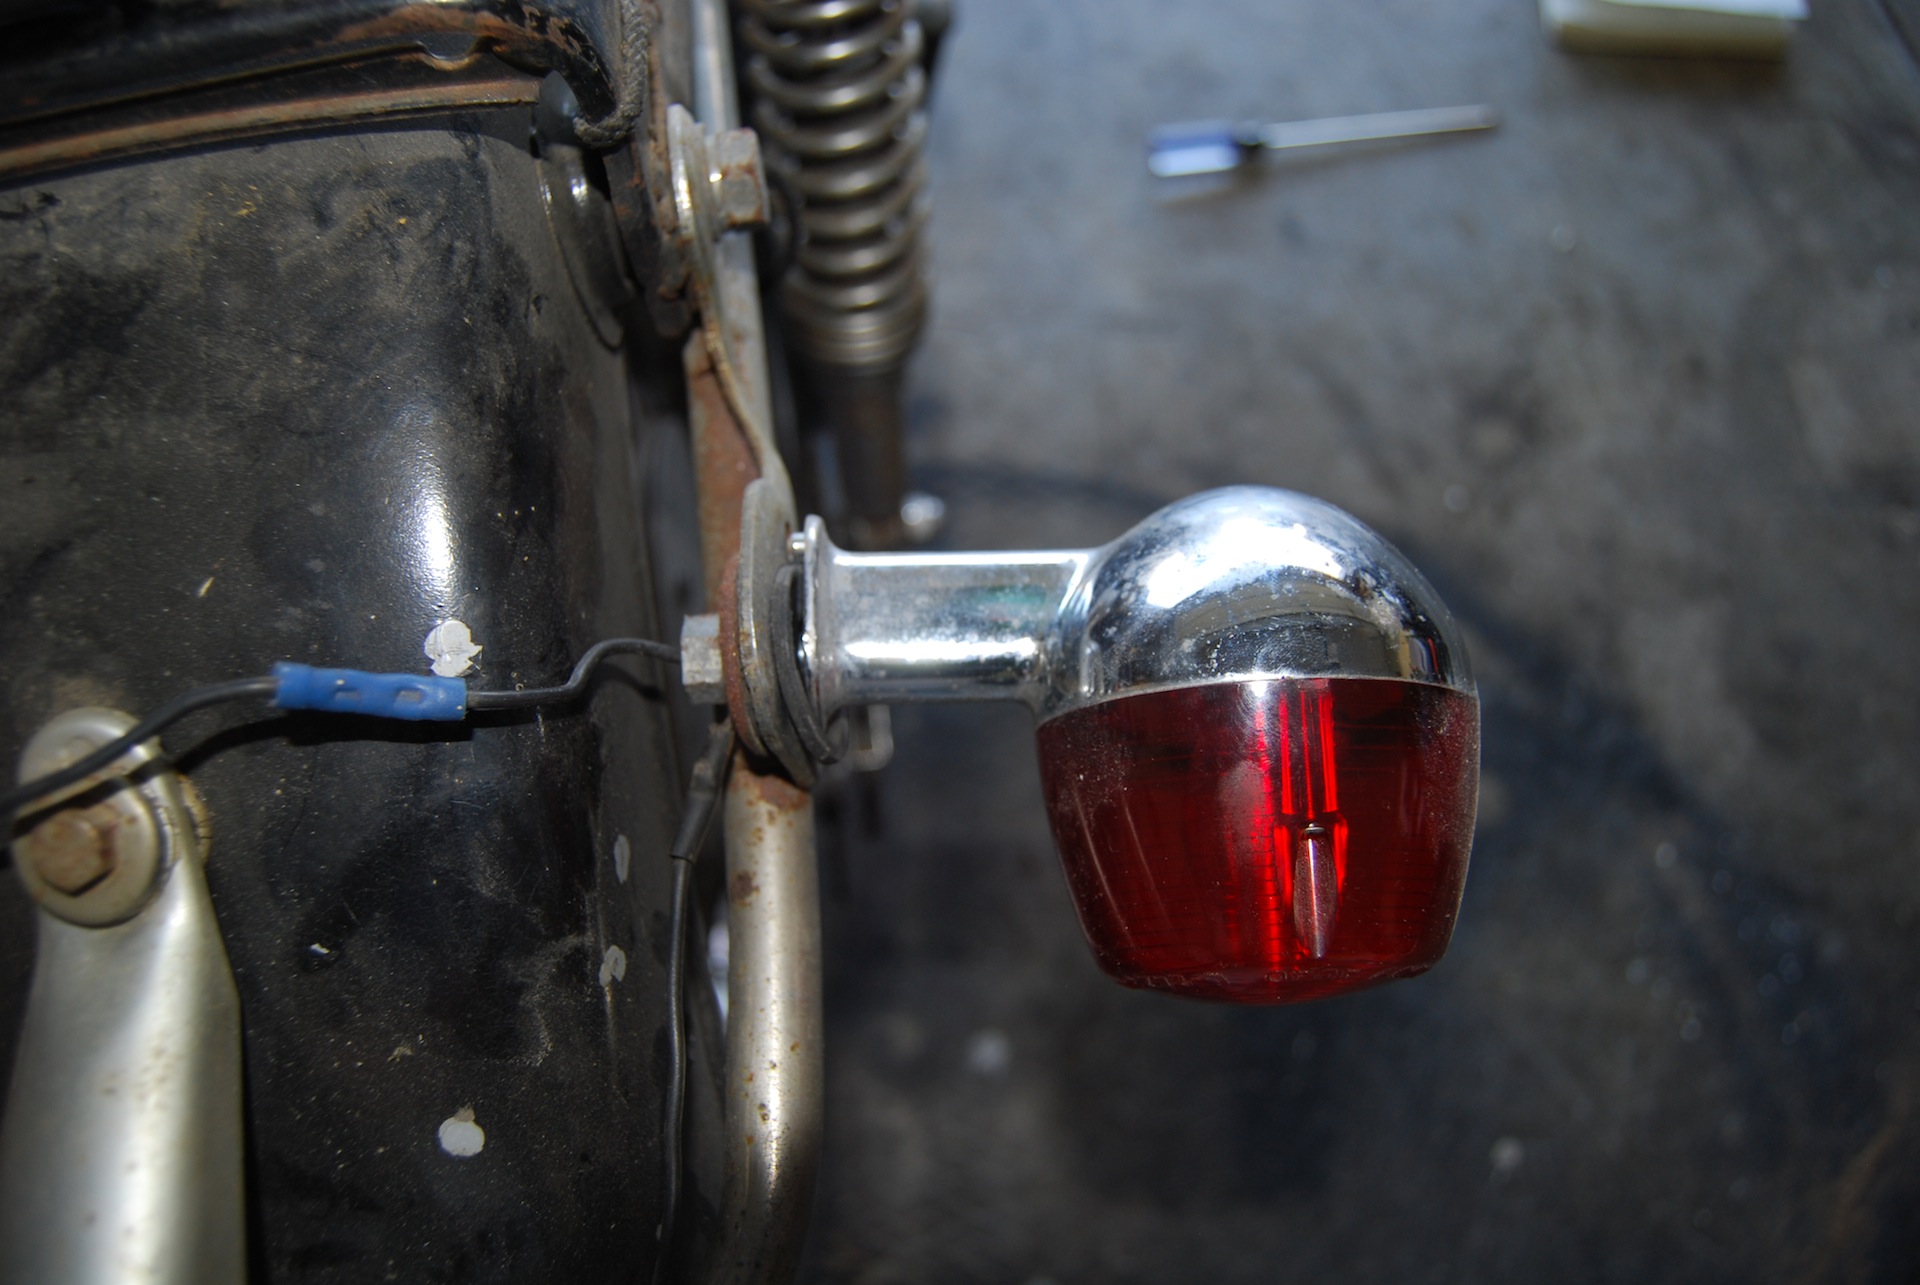
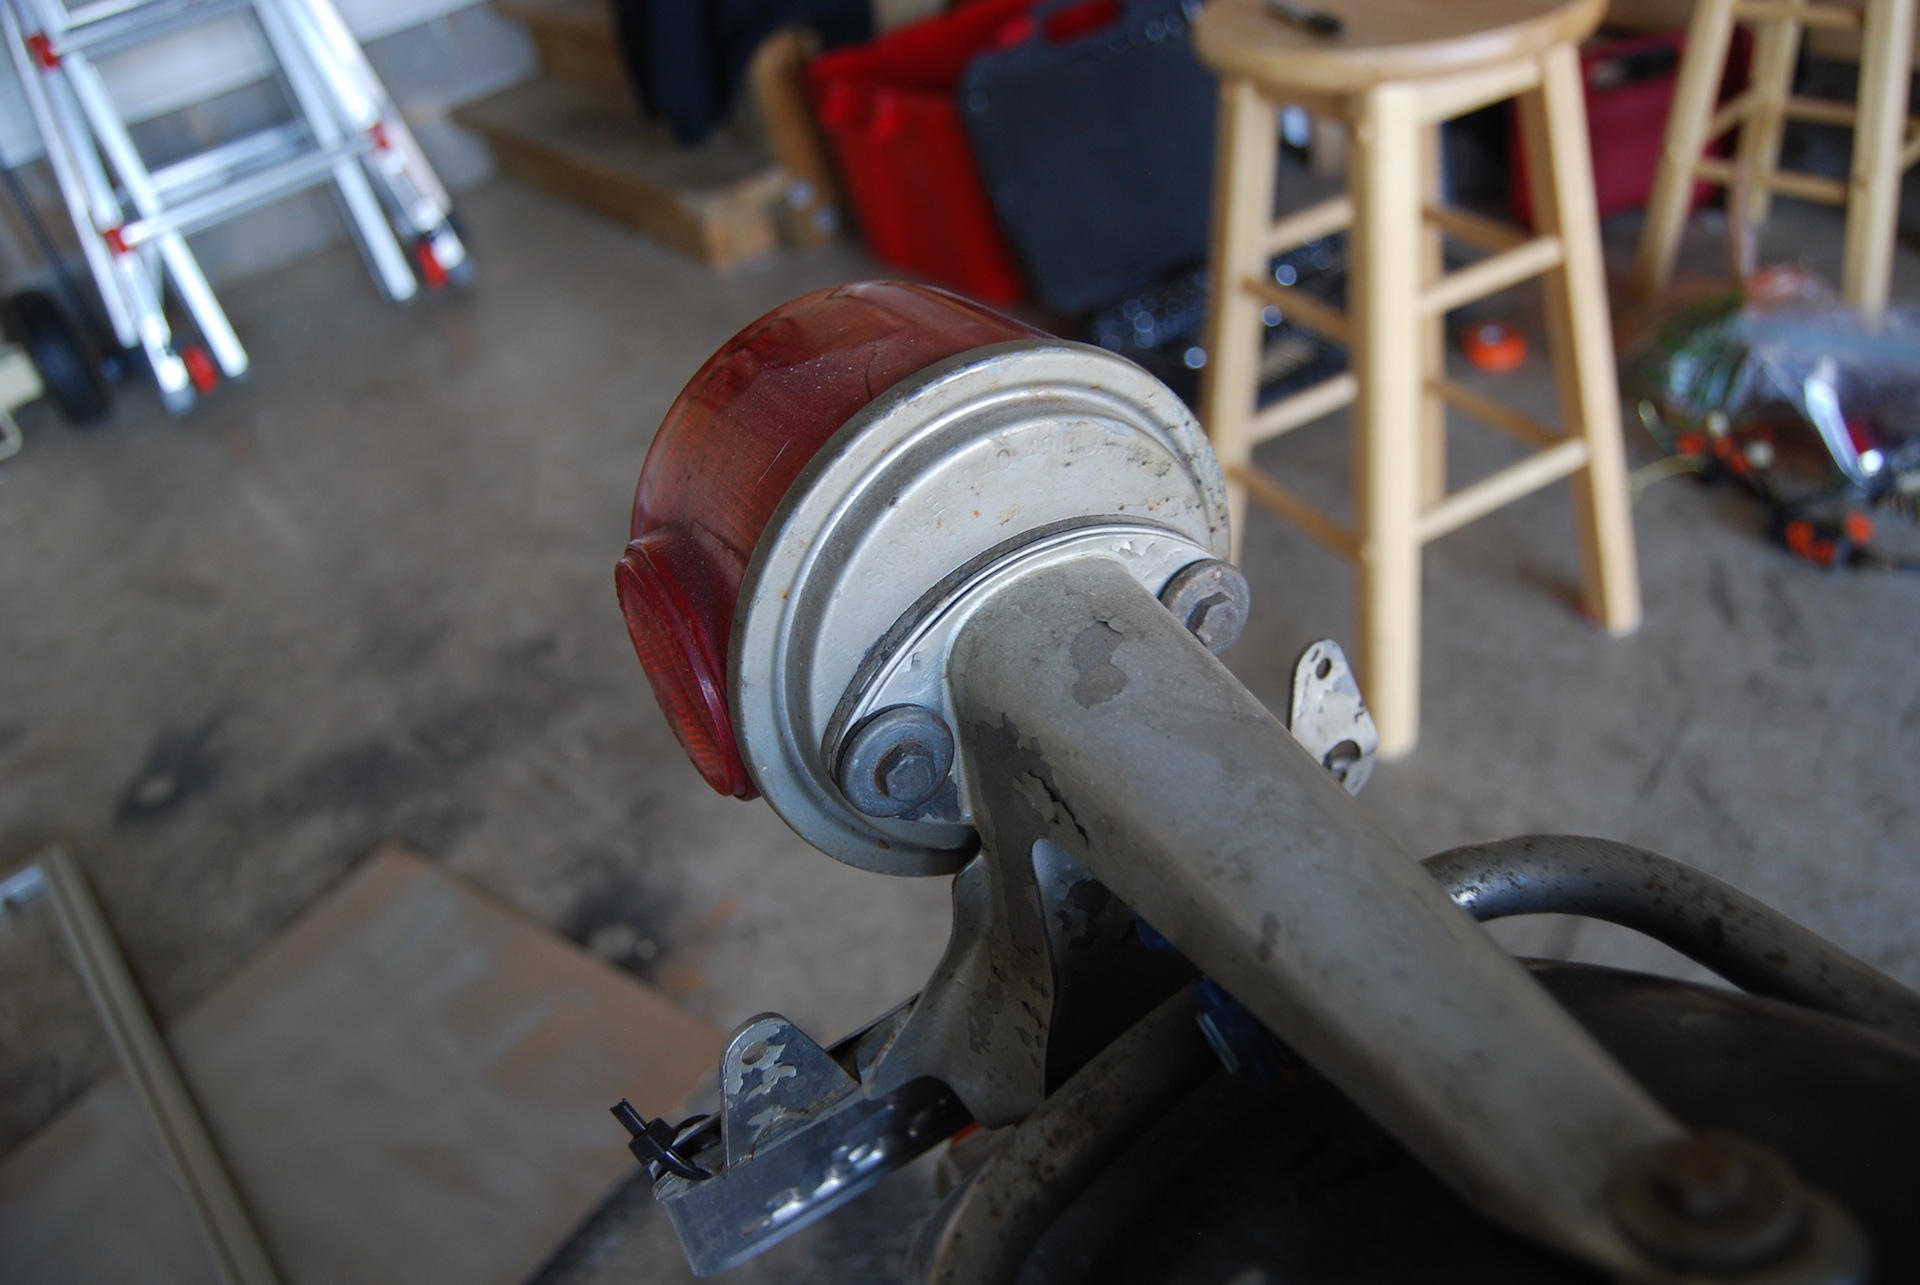
- Brake Light
-
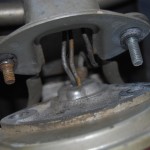
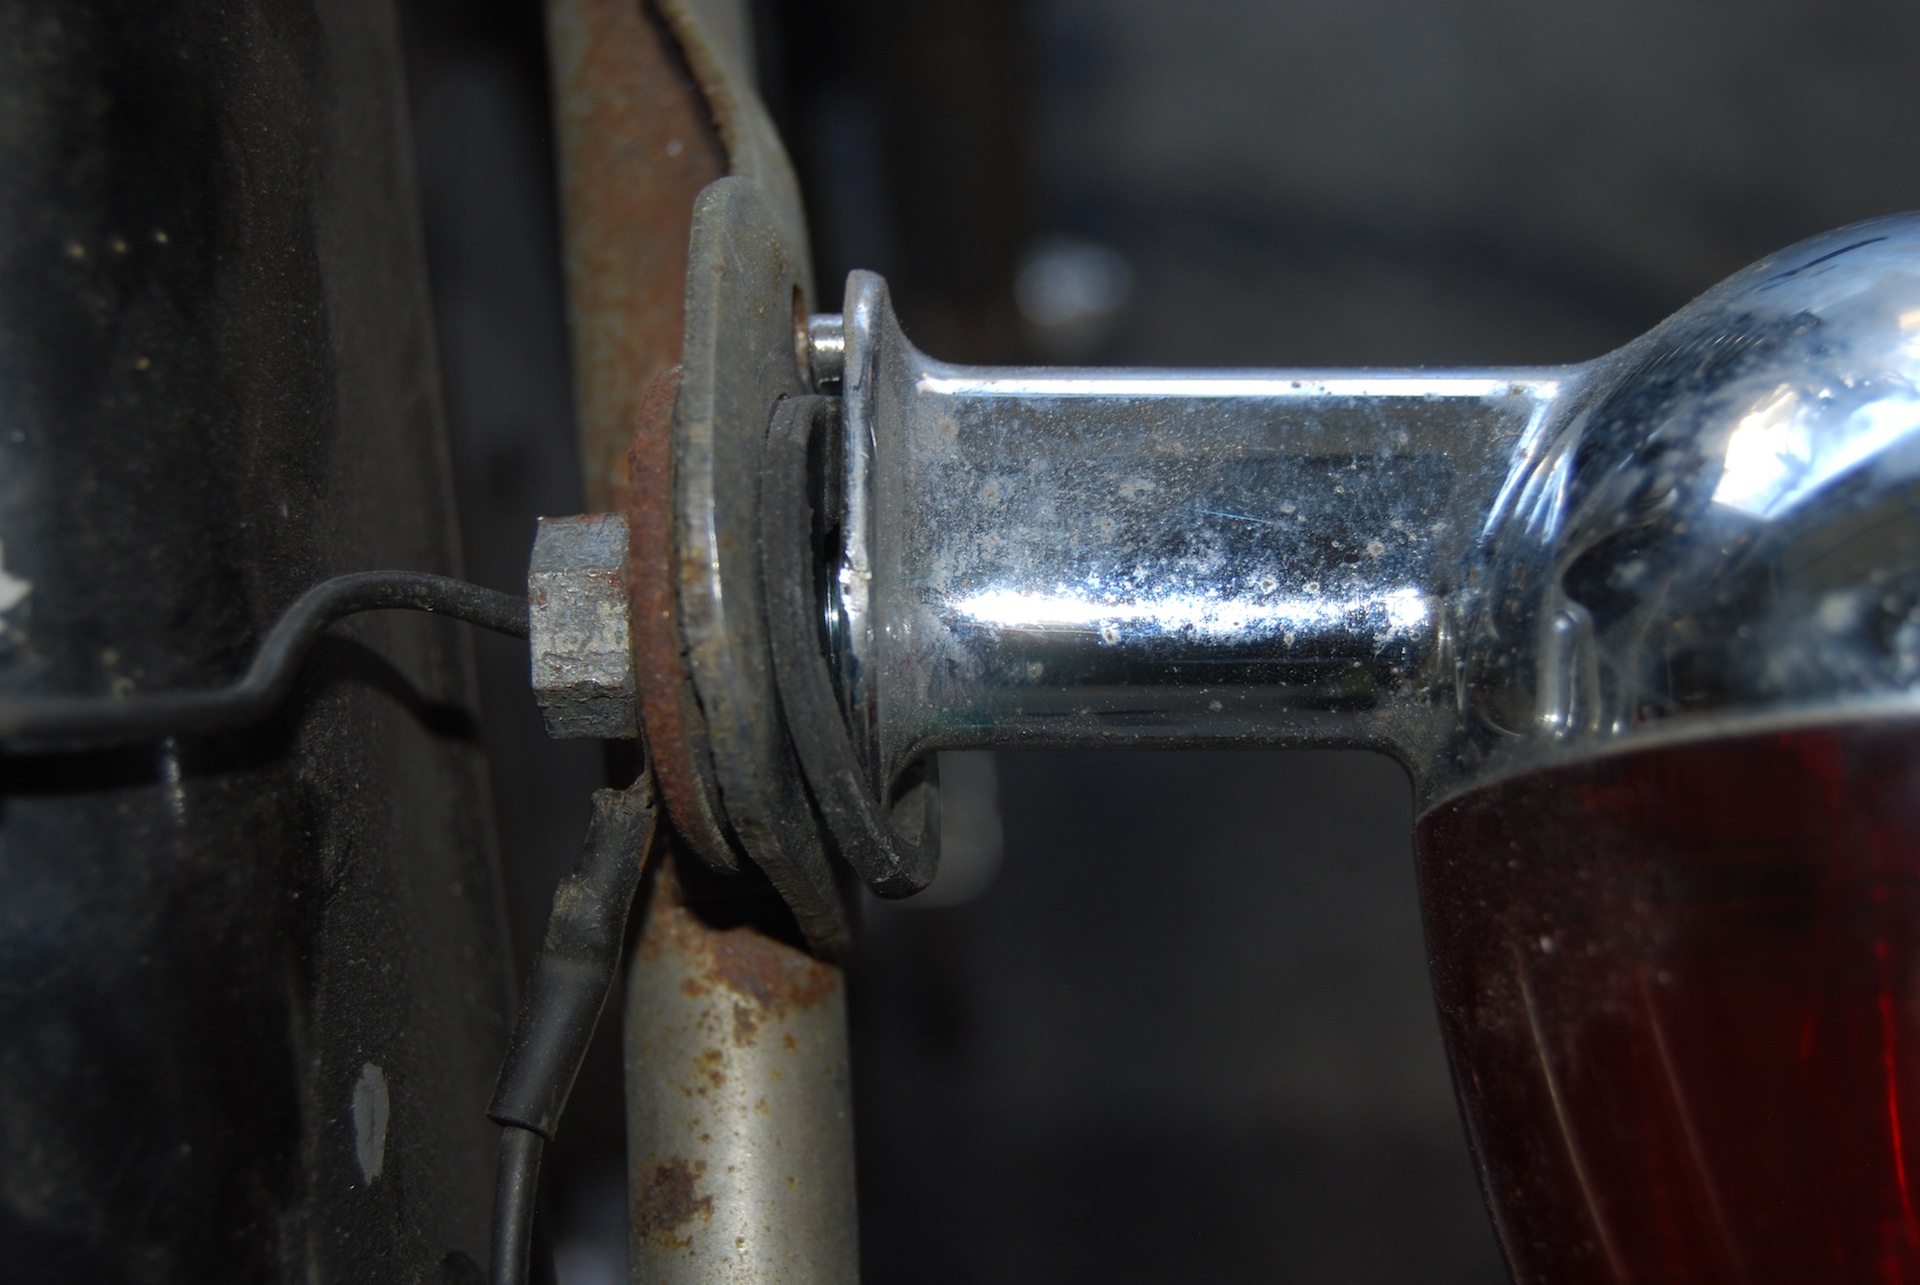
- Brake Light Wiring
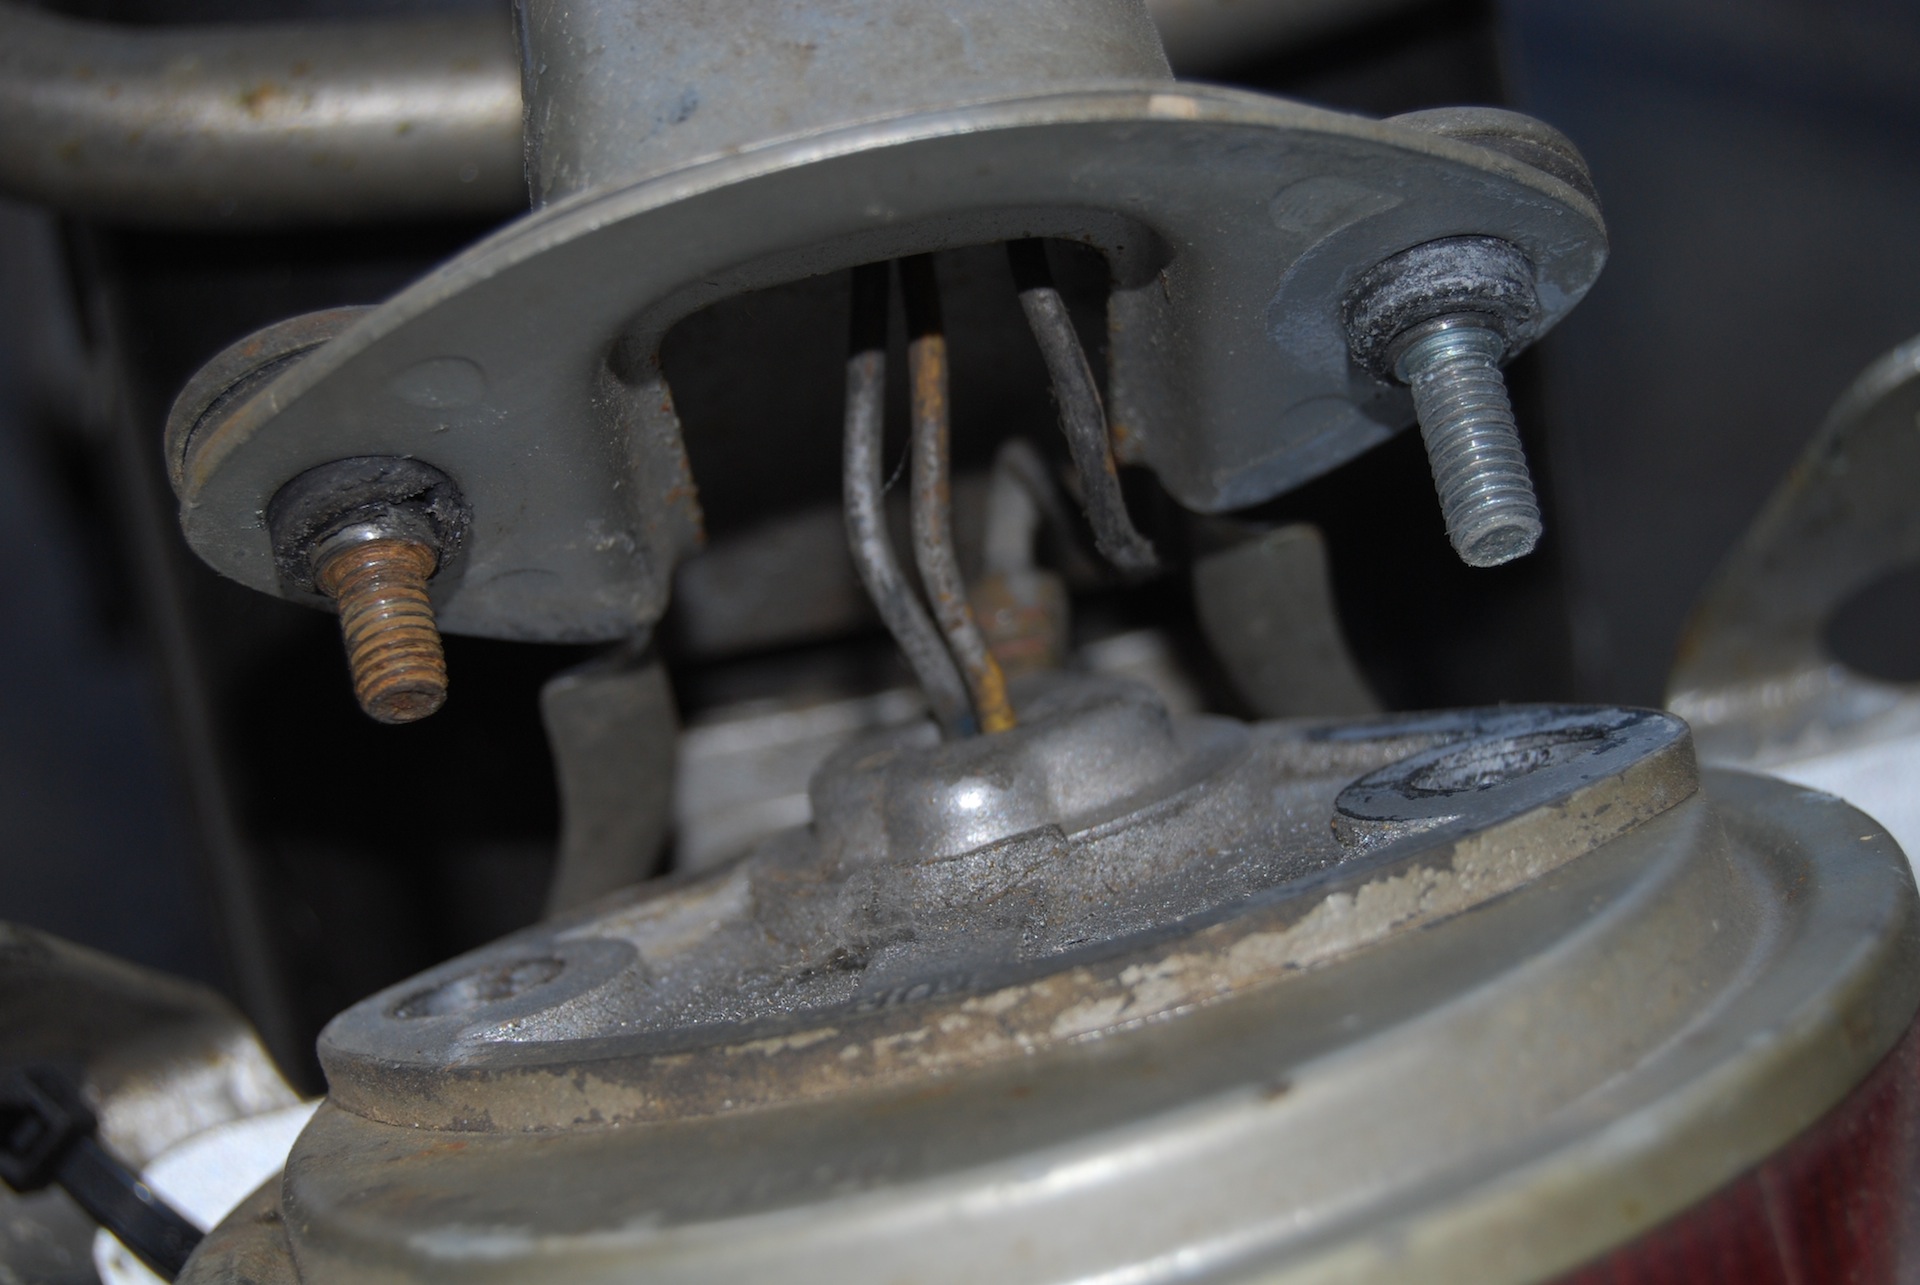
-
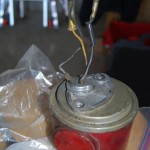
- Brake Light Removed
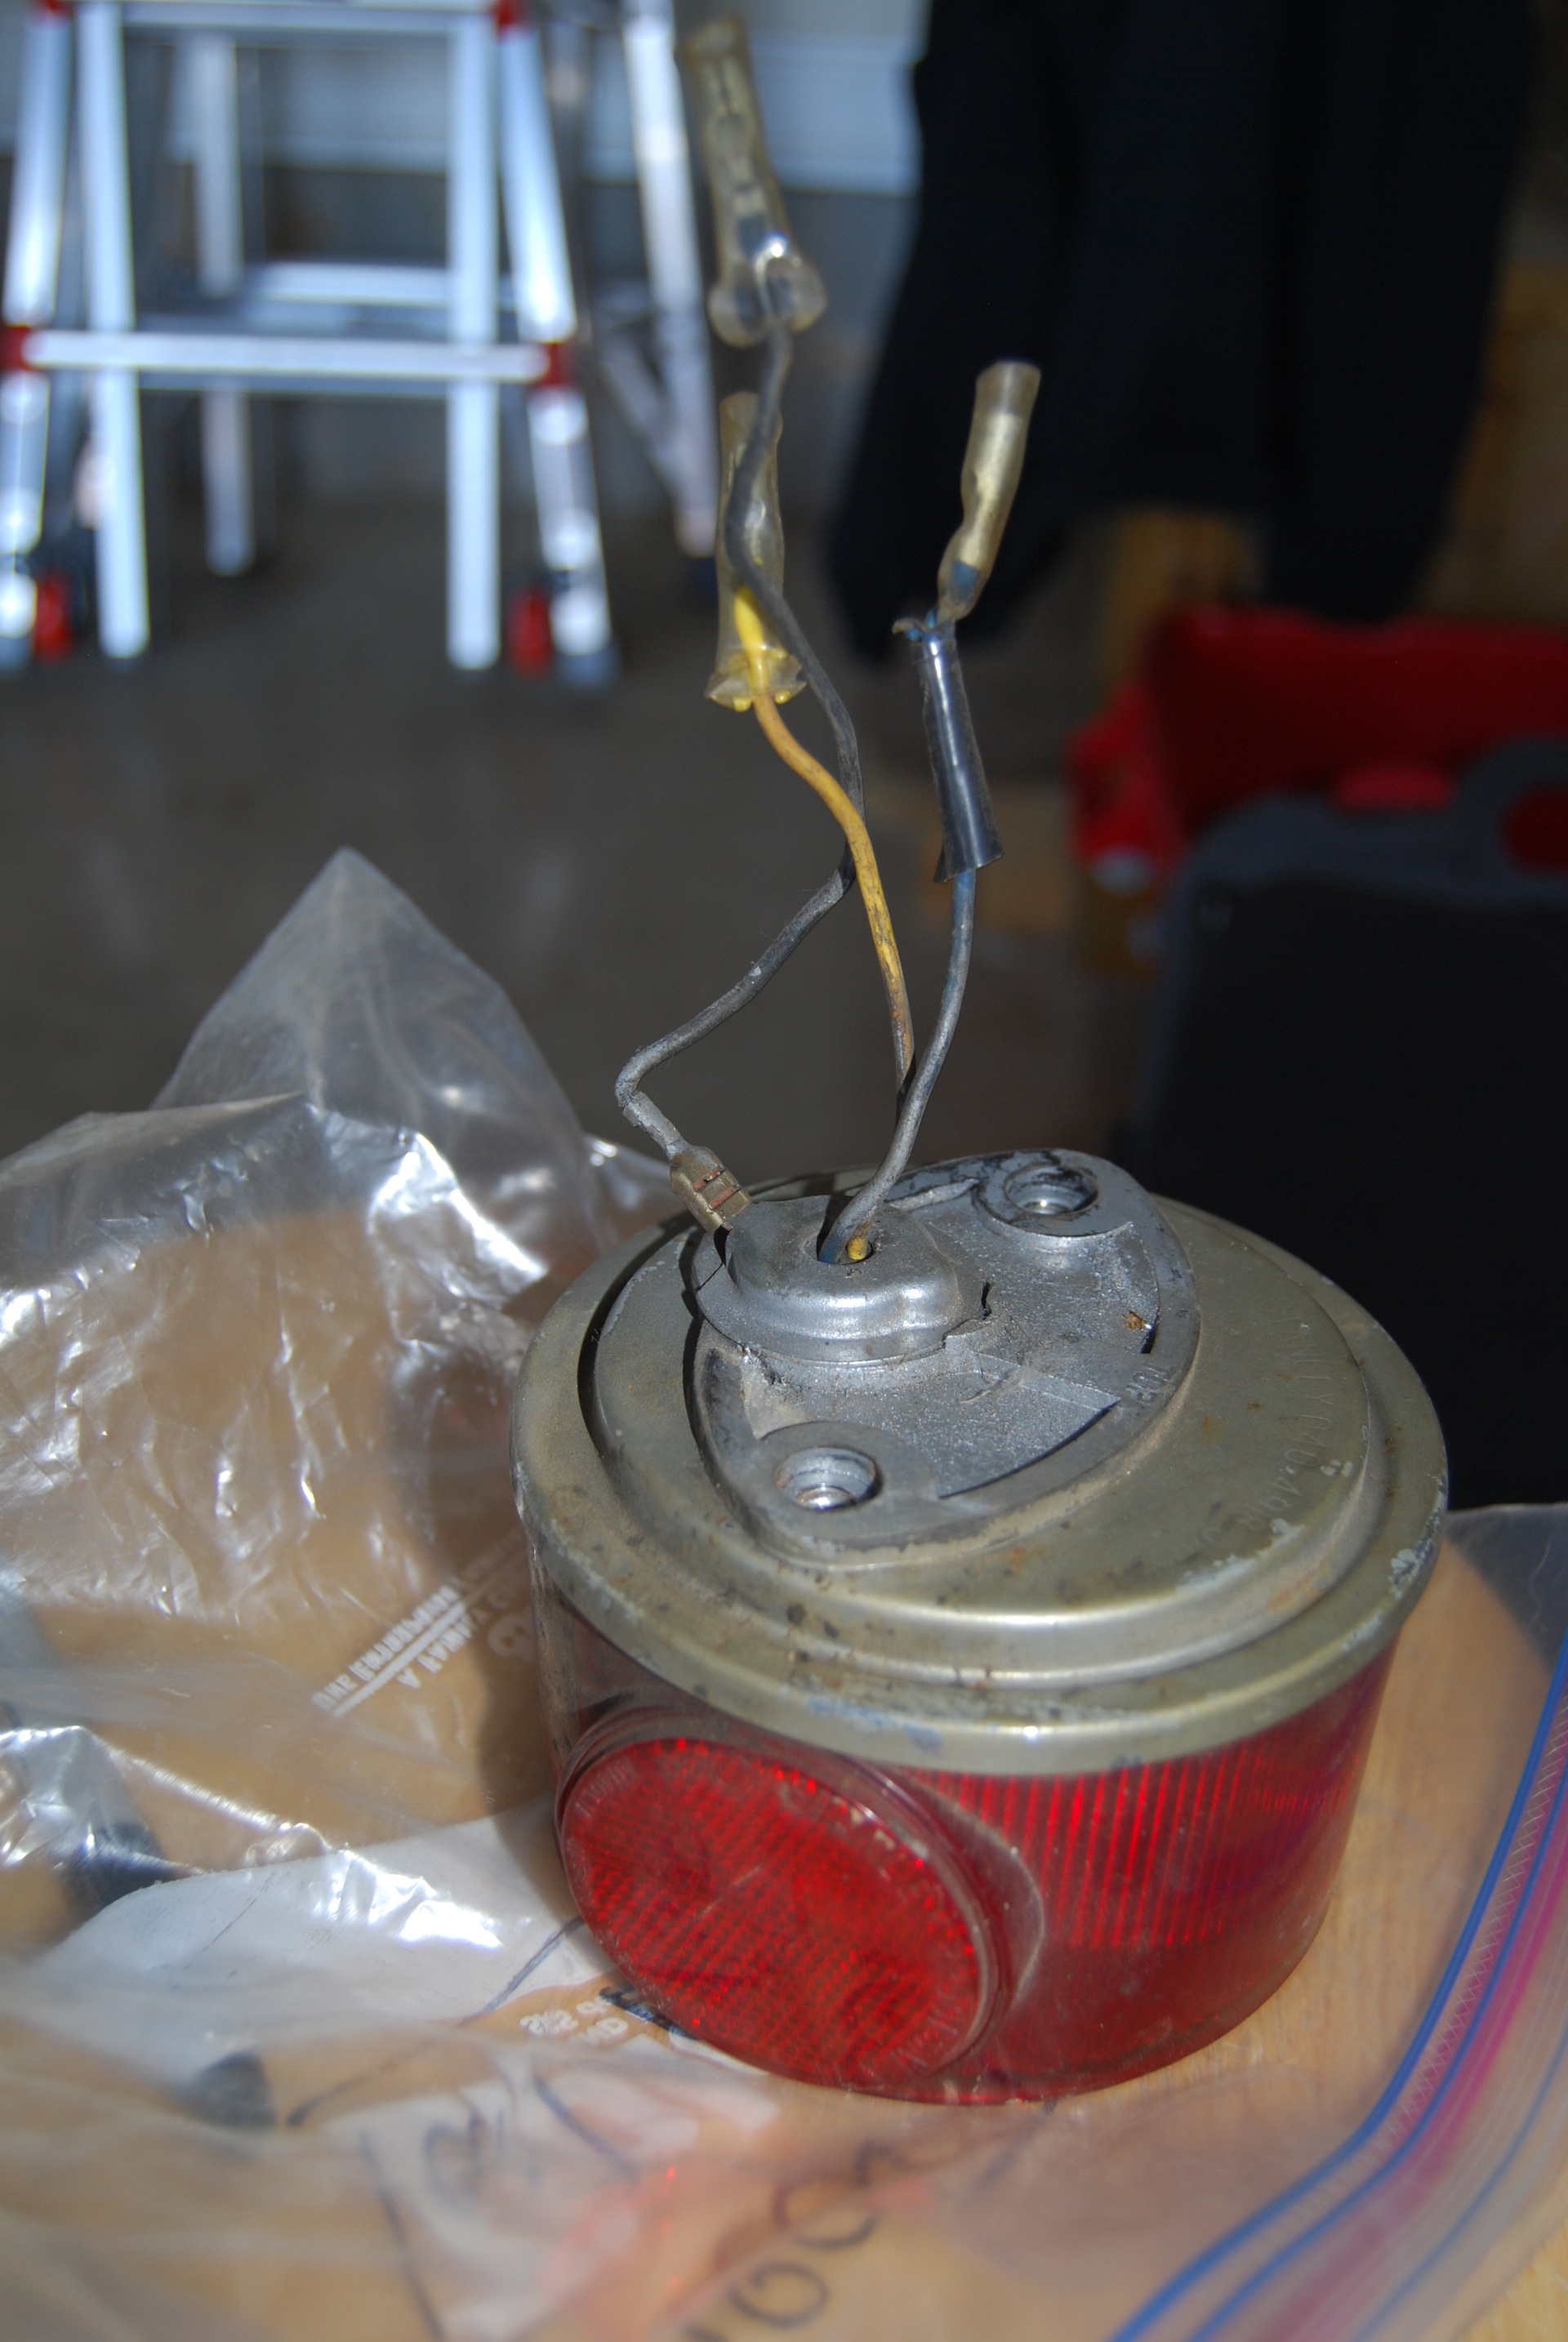
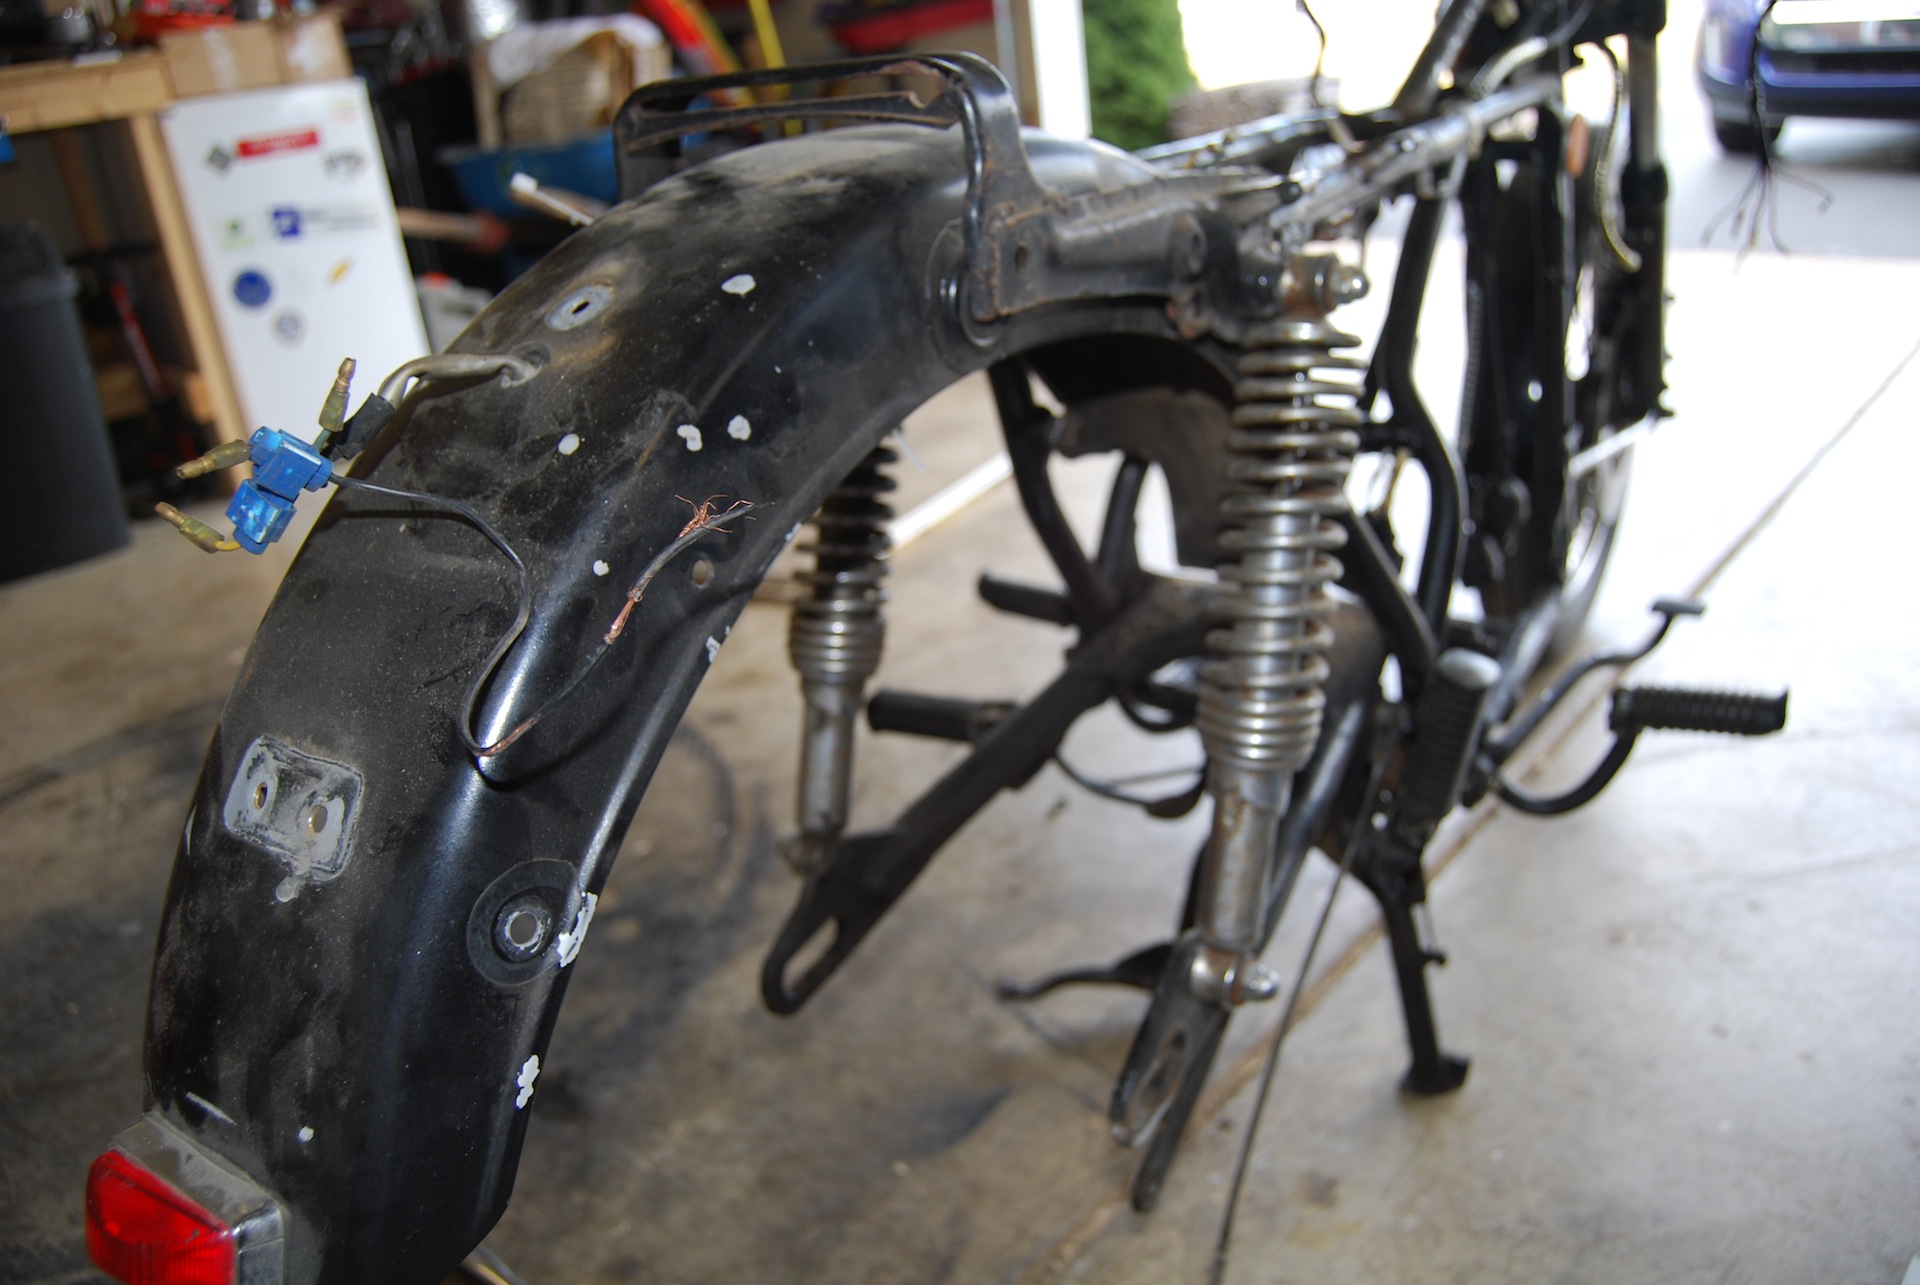
As seen above, the rear brake light is installed on a huge, ugly metal bracket that attaches to the rear fender. Two bolts run through this monstrosity and into the rear lamp. Once removed, you can see the three wires that attach to the main harness (see http://schmidtcds.com/wp-content/uploads/2014/03/DSC_0062.jpg). This bundle runs through a hole in the rear fender and once freed, can be removed from the bike completely.
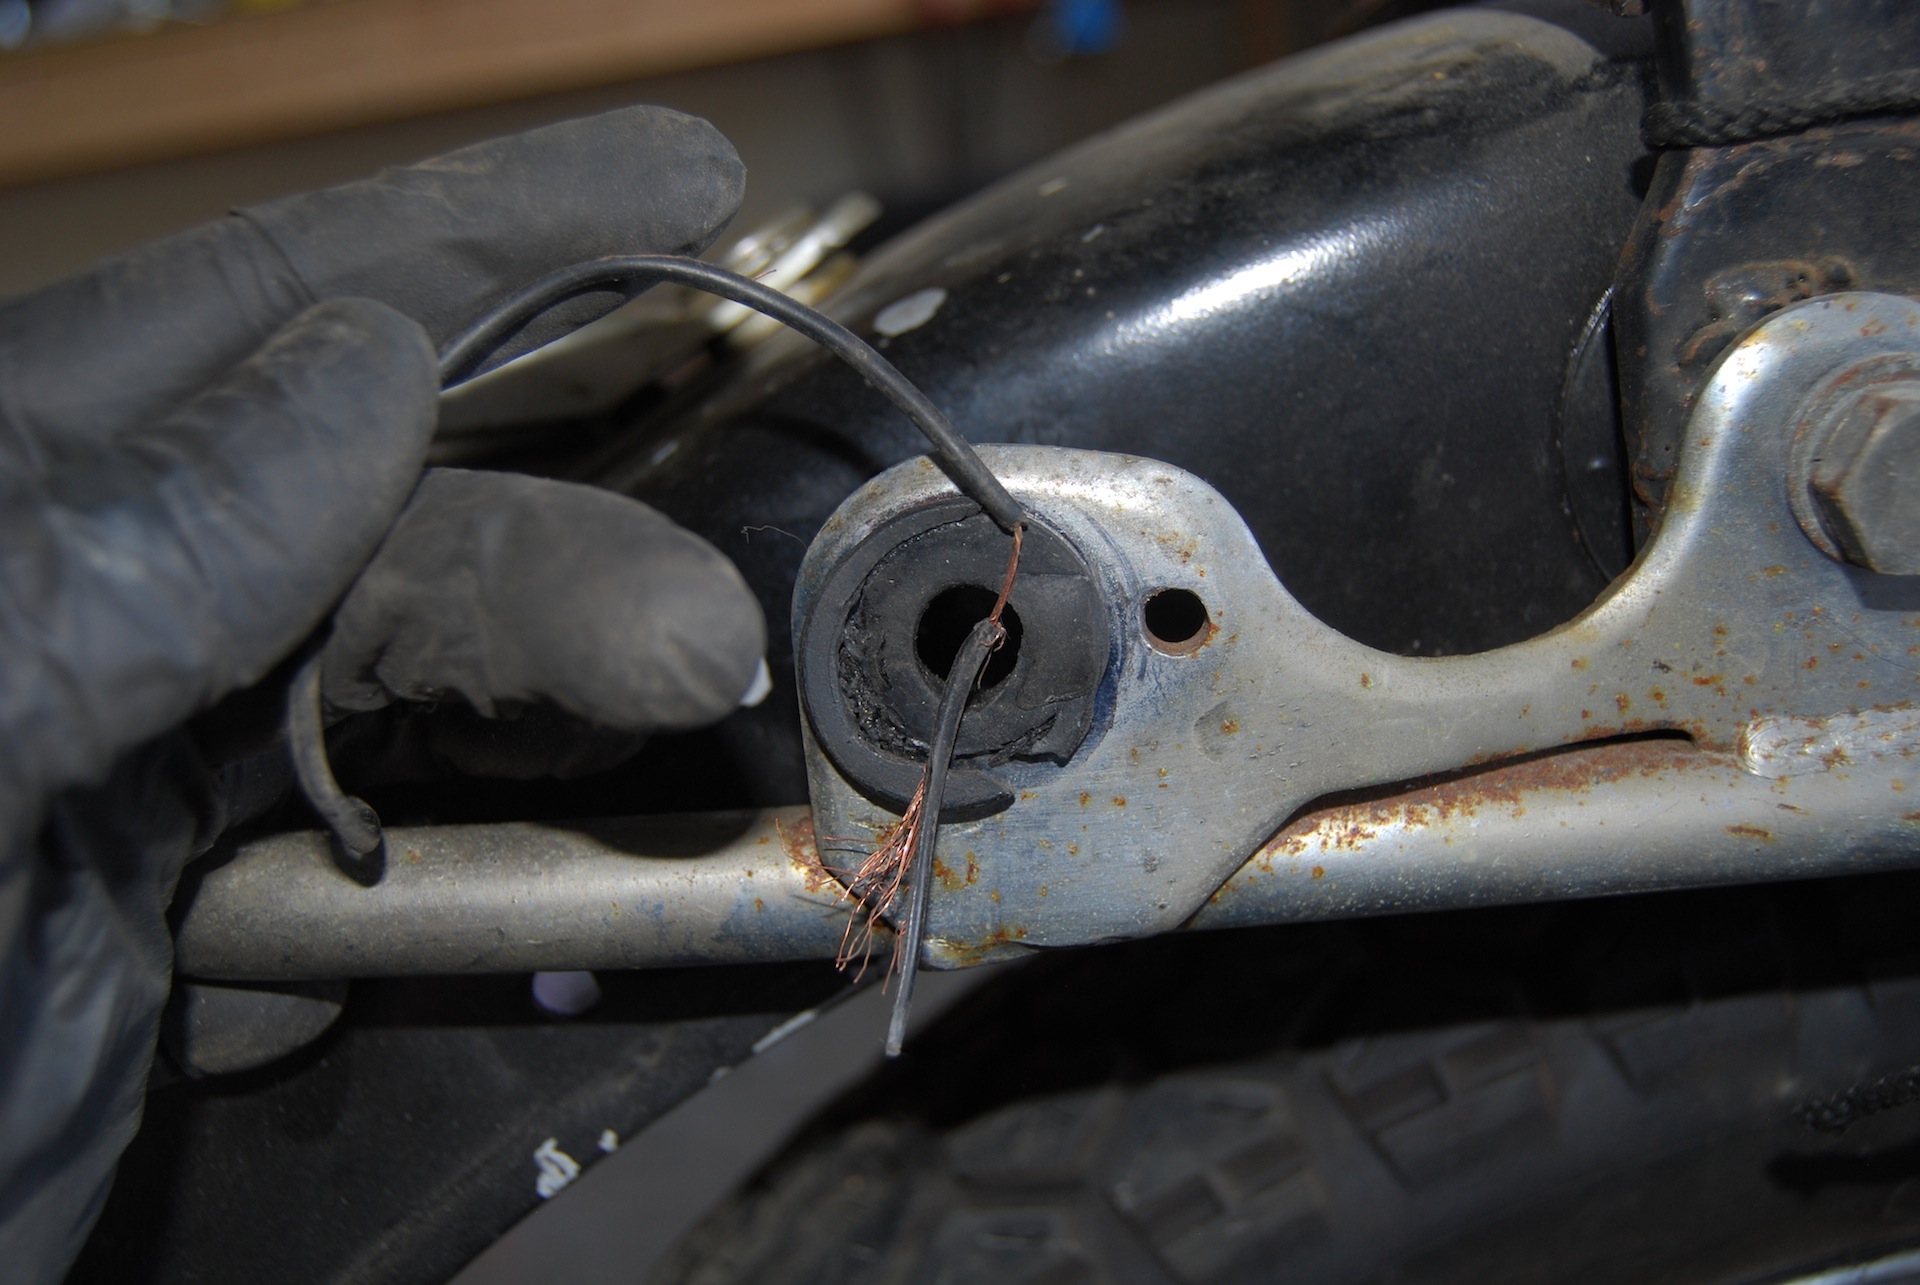
NOTE: I noticed a badly frayed wire that was disconnected from everything else. The only conclusion I can draw based on the presence of what I ASSUME is the other end of the wire is that it went to the small running light at the very bottom of the fender. Not to worry though, it wouldn’t be re-installed during the rebuild anyway:
-
- Unknown Frayed Wire
-
- I assume this is the other end of the frayed wire

-
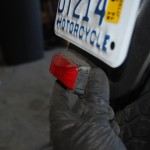
- Assume this is a running light that was once connected

Rear Brake Light Bracket Removal
-
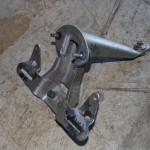
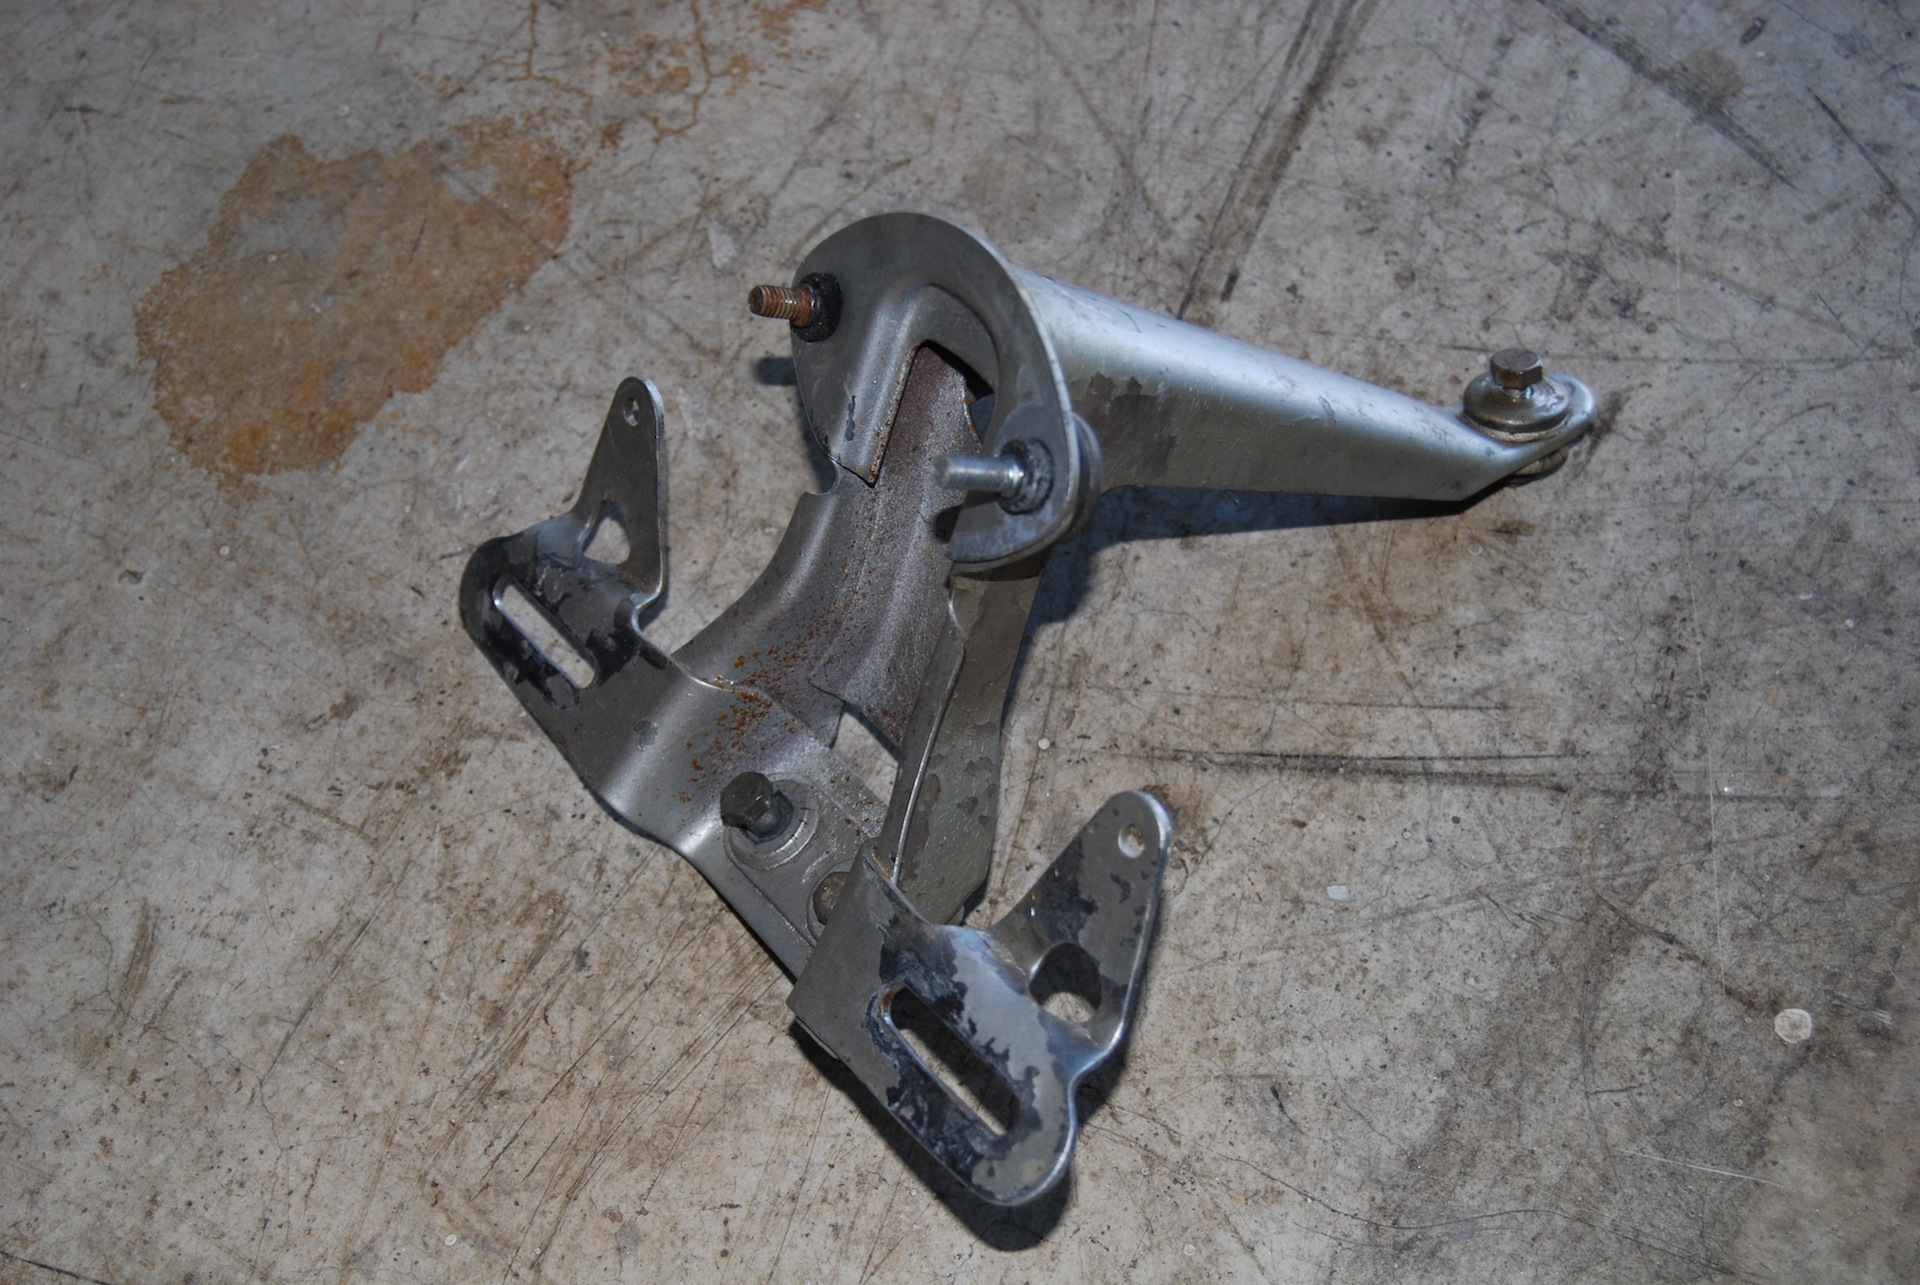
- Taillight Bracket Removed
-
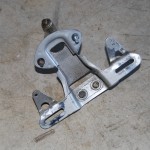
- Another Angle of Taillight Bracket
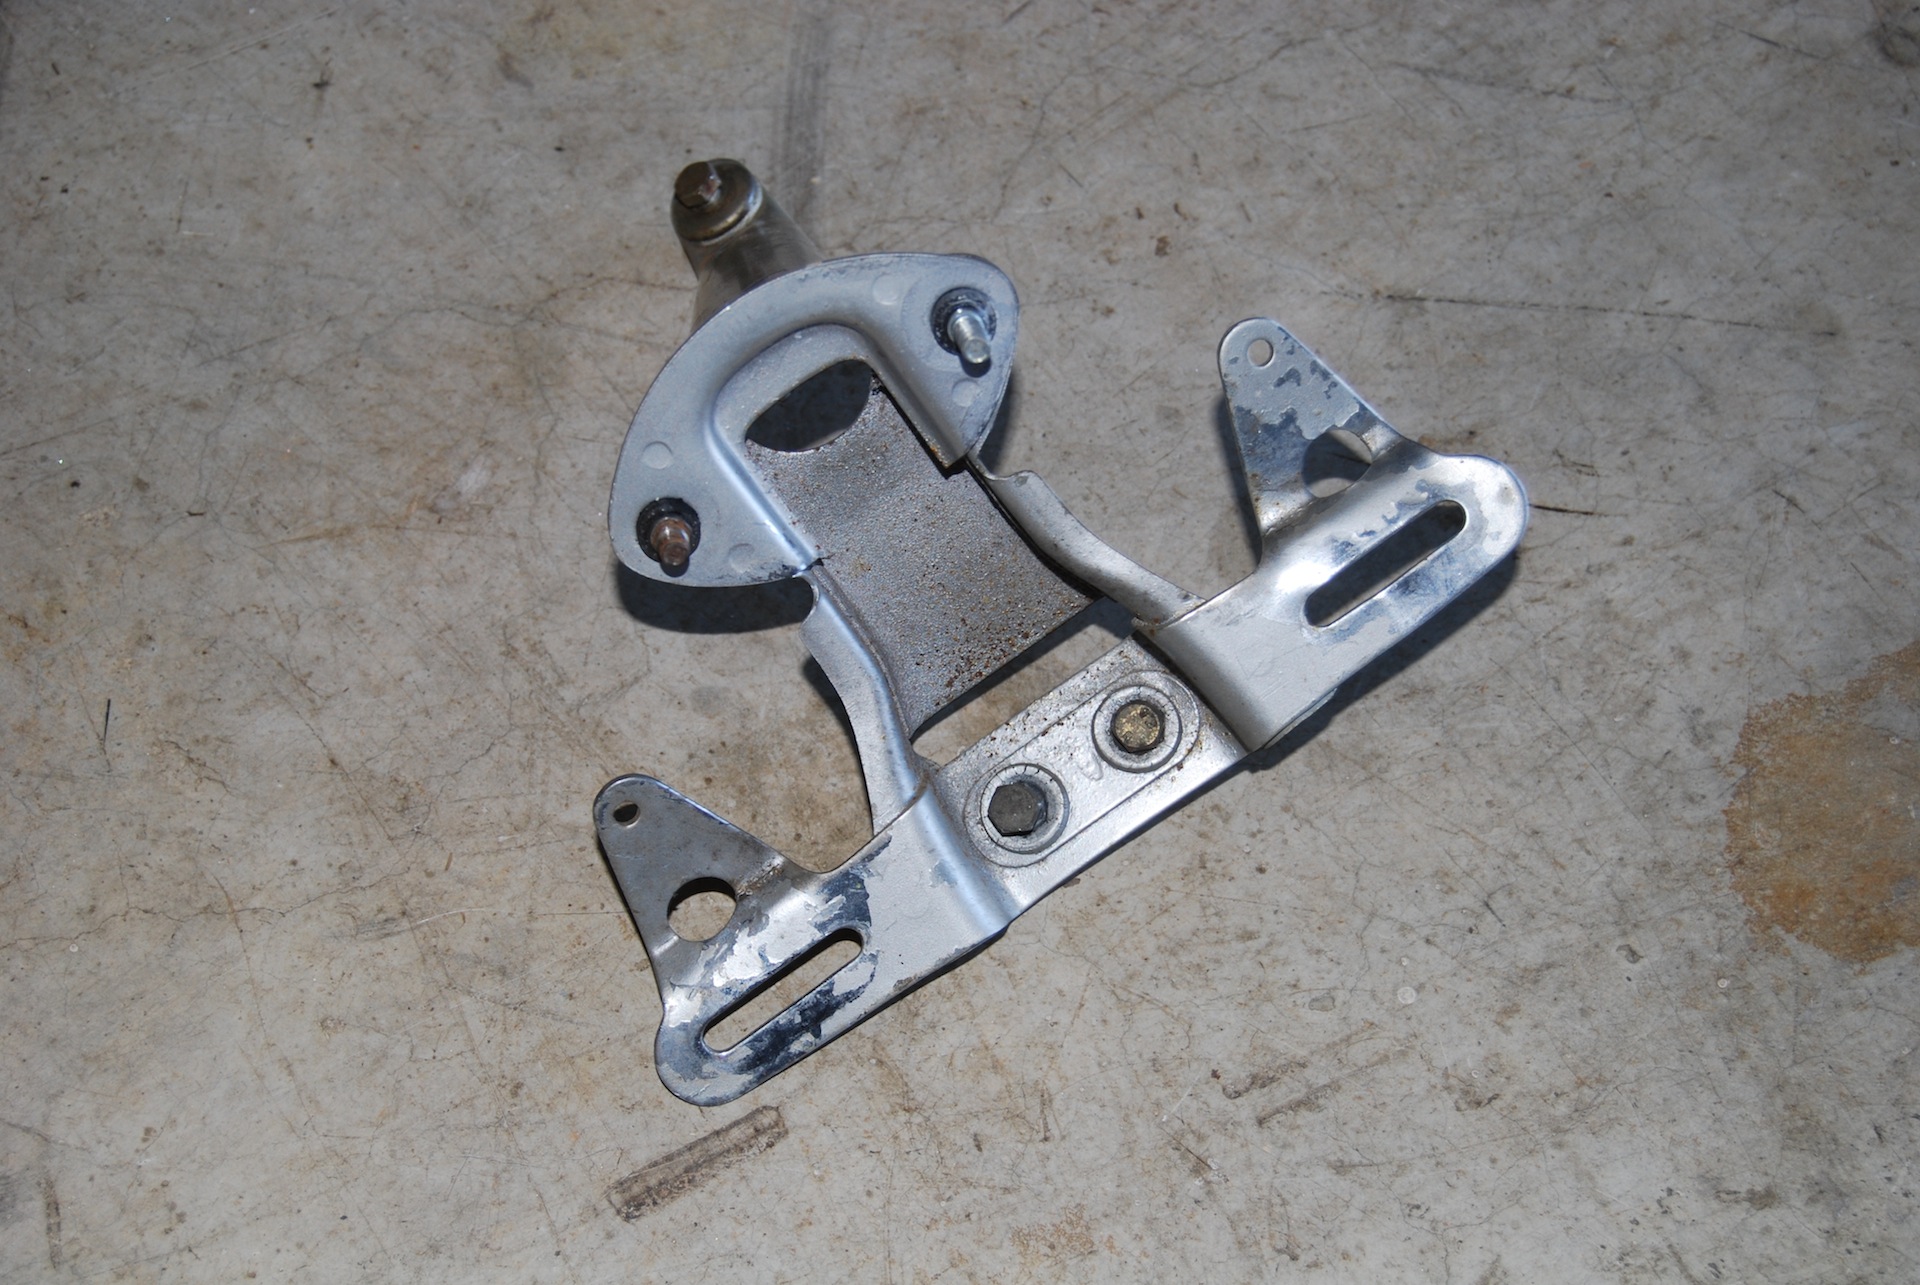
With the lamp removed, now we can remove the bracket. It’s attached with three bolts to the rear fender and is very straightforward to remove.
Mudguard Stay Removal
-
- Left Side Mudguard Bracket Bolt 1
-
- Left Side Mudguard Bracket Bolt 2
-
- Right Side Mudguard Bracket Bolt 1
-
- Right Side Mudguard Bracket Bolt 2

-
- Mudguard Bracket Removed
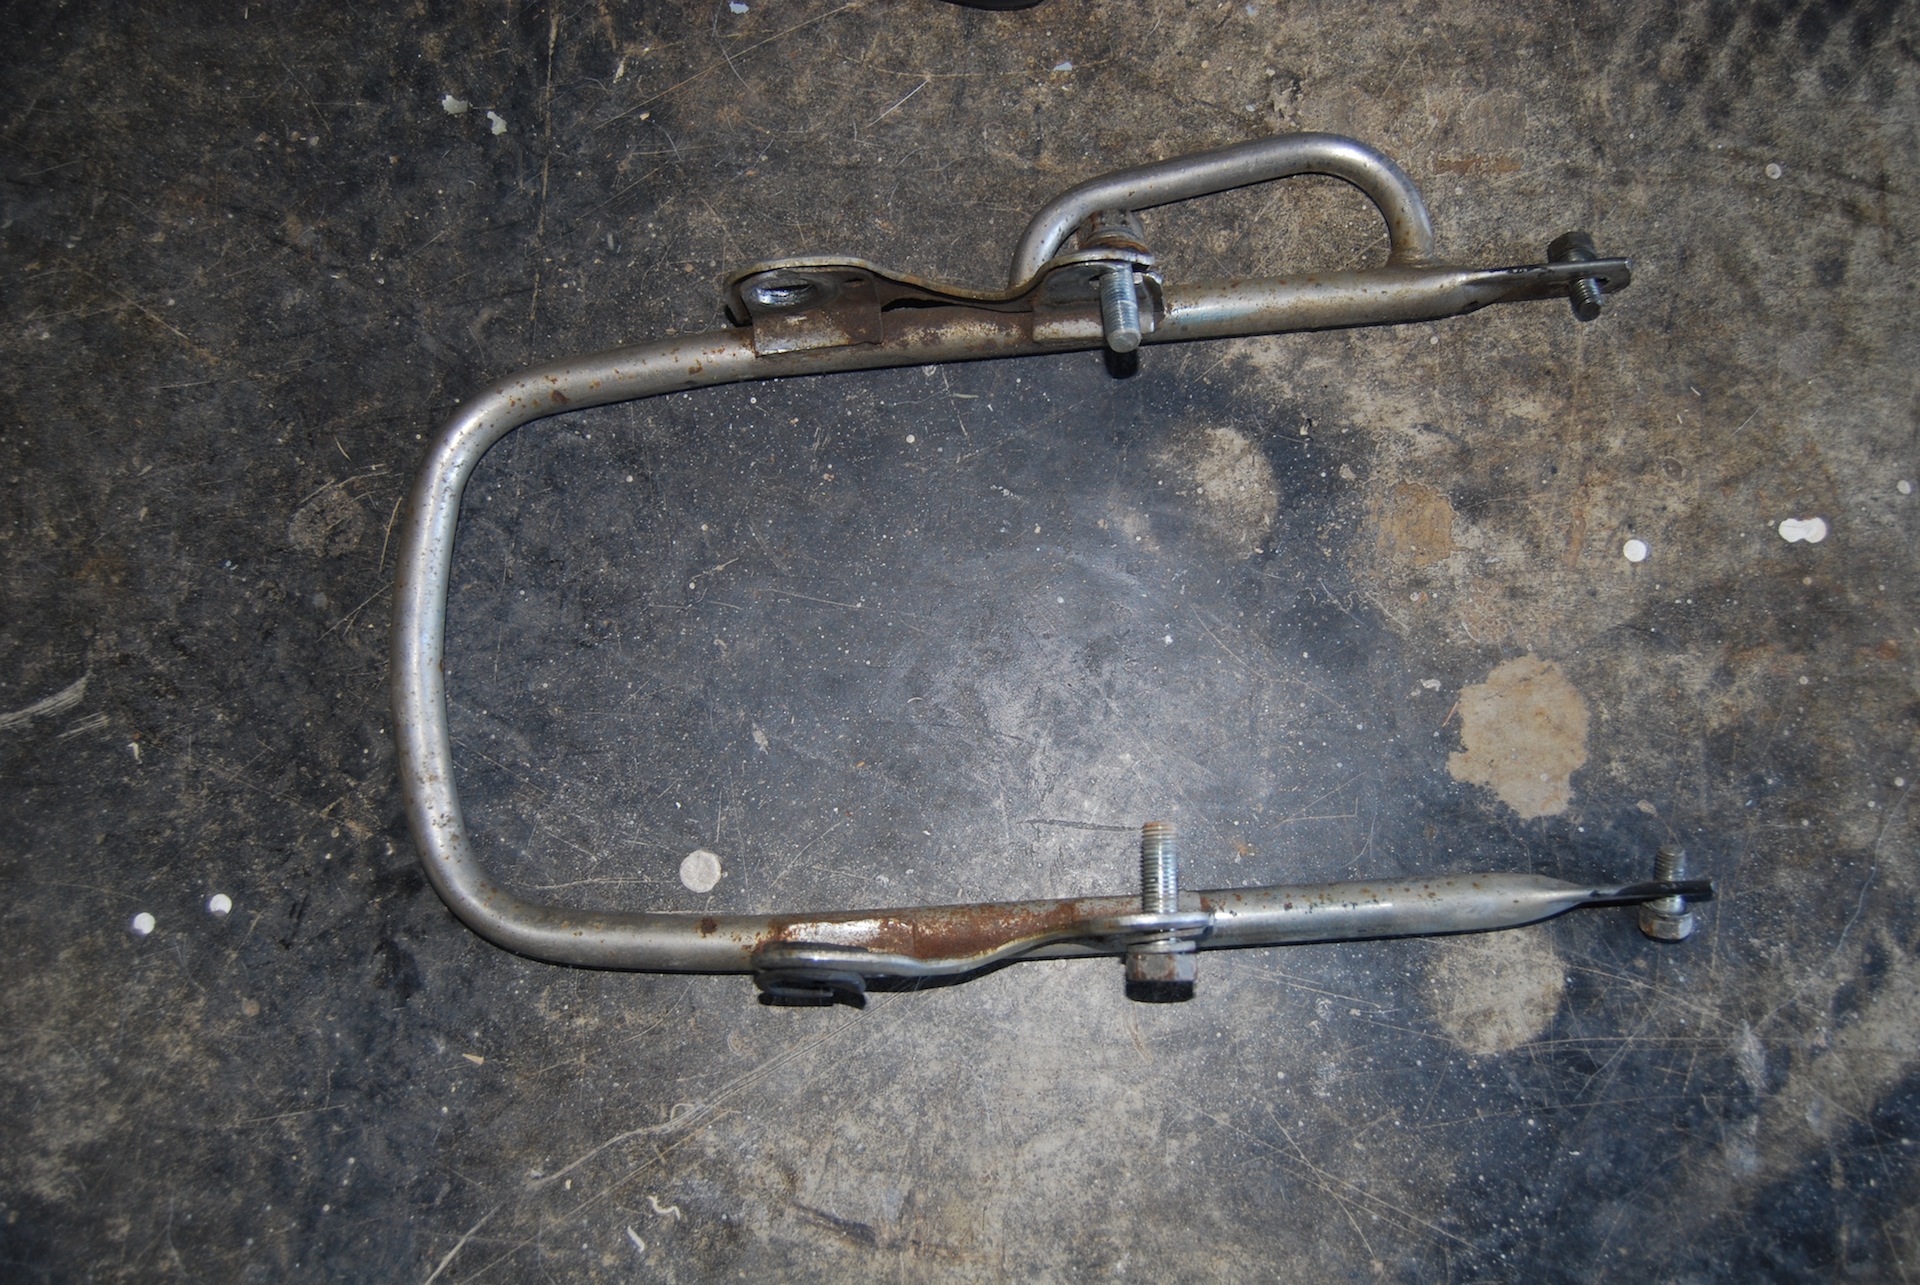
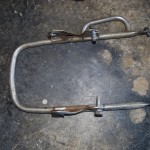
This portion is attached via 4 bolts, 2 on each side of the bike. Remove them from the frame (along with the corresponding washers) and it should pull free easily. I didn’t realize this attached the mudguard to the frame and had previously been referring to it as the pillion handle bracket.
Chain Guard Removal ATTEMPT
-
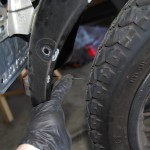
- Chain guard
-
- First bolt located near end of left-side suspension
-
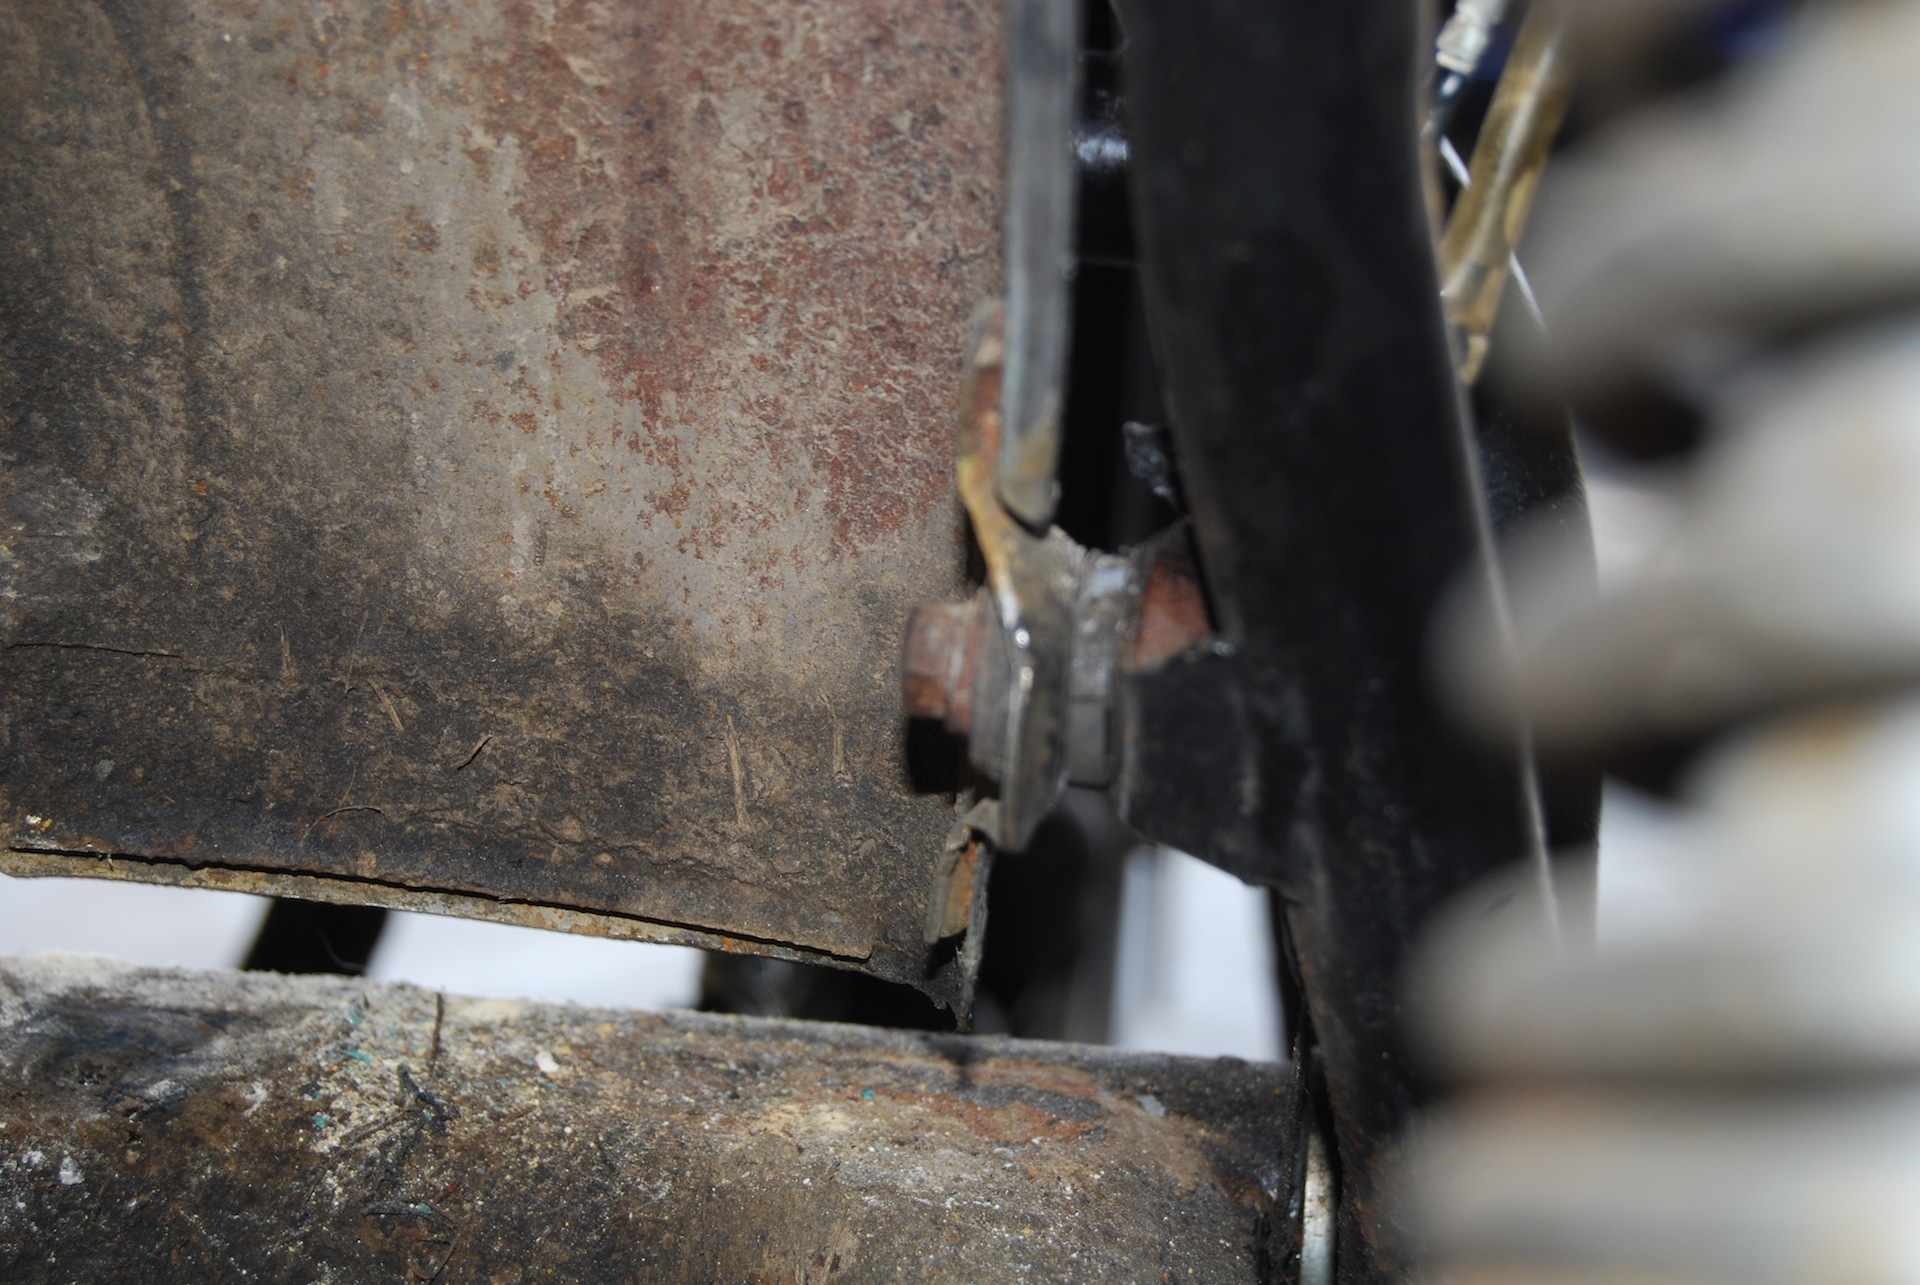
- 2nd bolt located near end of fender, in line w/ the swingarm bushing.
-
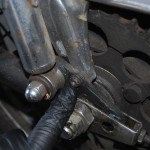
- There is a little dampening assembly here where the chain guard attaches to the frame.
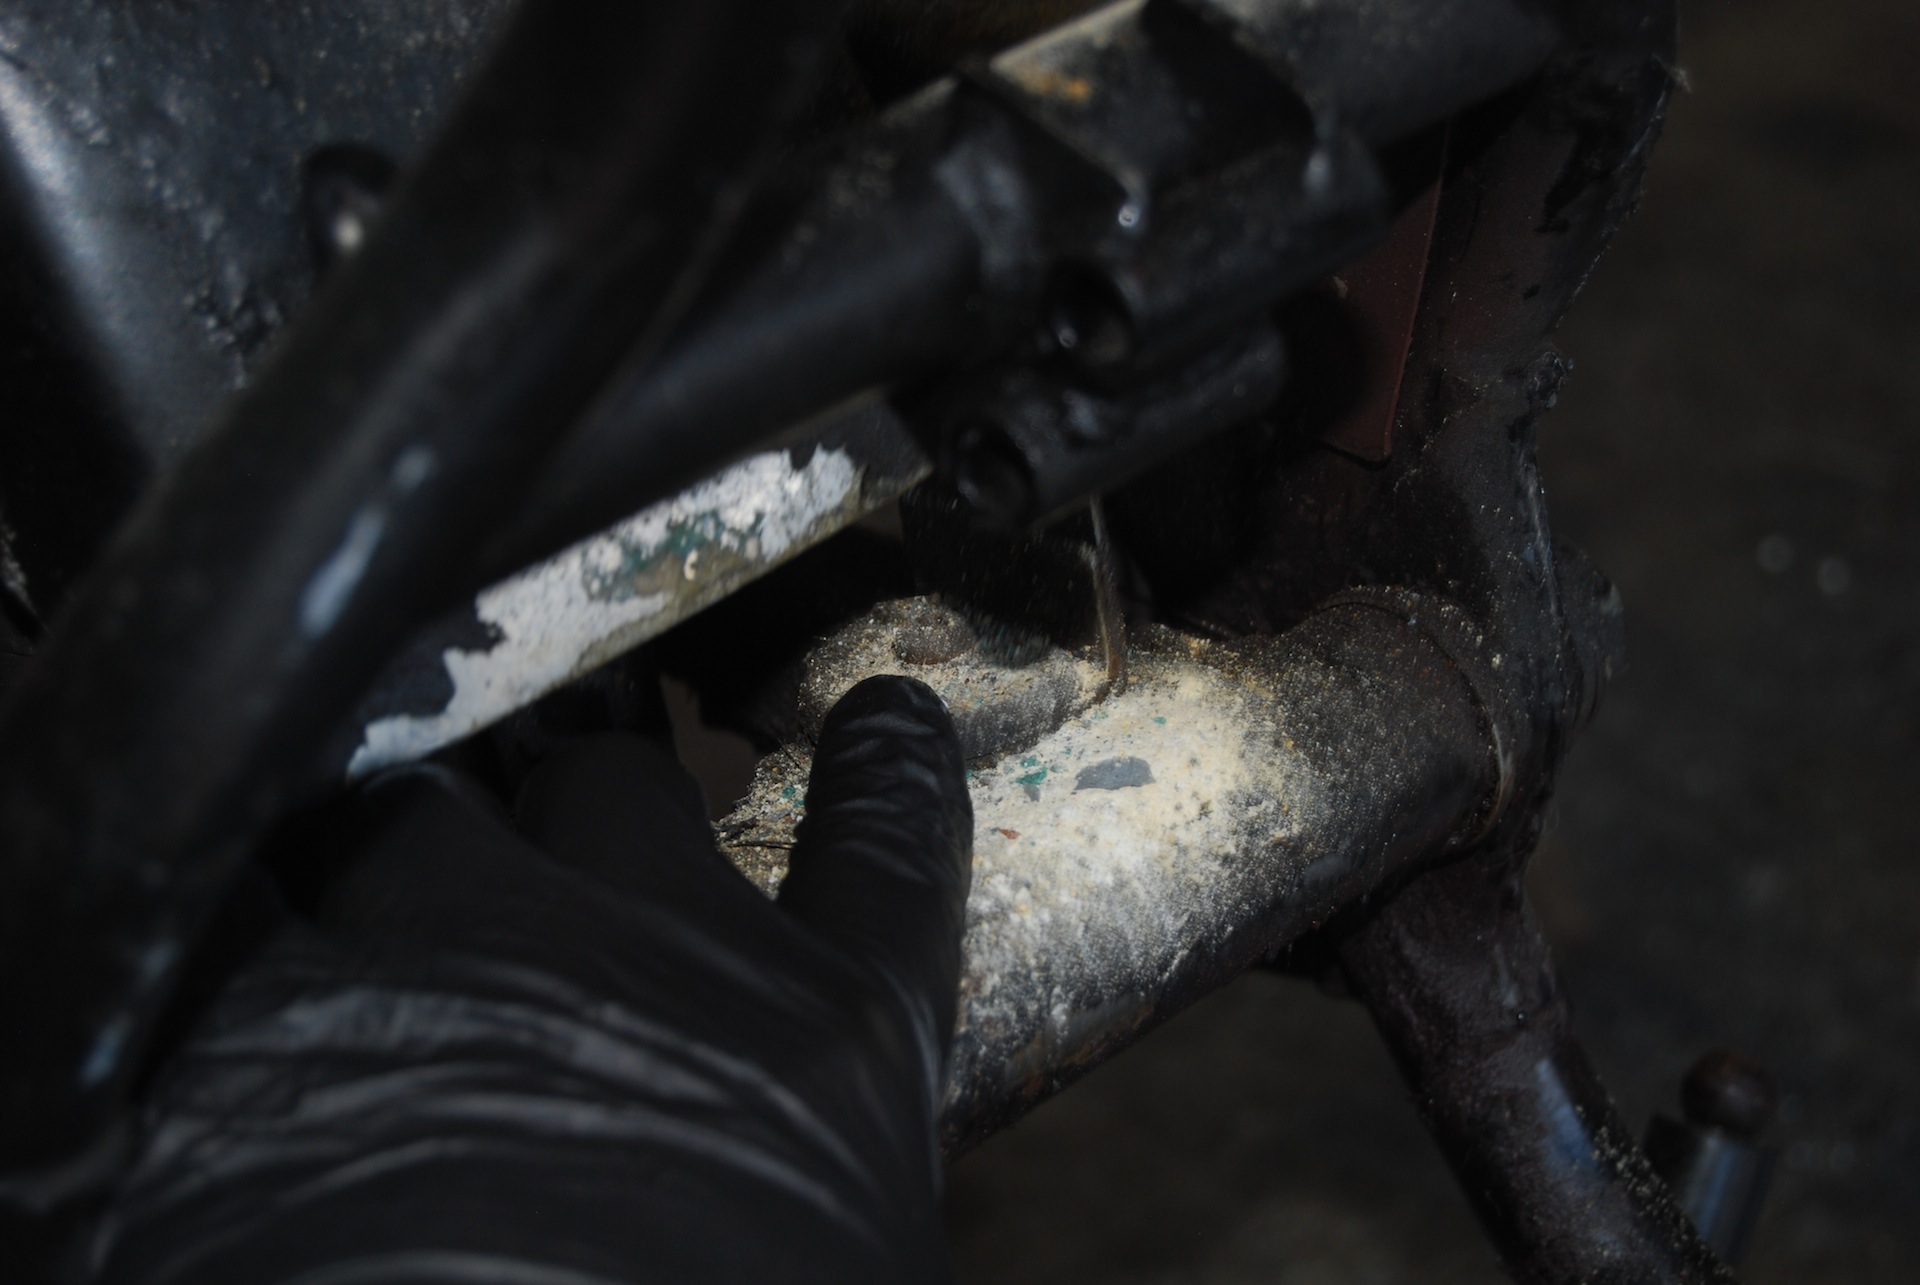
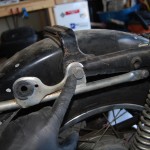
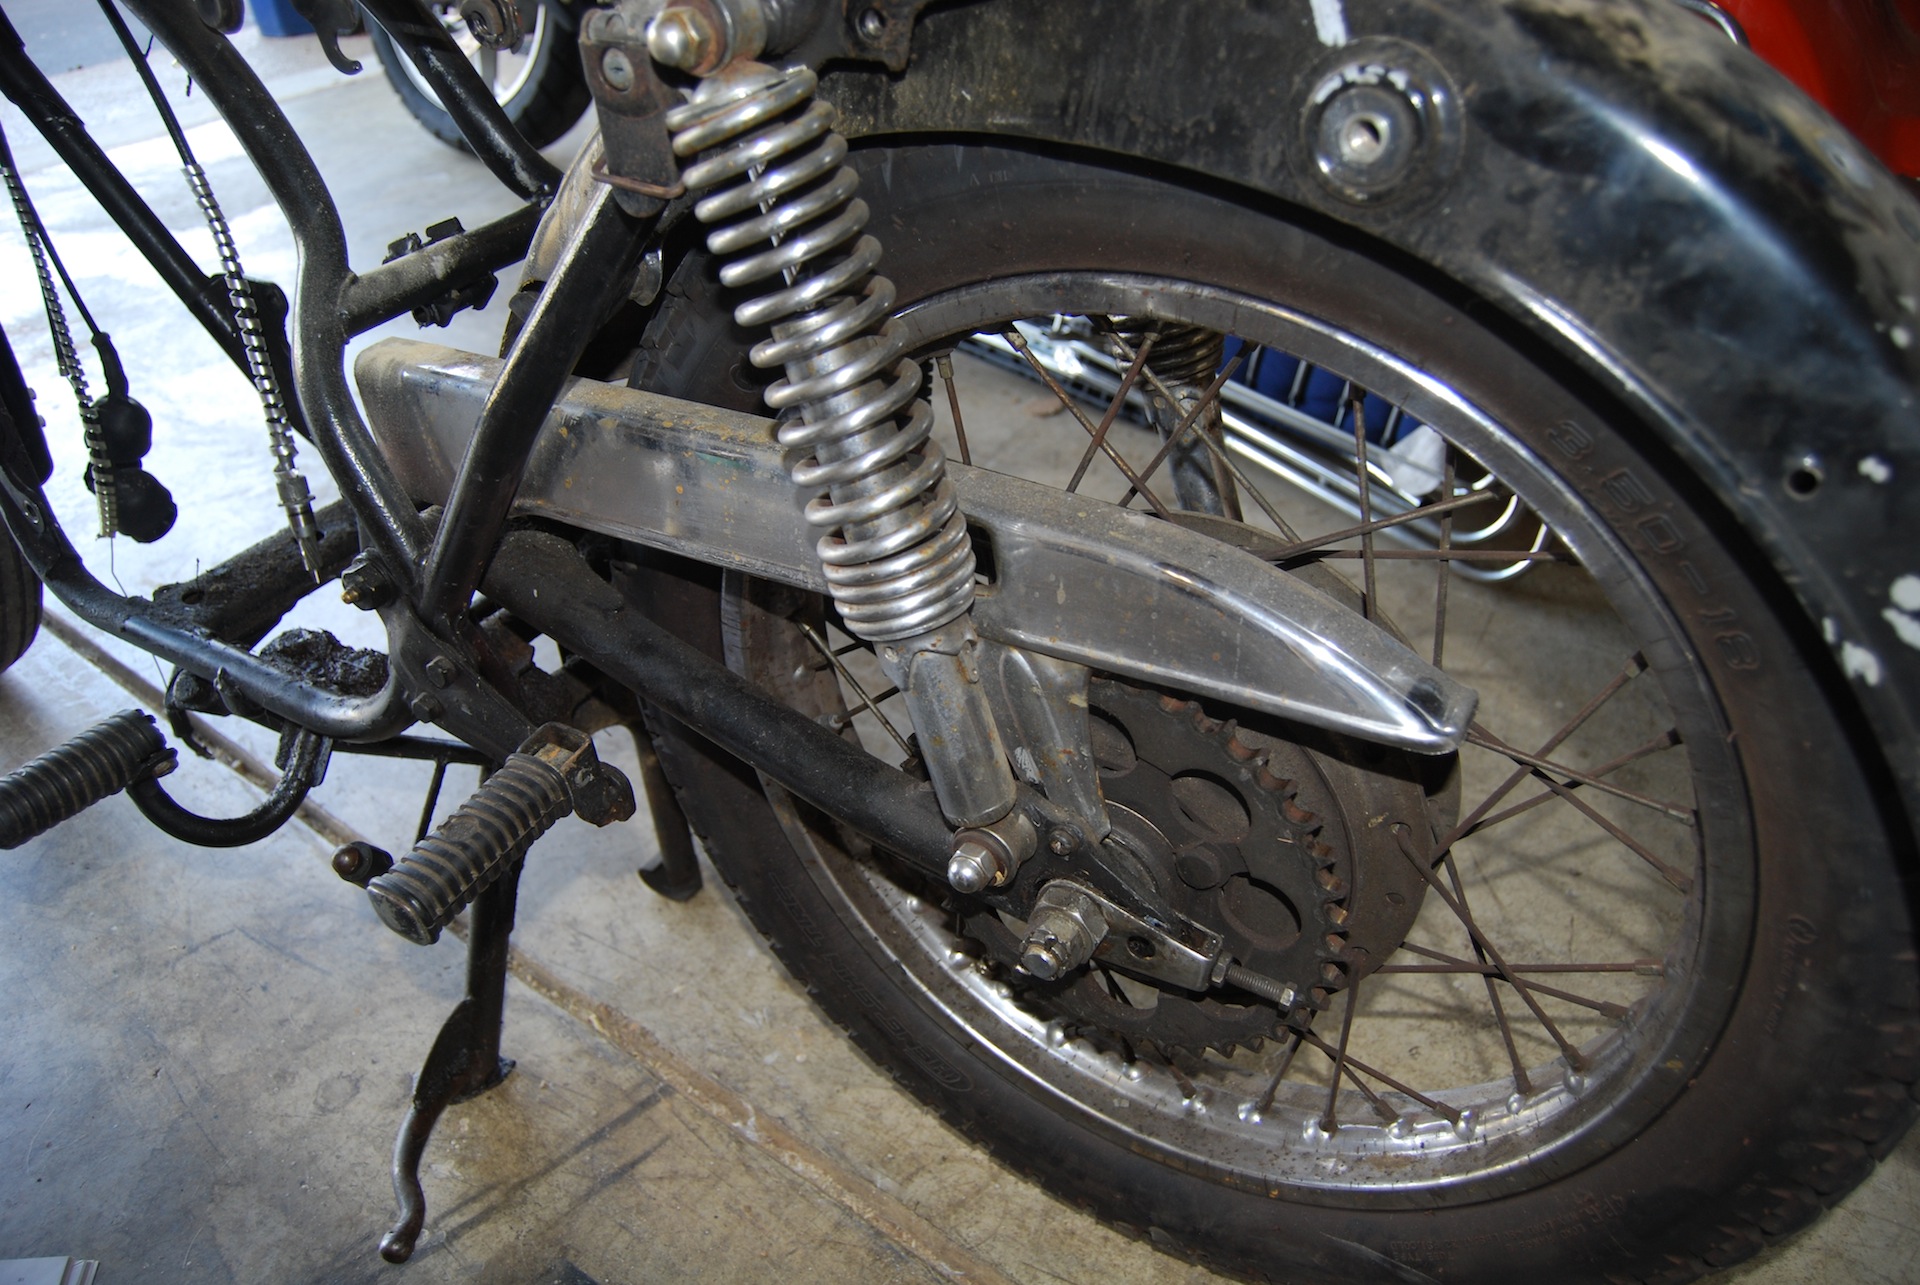
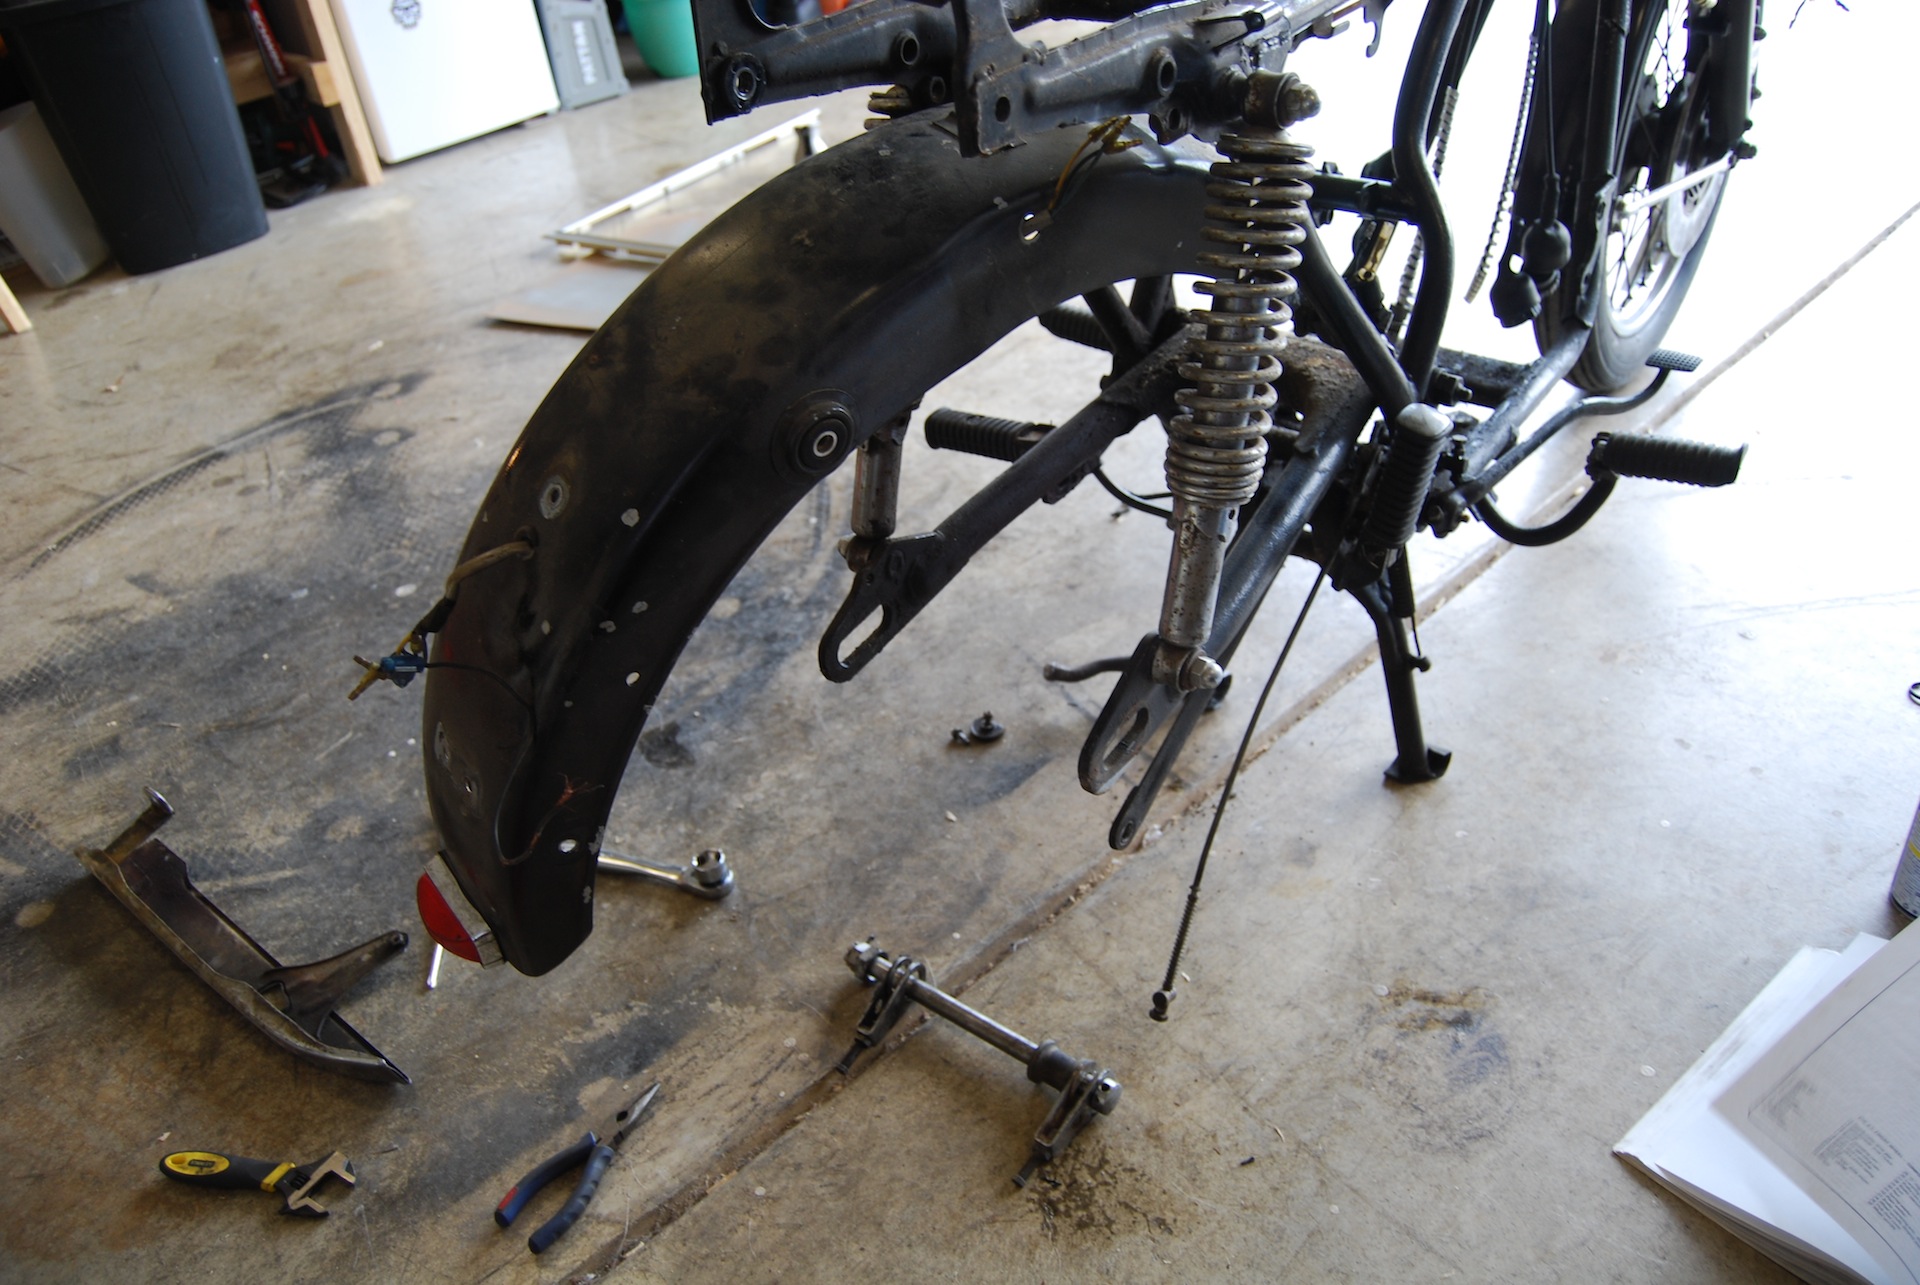
NOTE up front that I tried to remove this completely but found after I unscrewed it that there was no way to get it free from the frame with the rear wheel still installed. So I unscrewed it and let it just hang while I worked on the wheel. If I were doing it again, I’d just leave it be until the wheel was free and then worry about it. The guard is connected to the frame via 2 bolts, one right next to the left side lower shock attachment, and another on the rear swingarm channel, right where the fender ends. There’s a chainguard damper assembly under there too, so make sure to collect all the parts if you’ll be reinstalling the chainguard.
Rear Wheel Removal
-
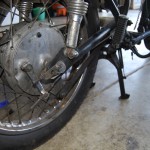
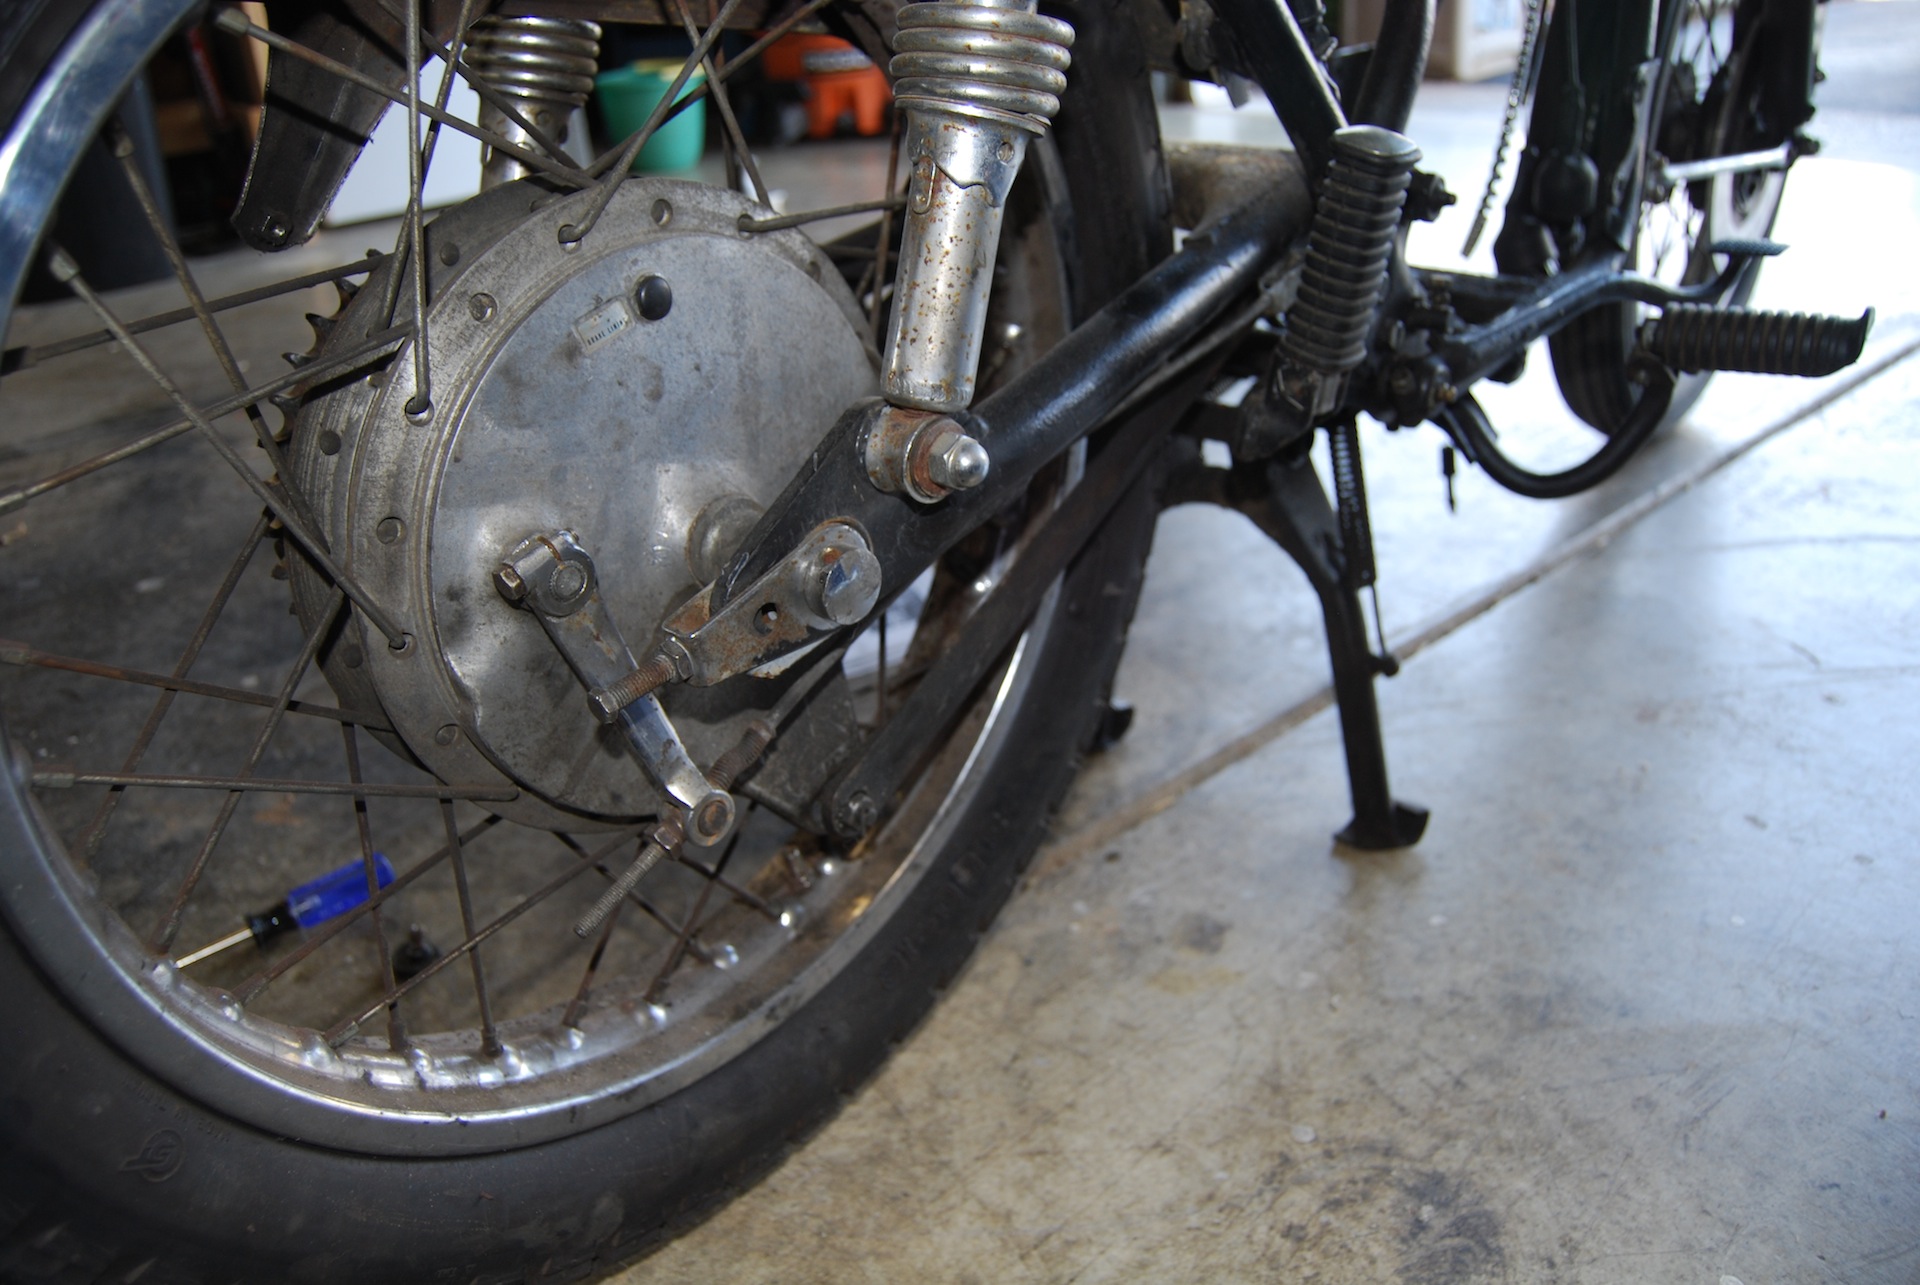
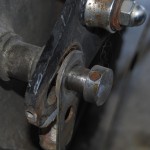
- Rear brake from the right side
-
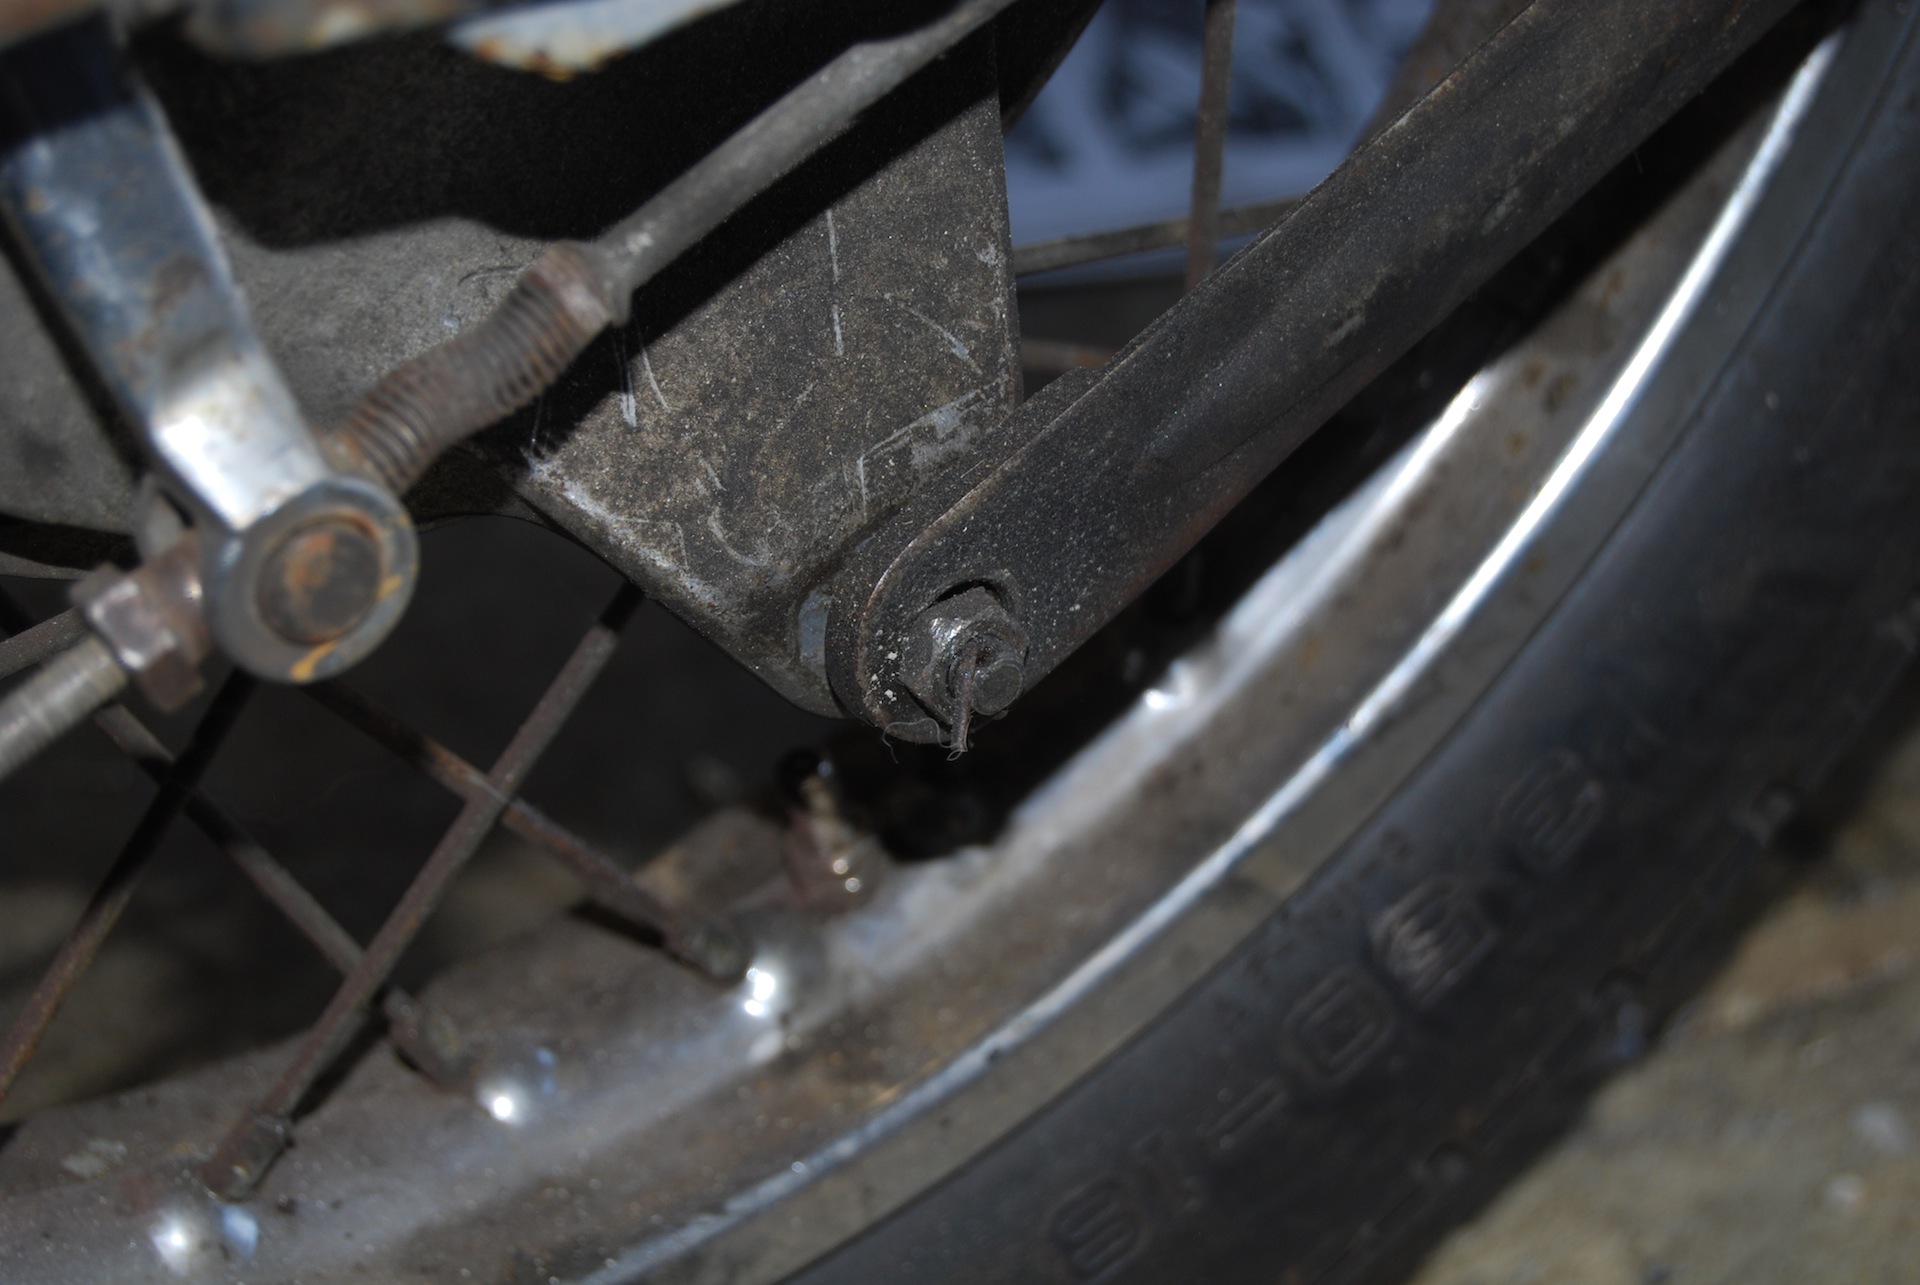
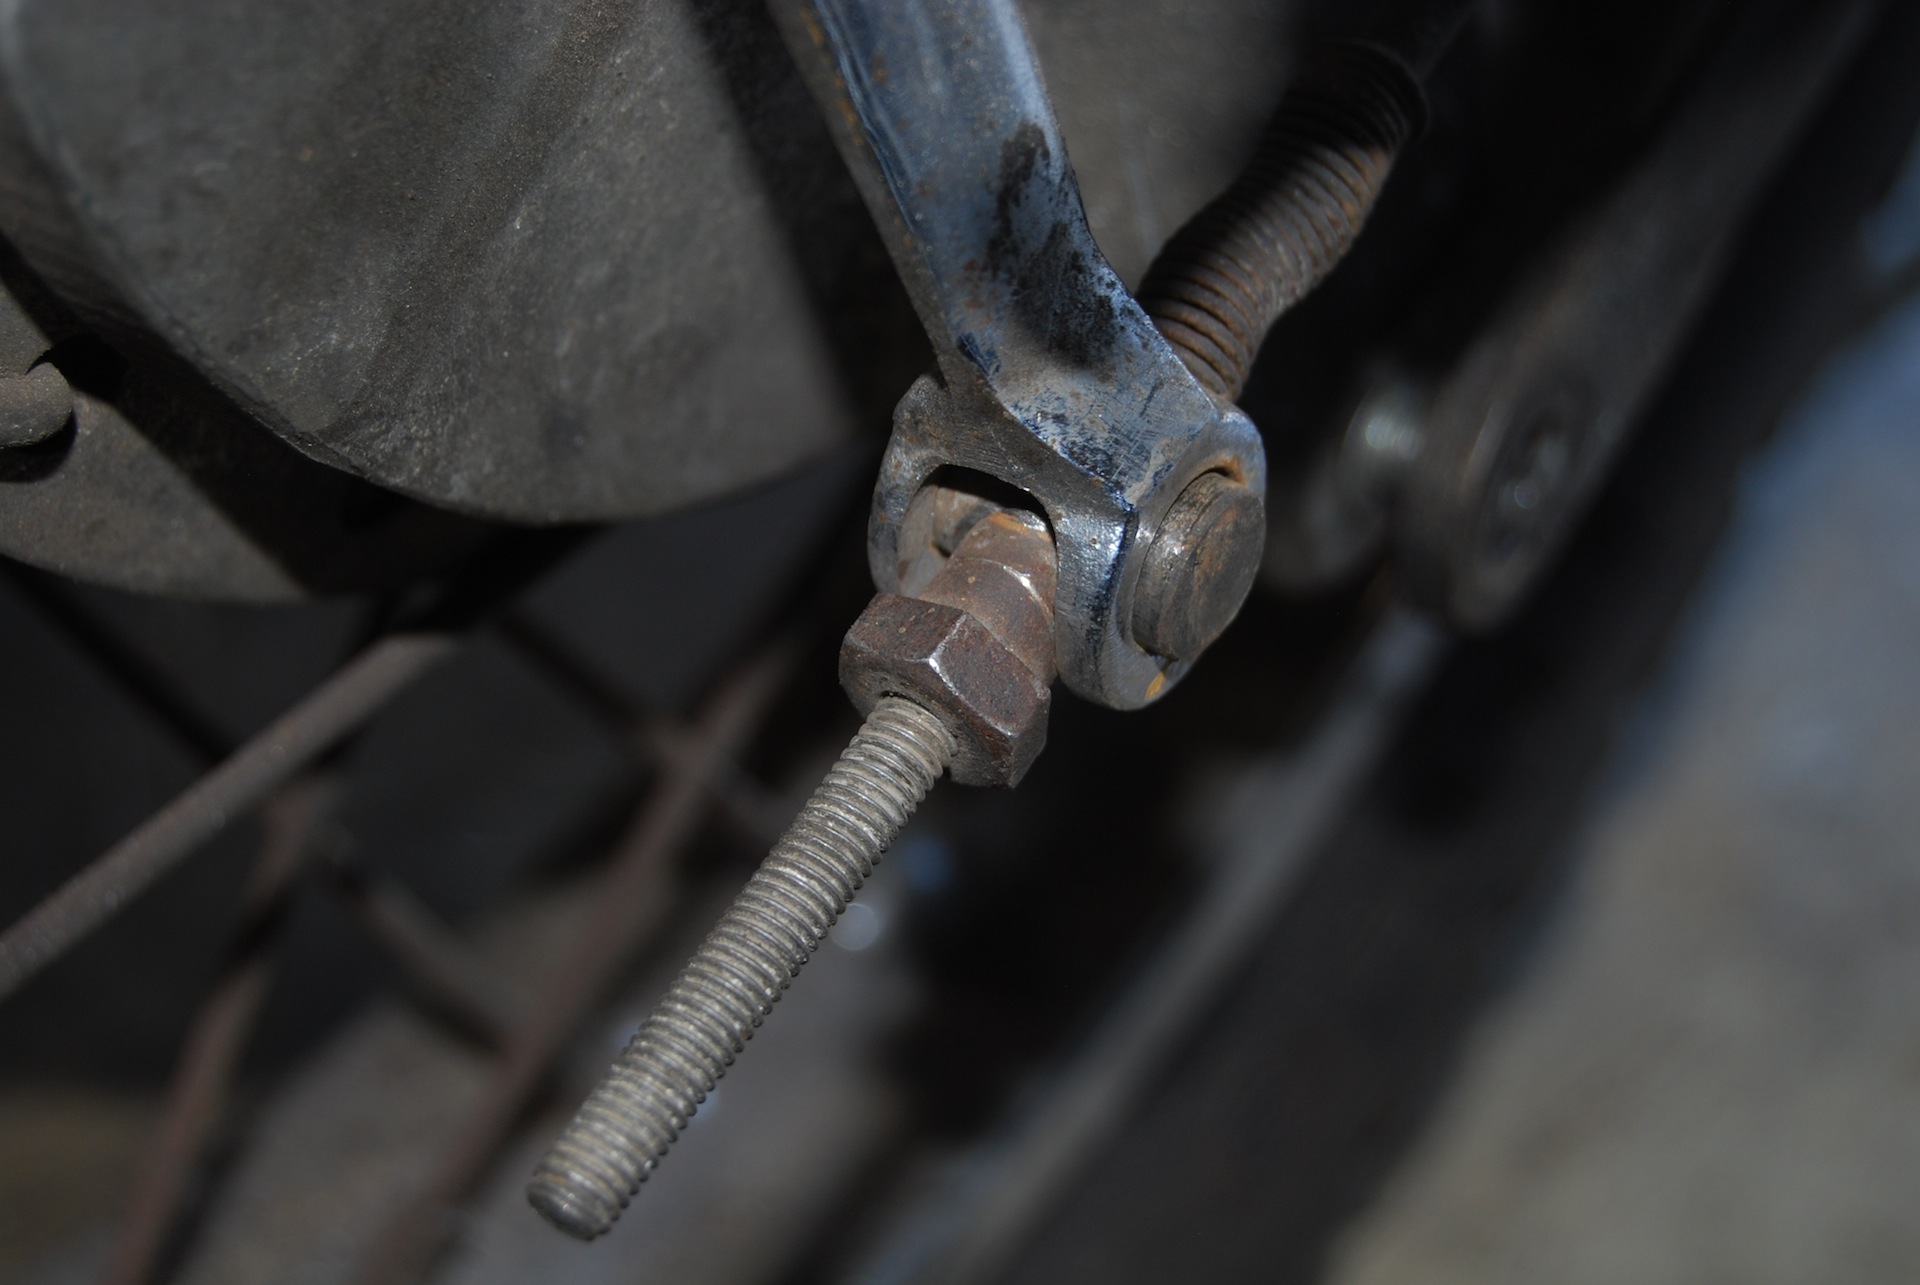
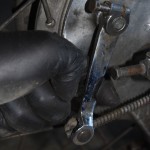
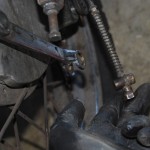
- I believe this is the torque arm, connected via nut and split pin
-
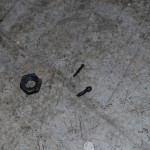
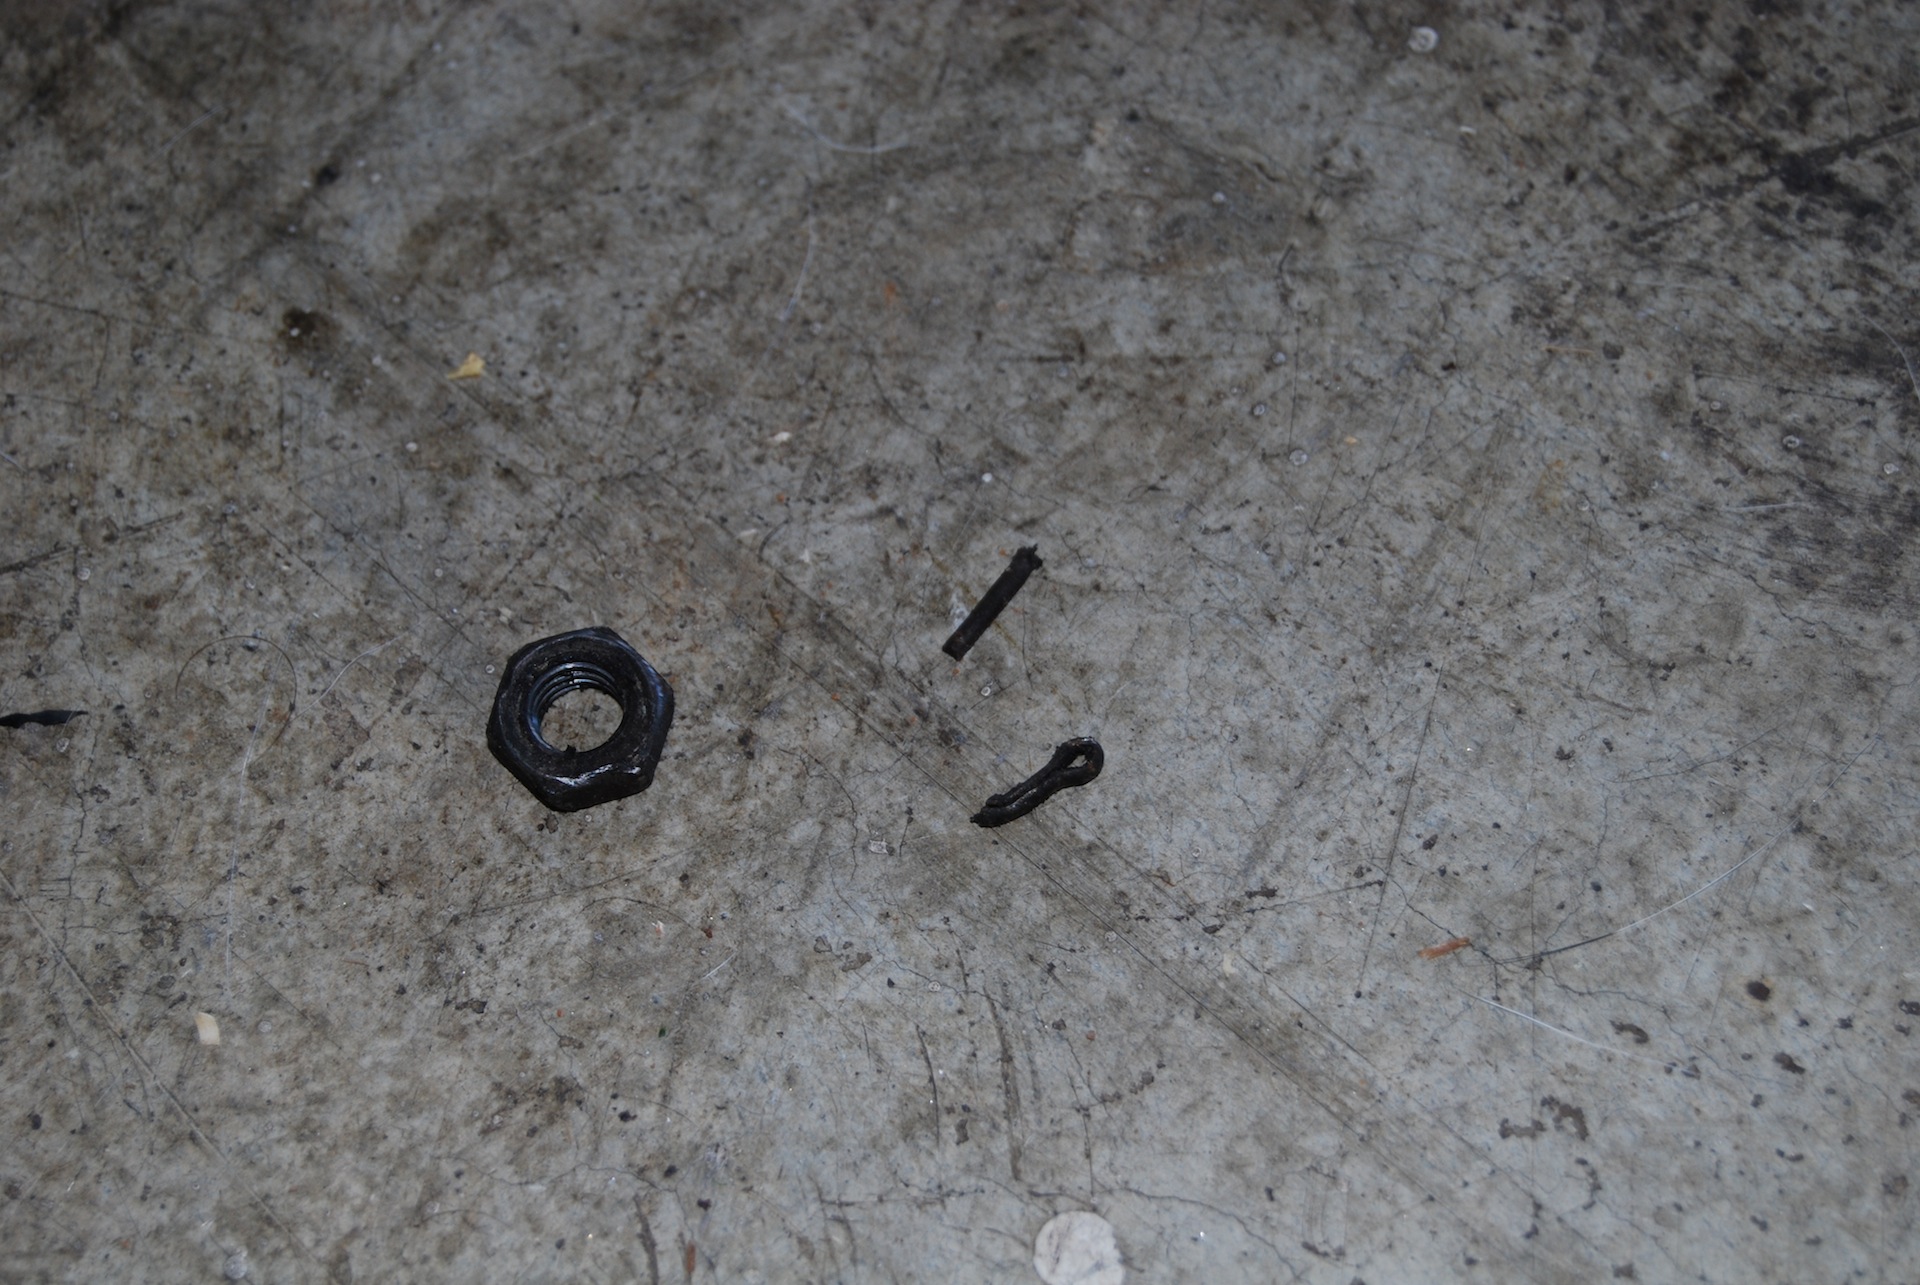
- I broke the split pin in the process of removing it, oops.
-
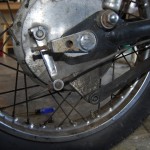
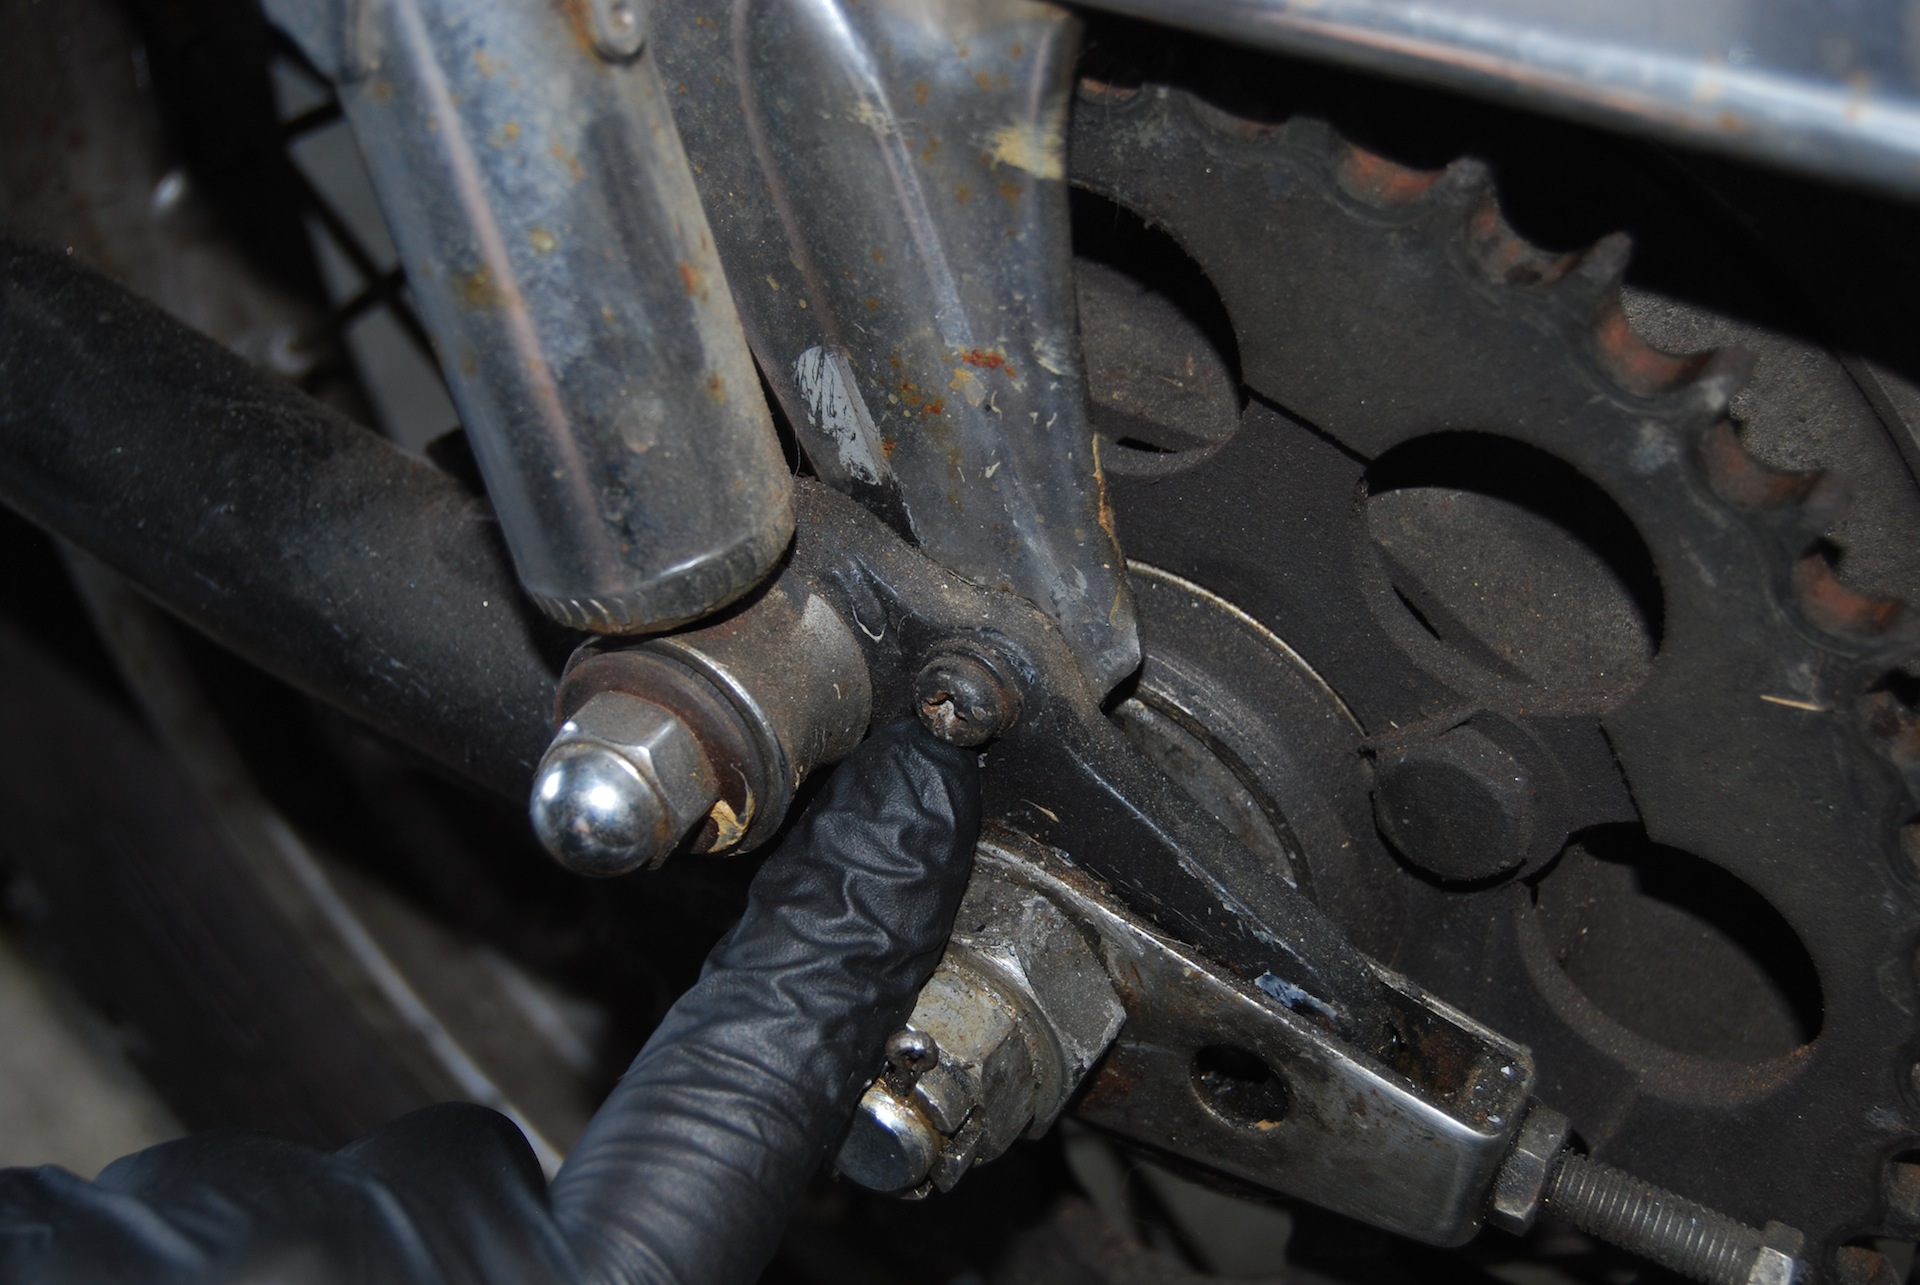
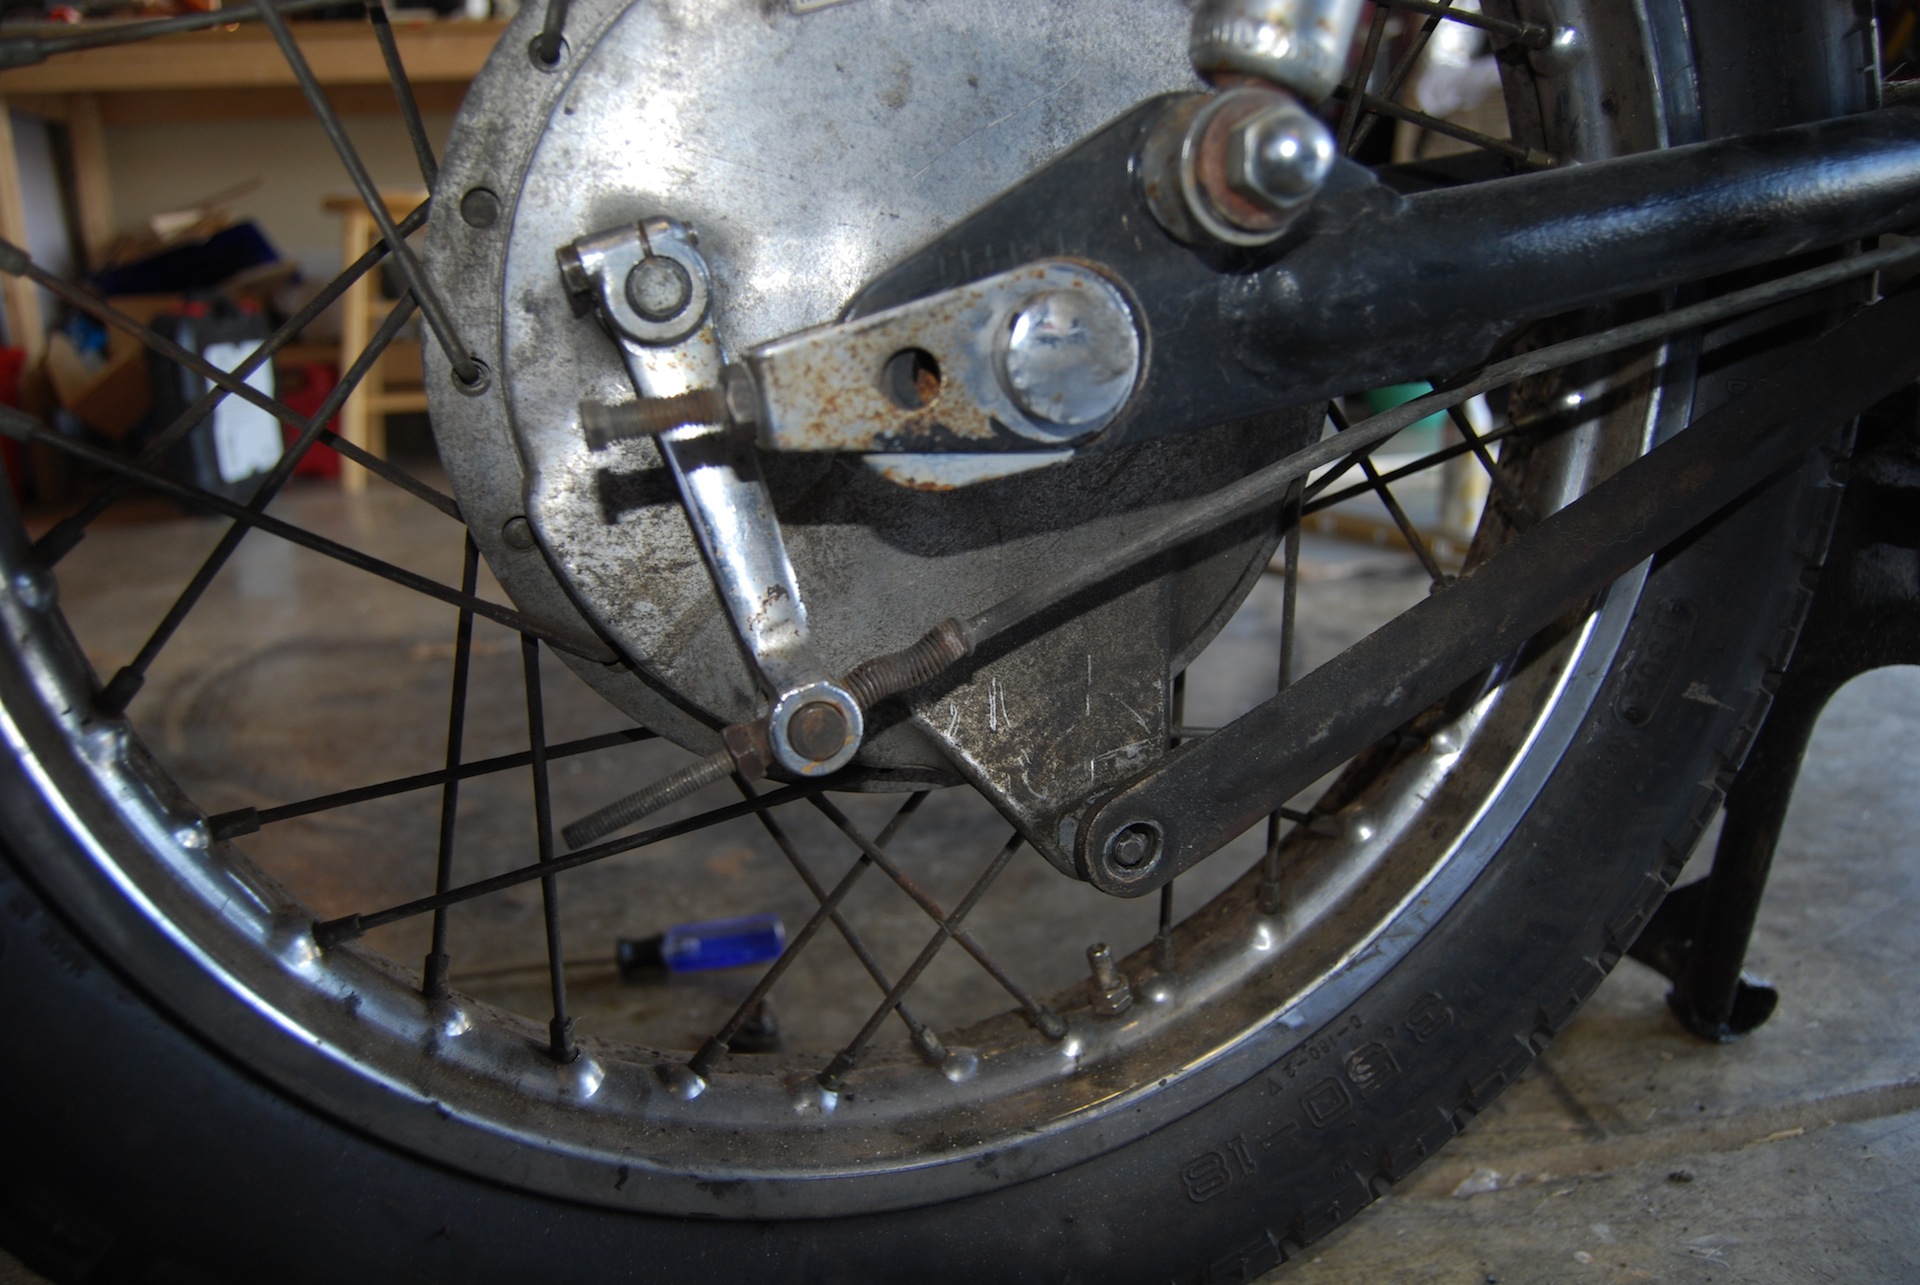
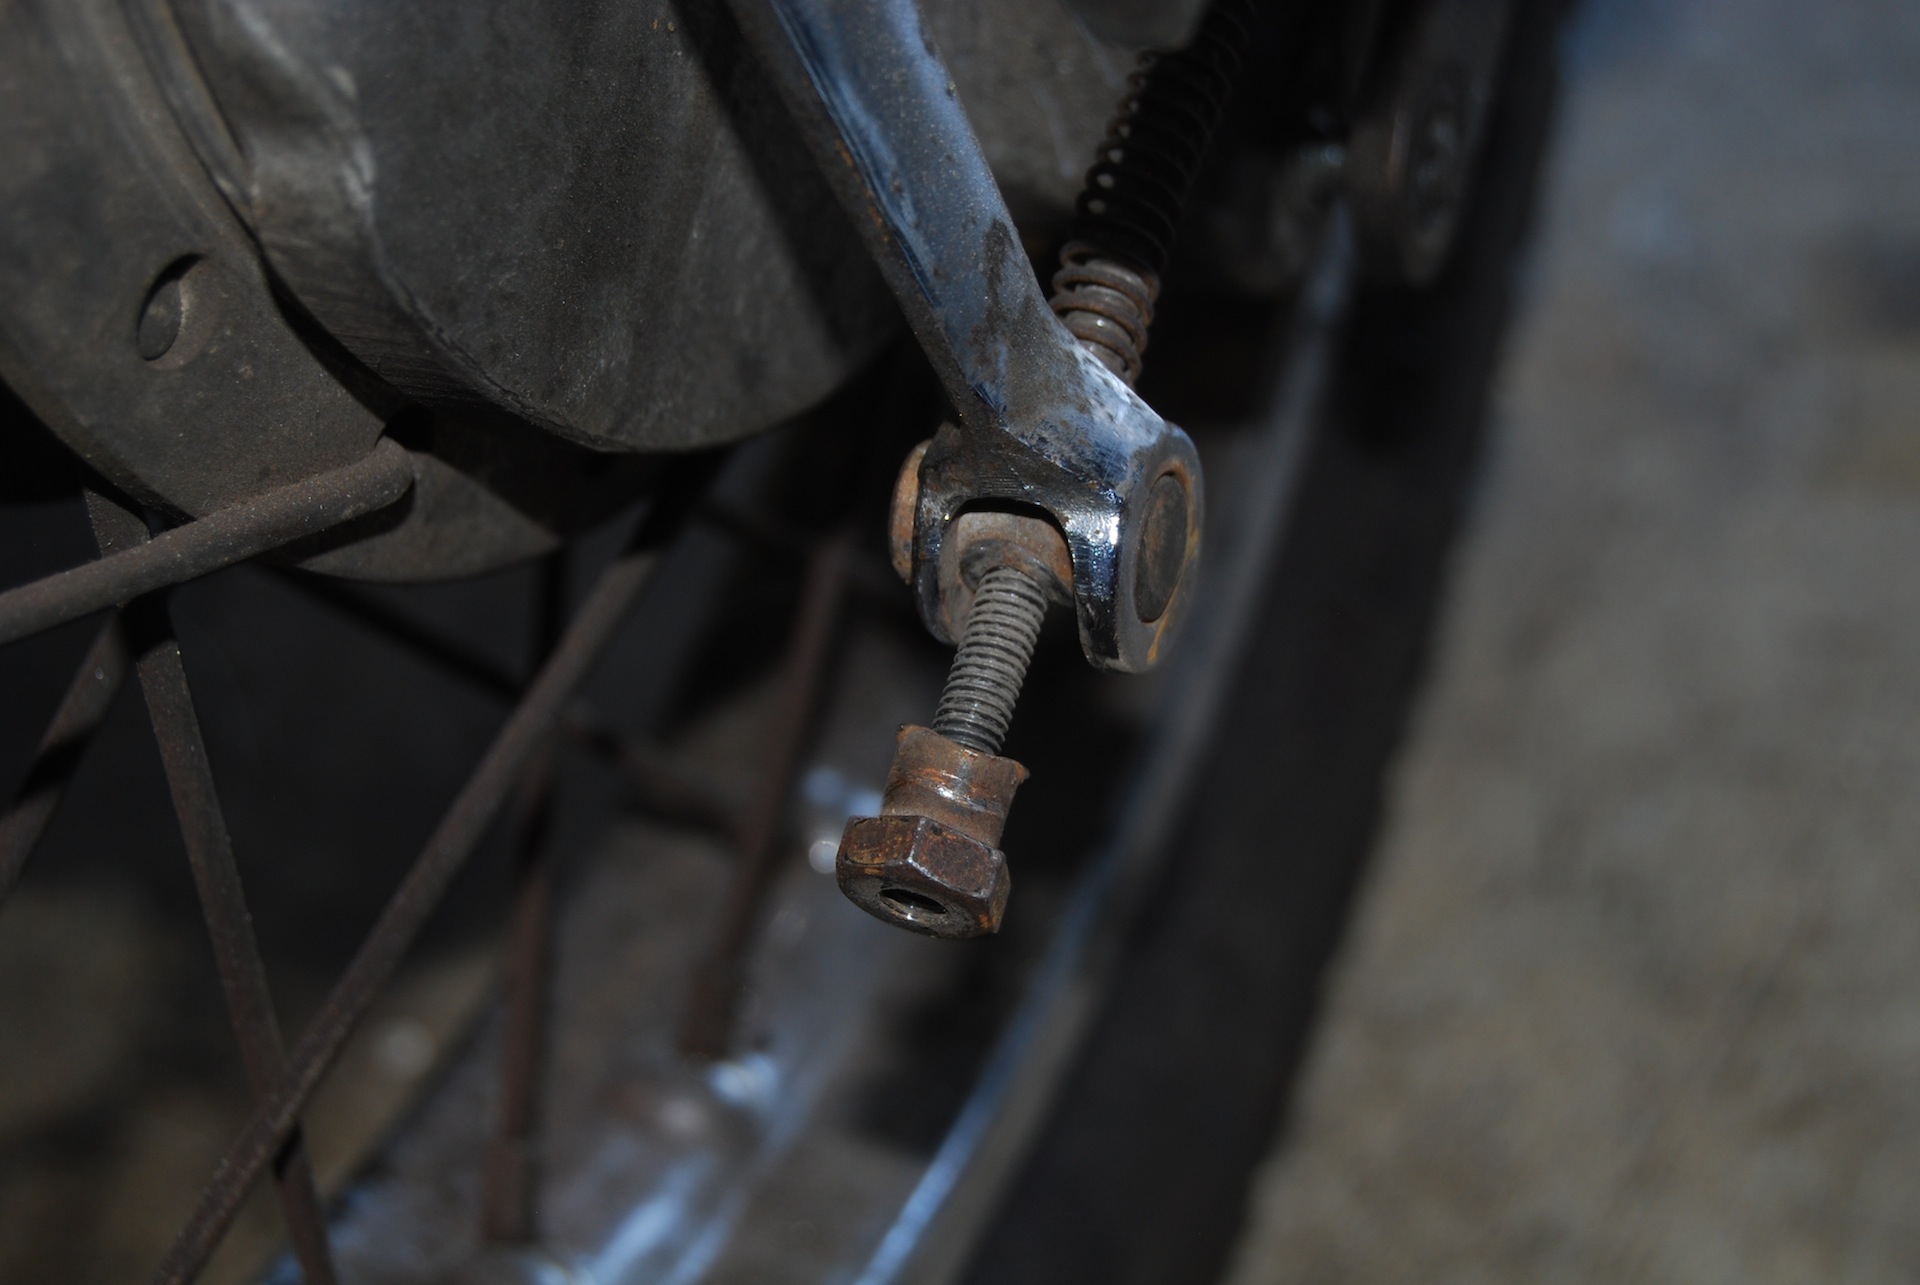
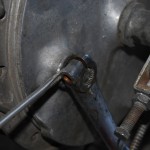
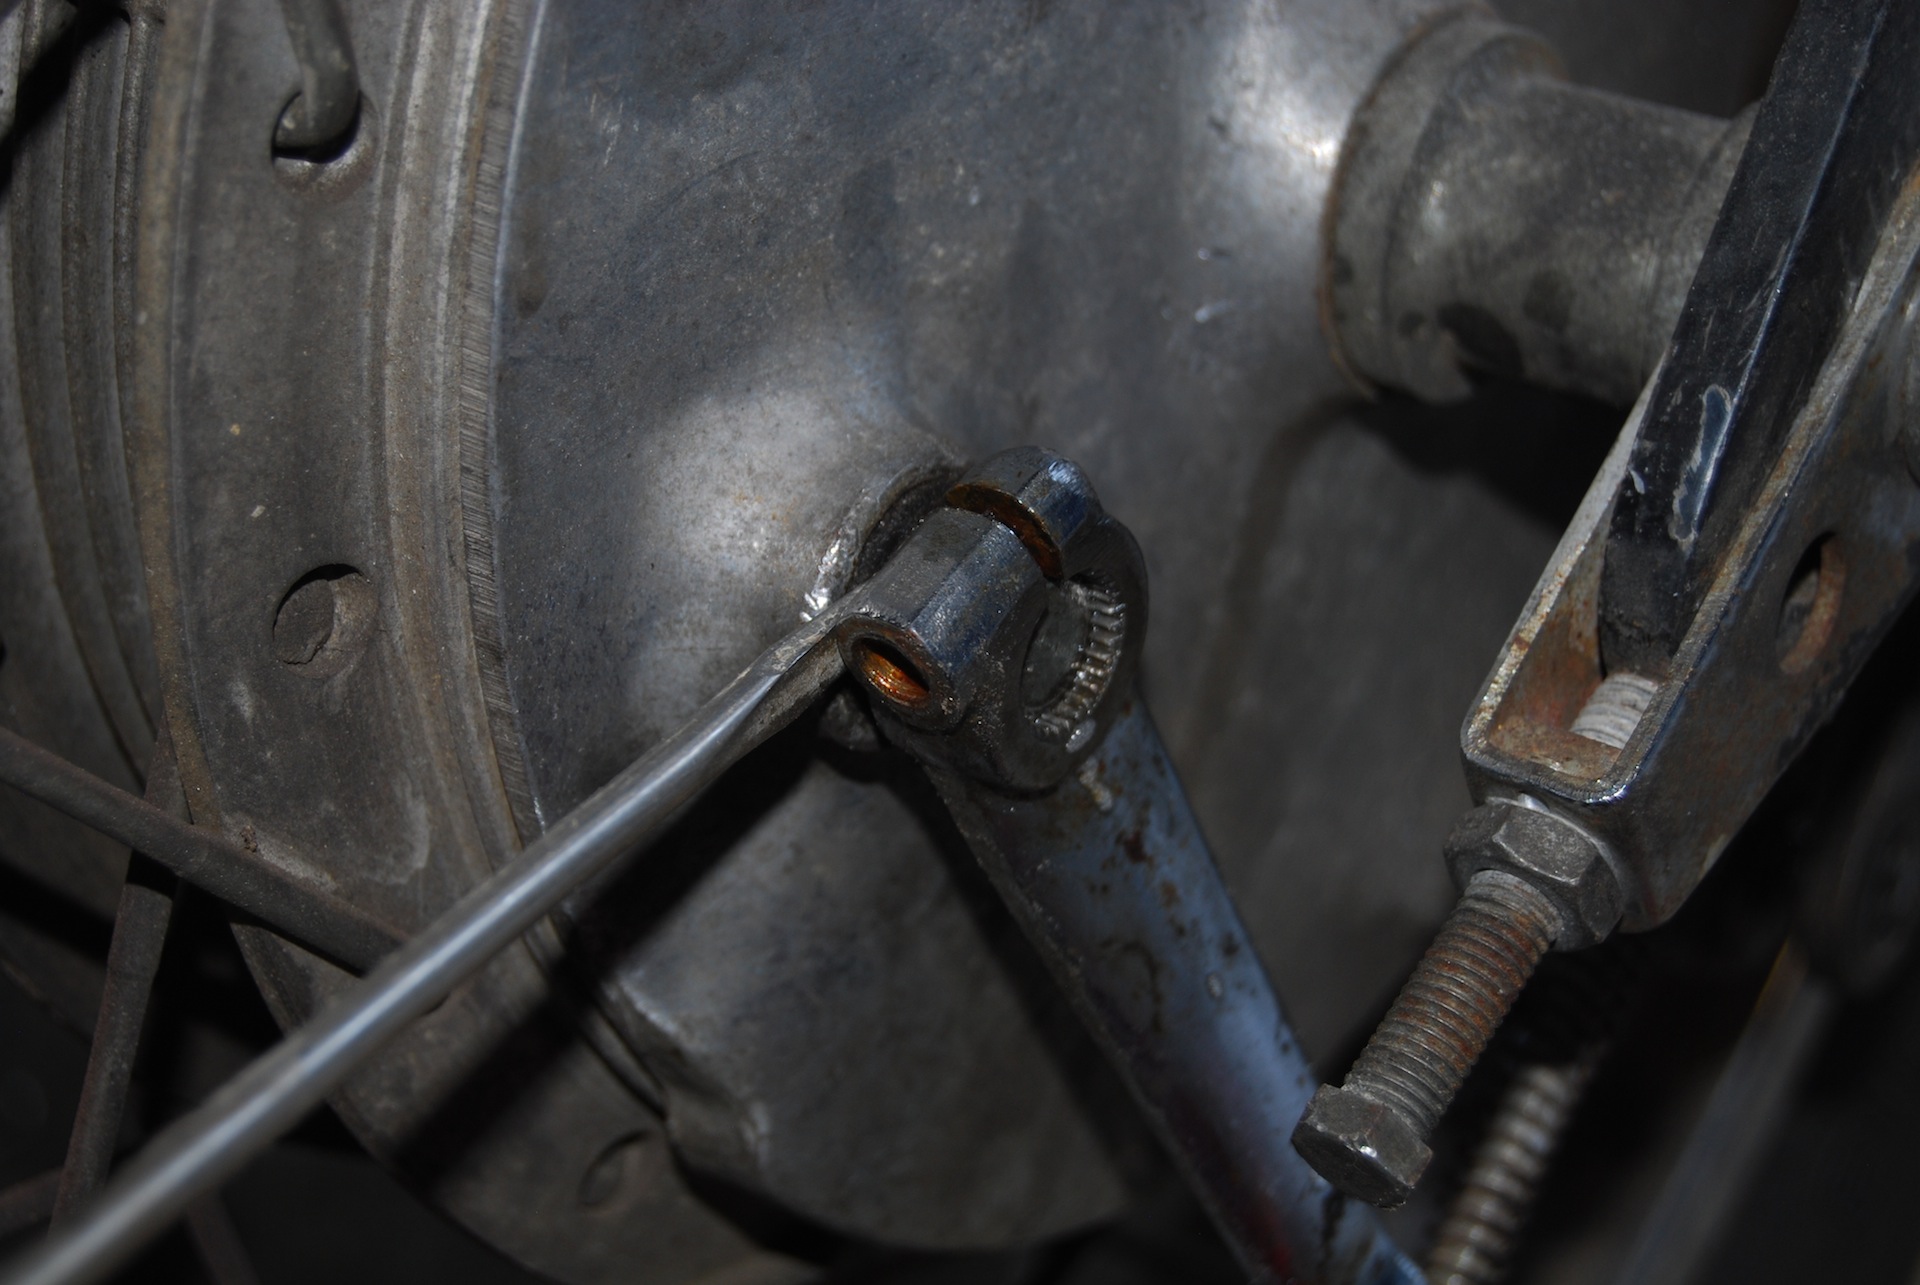
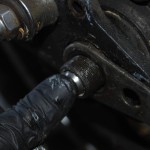
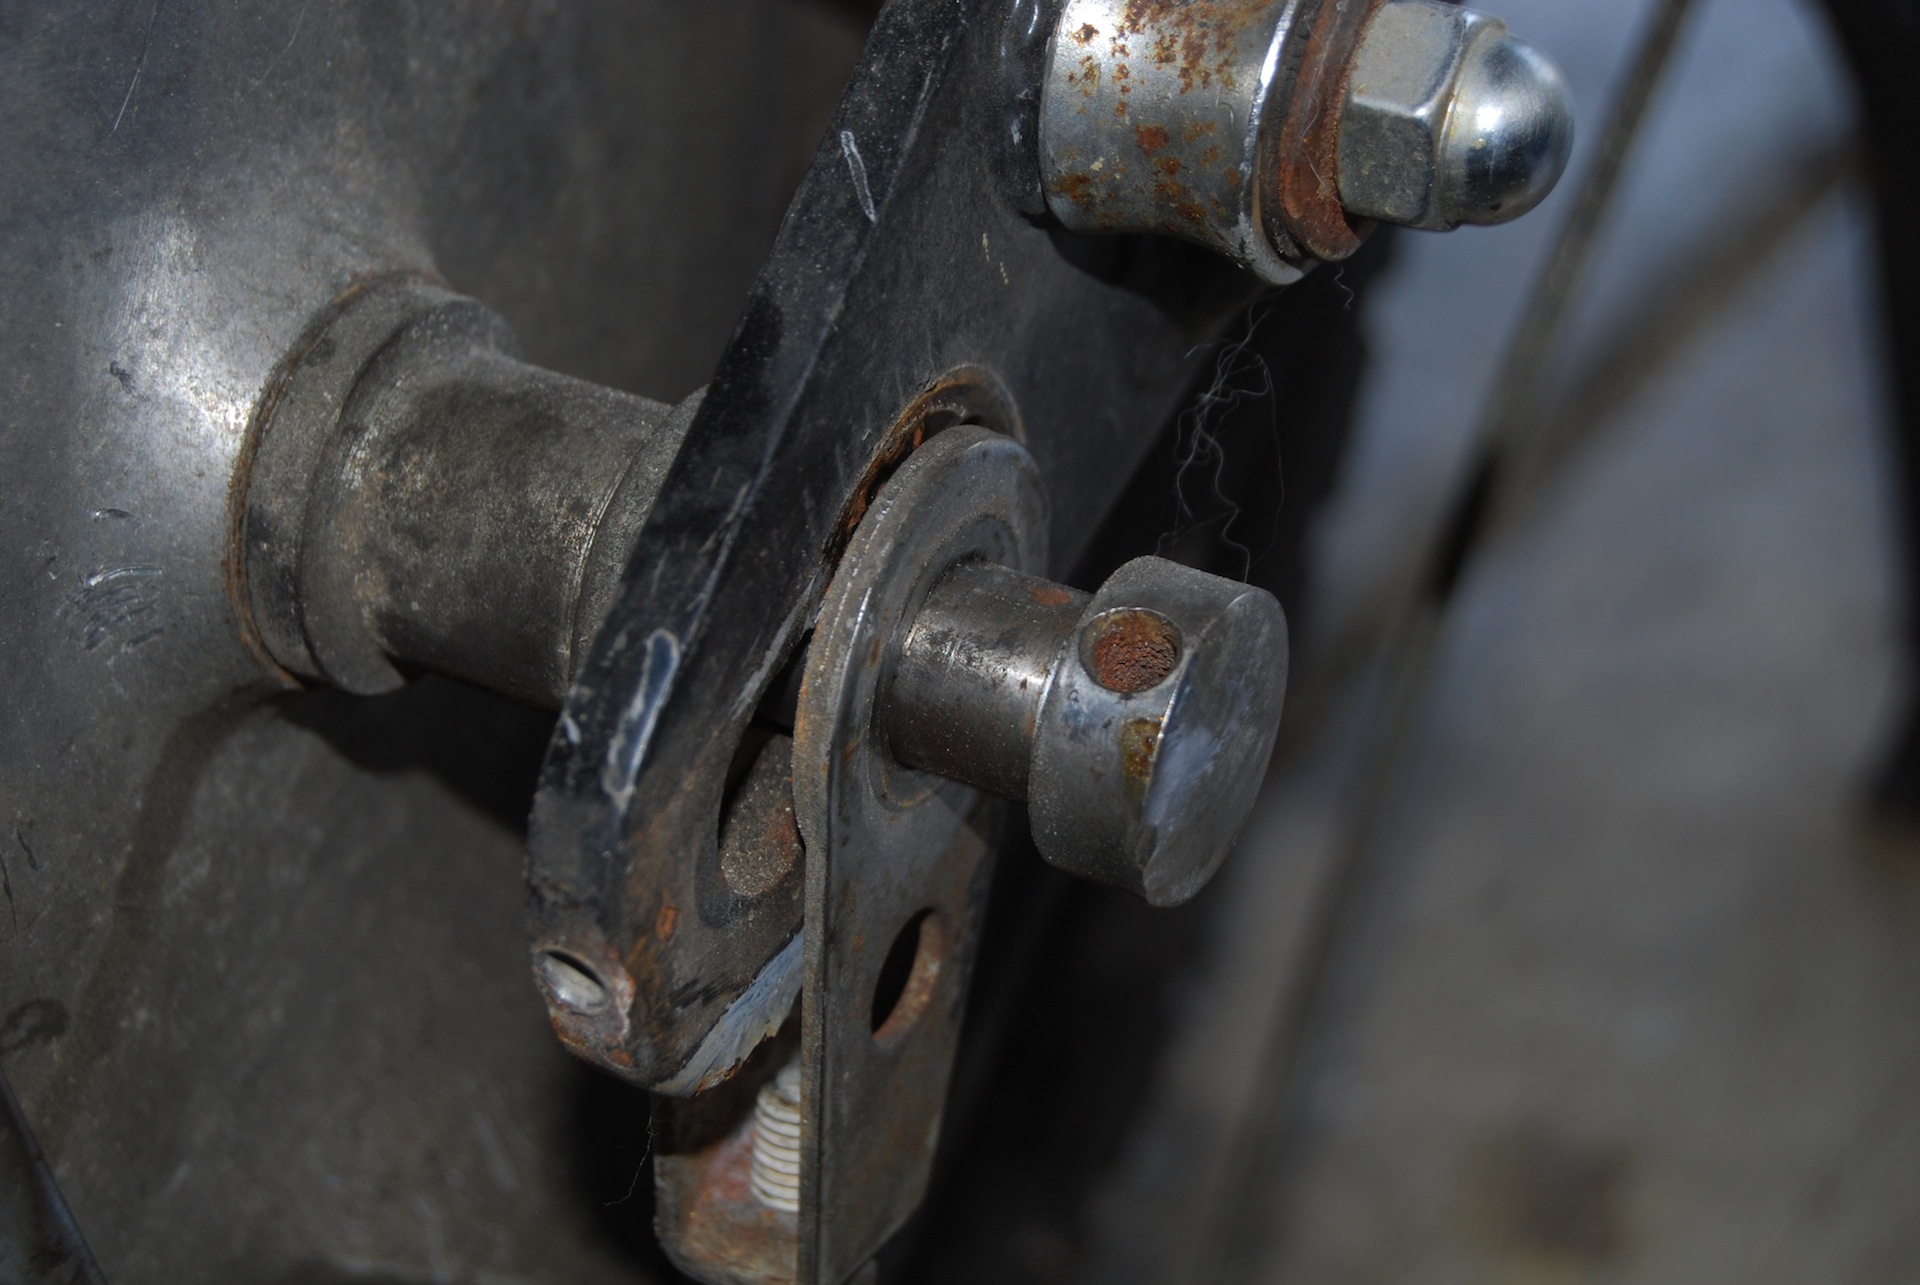
- Another angle of the rear brake. The operating arm is the silver one, and the tension(?) arm intersects the operating arm at the bottom.
-
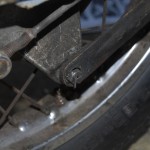
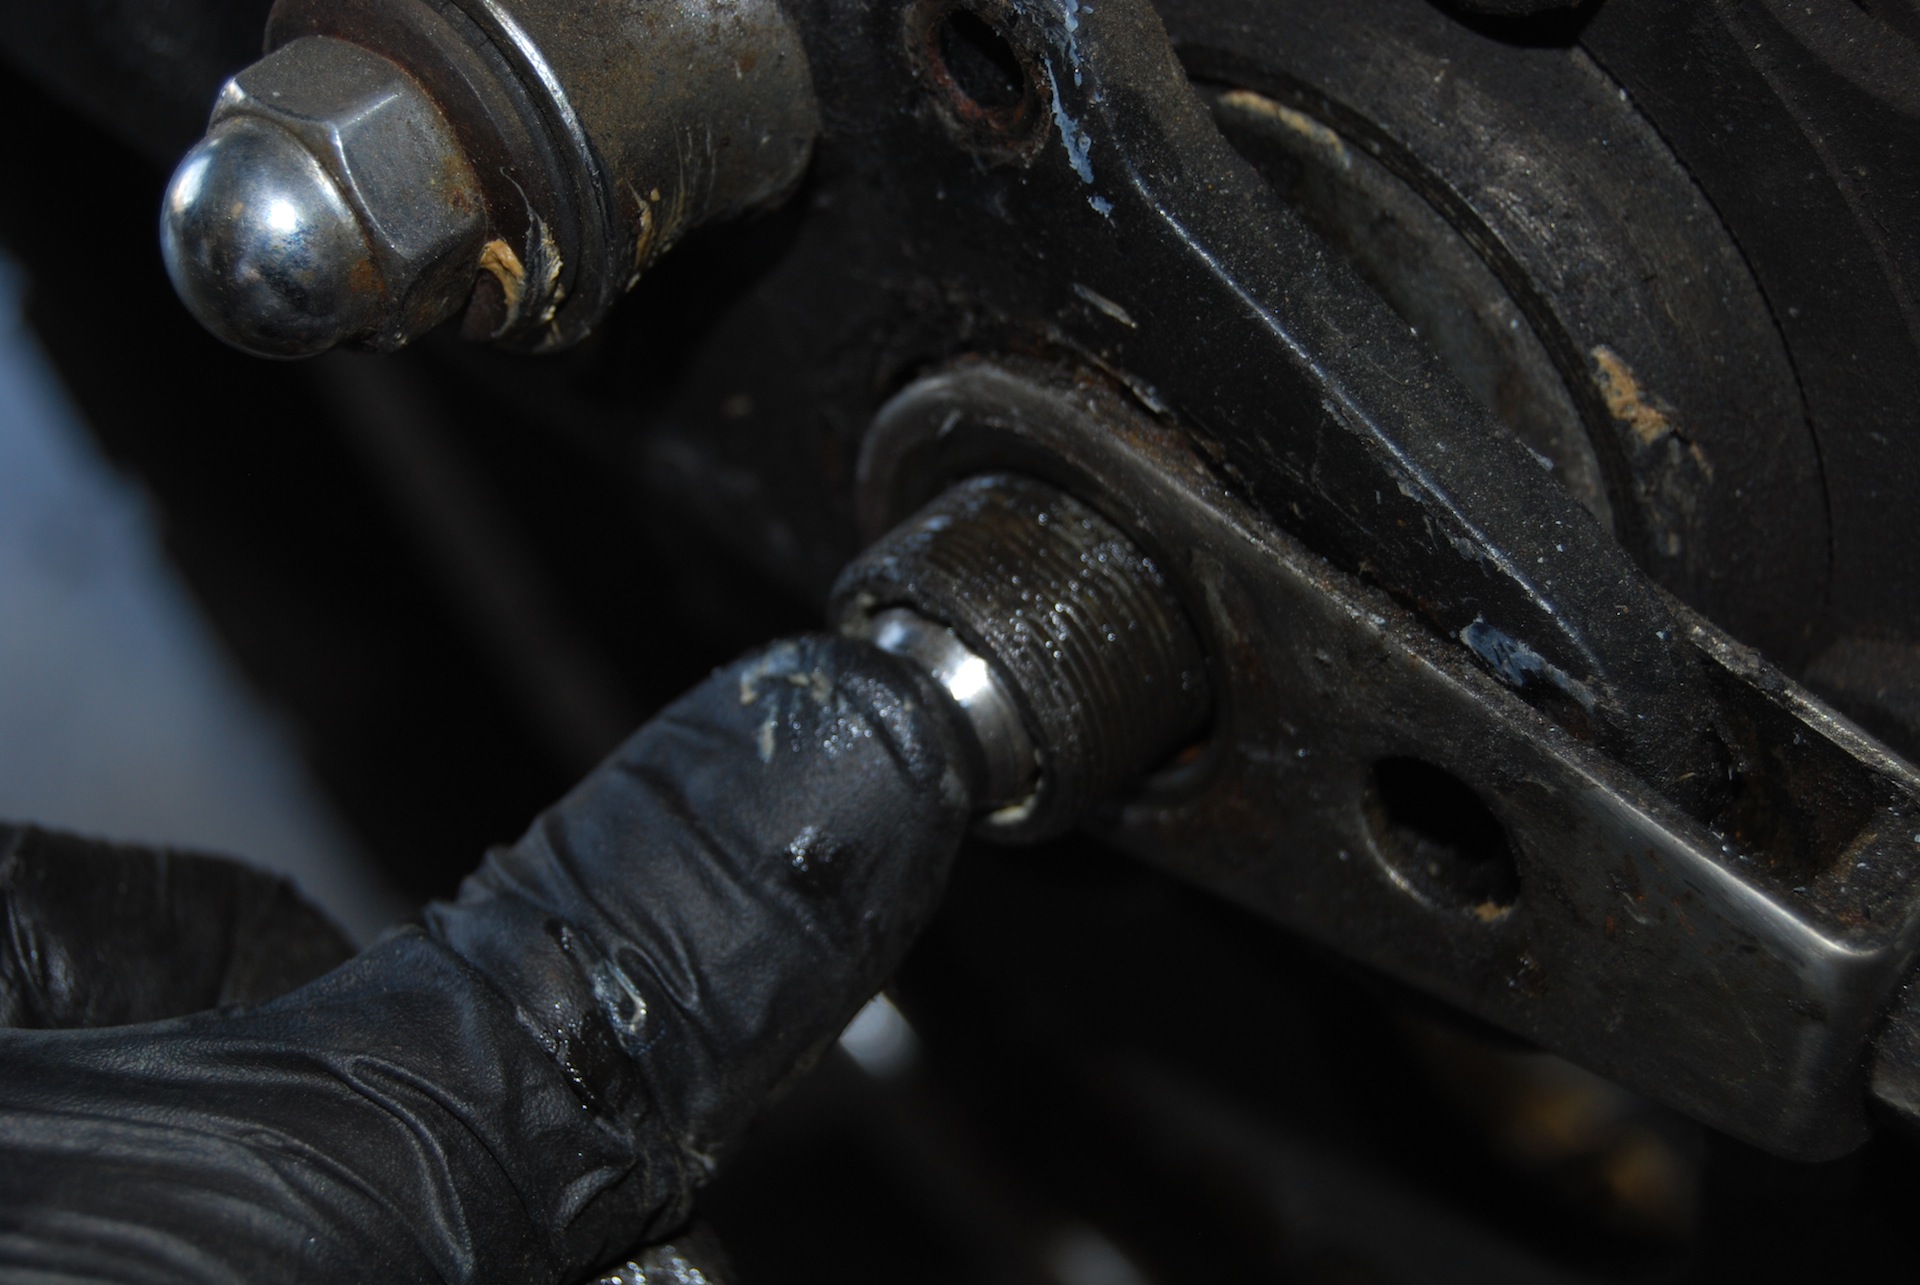
- Here’s where the tension and operating arms meet.
-
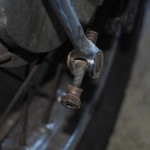
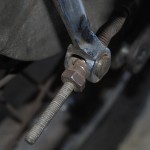
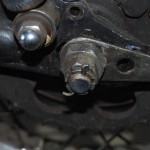
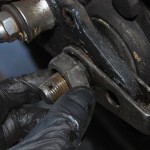
- I don’t see this part in the manual, so I’m dubbing it the flanged nut. Here it is nearly removed from the tension arm.
-
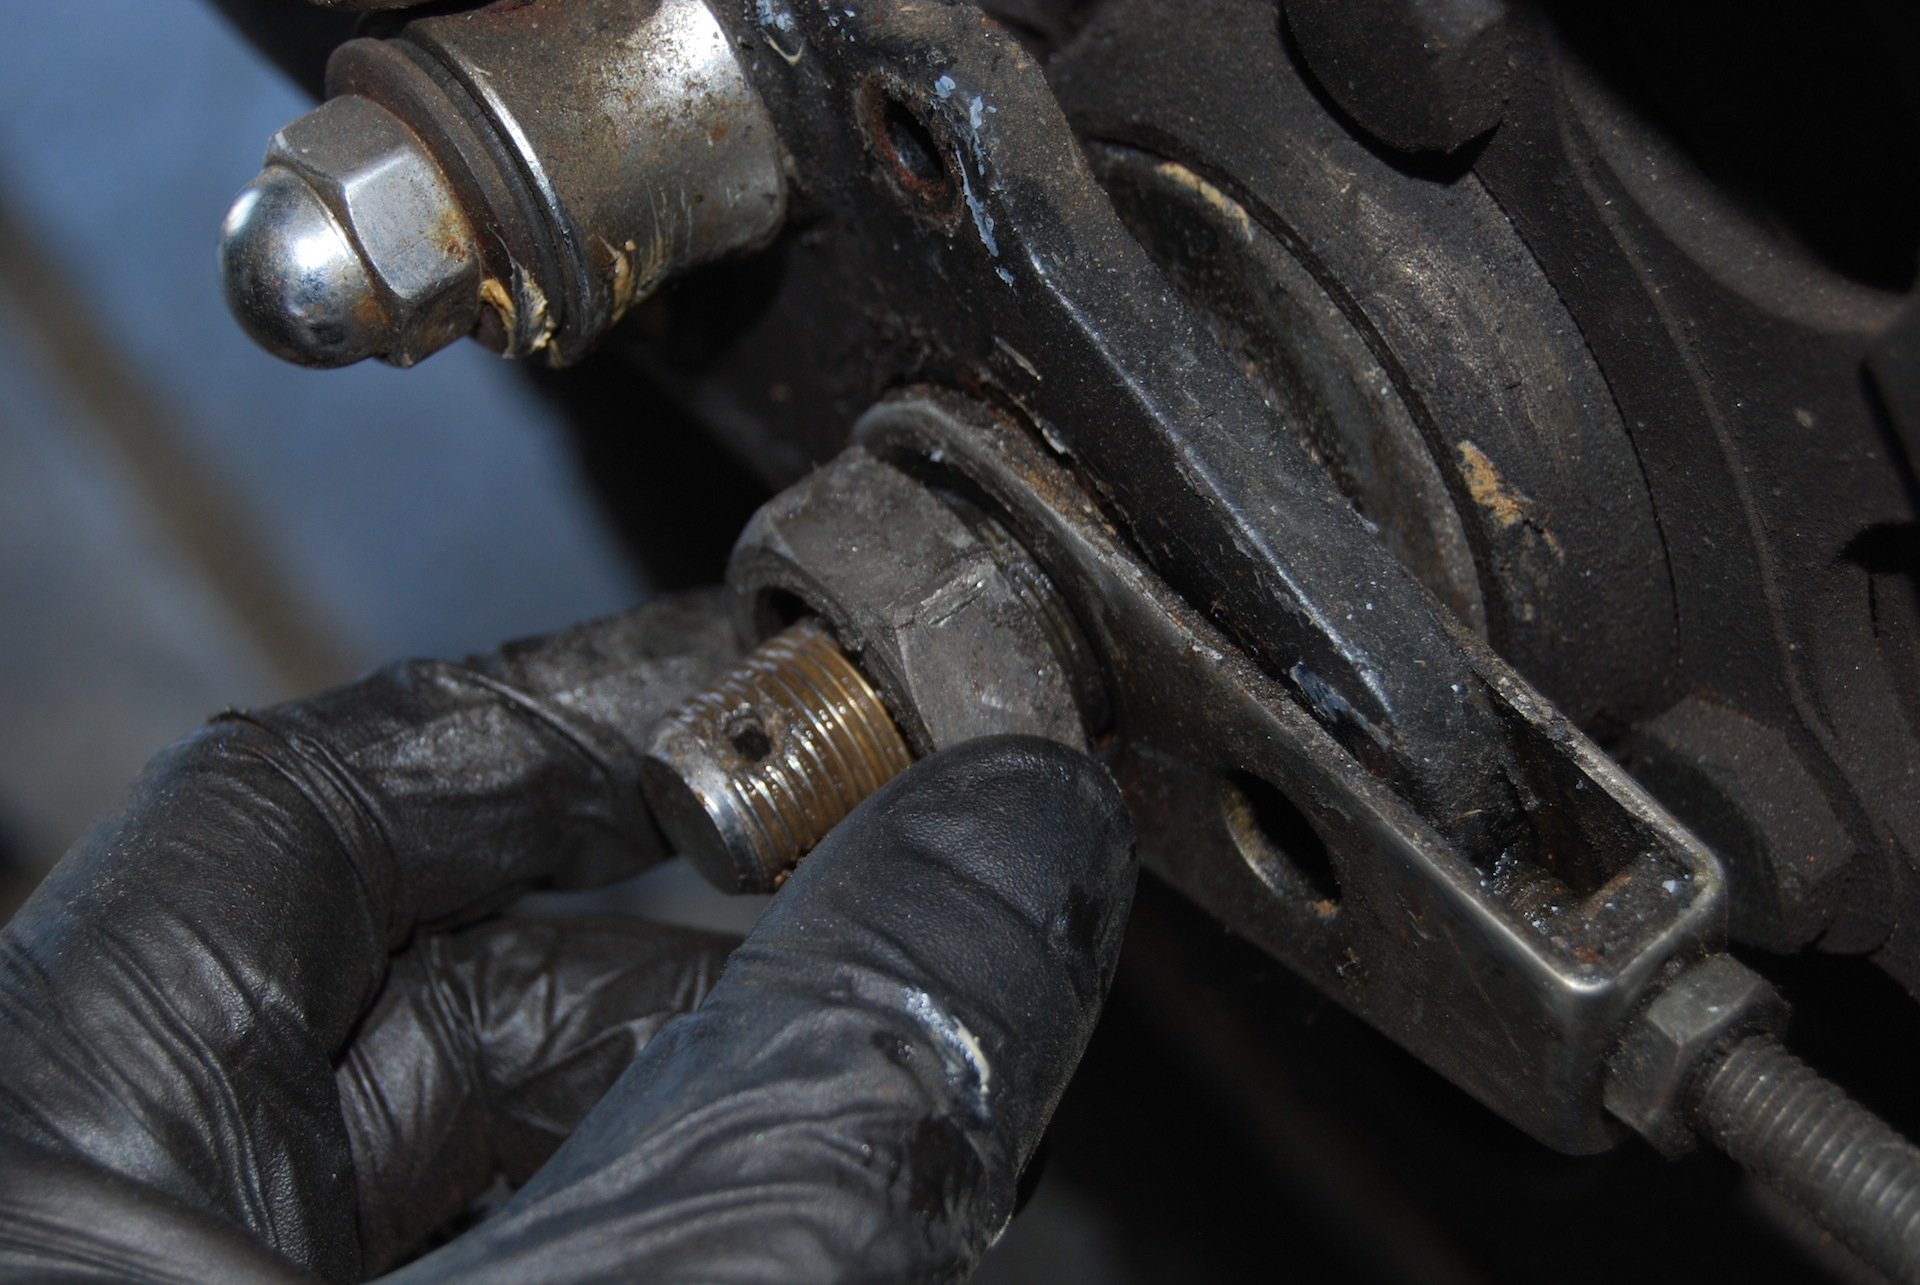
- I can’t quite get the operating arm free from the tension rod.

-
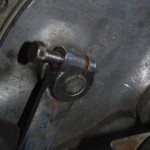
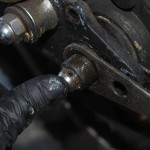
- Loosen the operating arm pinch bolt…

-
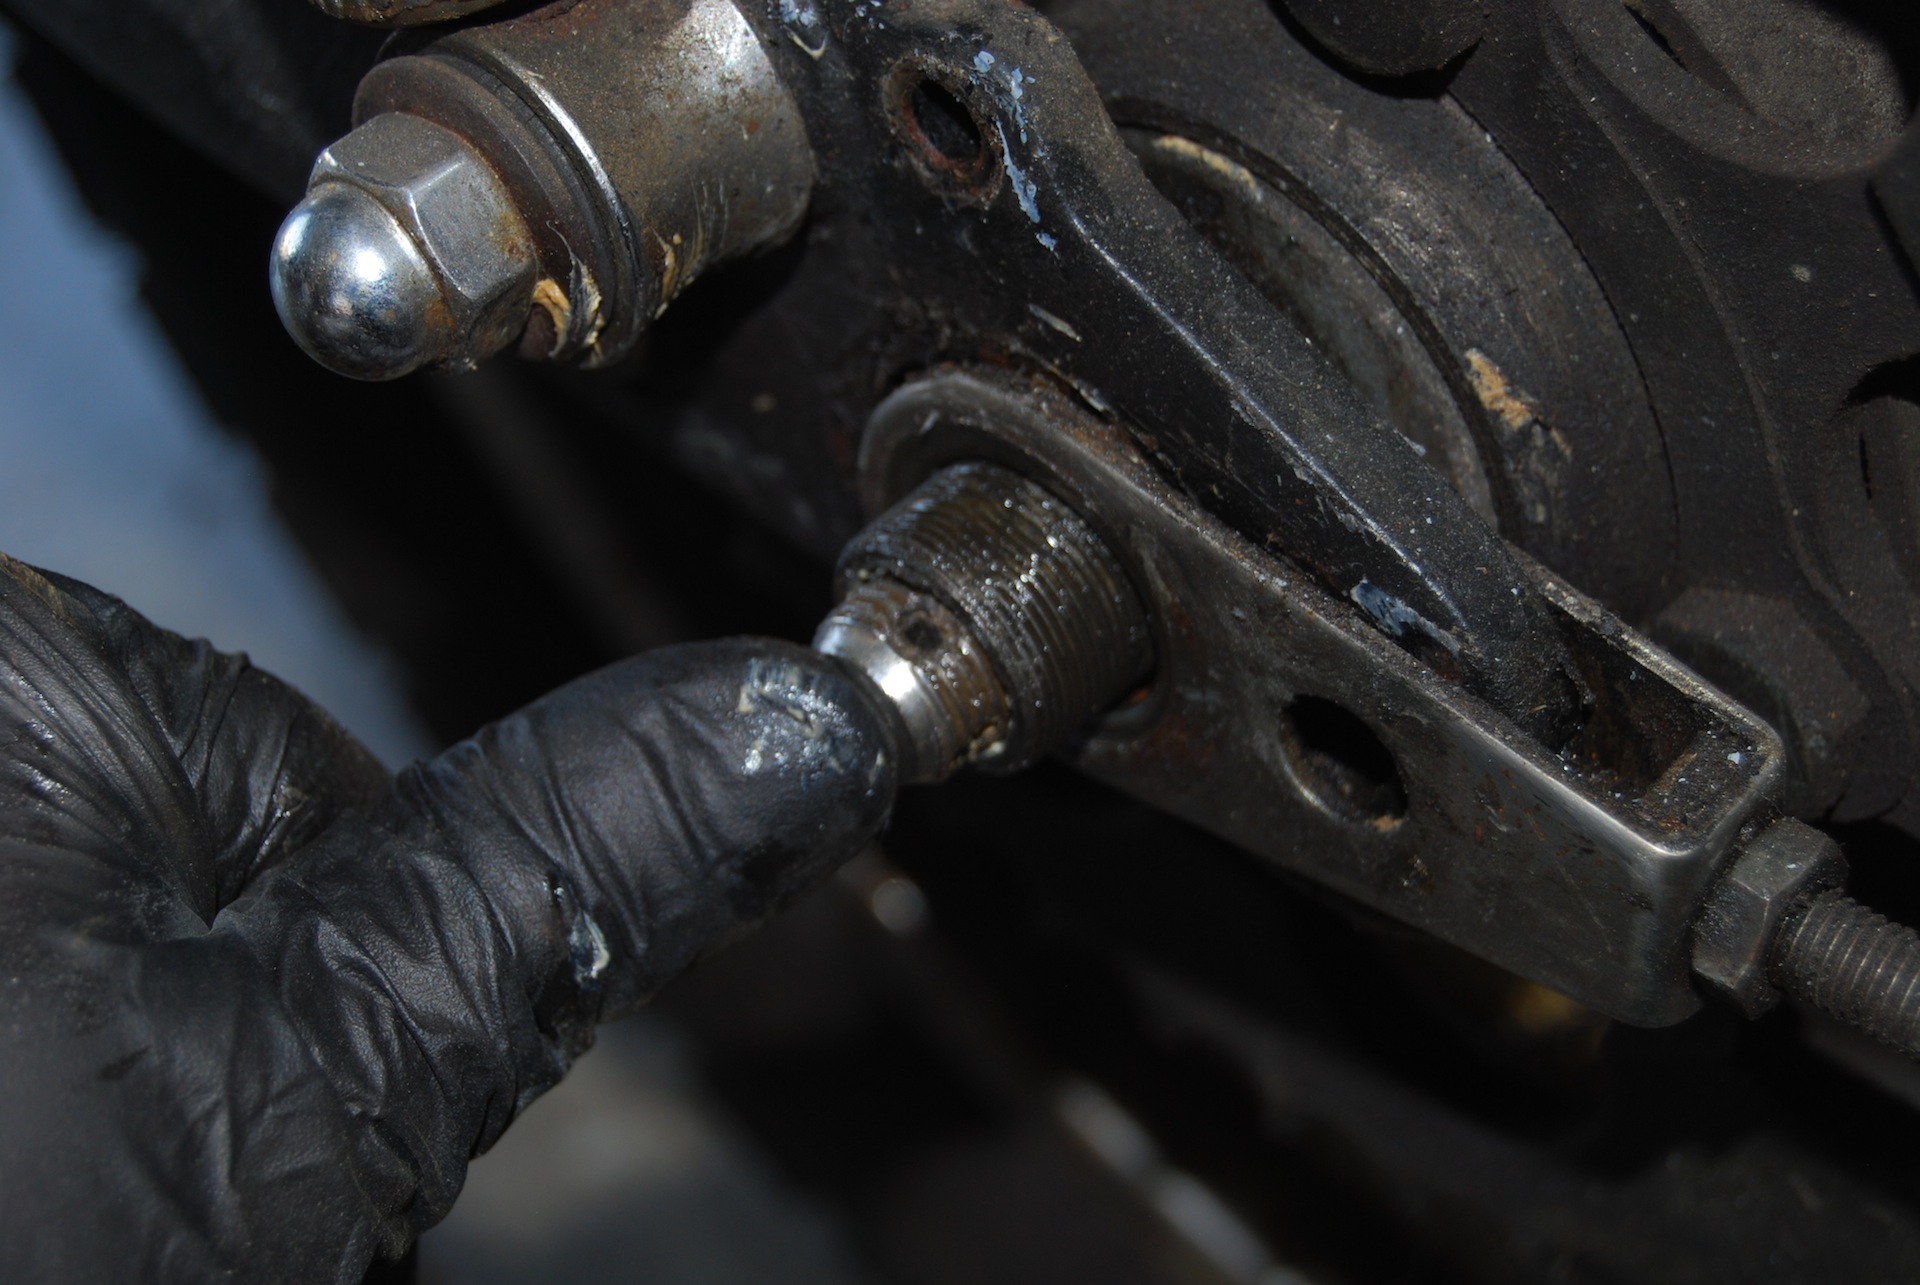
- …allowing the operating arm to swing freely.
-
- Now the two arms are separated.

In order to remove anything else off the back-end, I had to go ahead and remove the rear wheel. And to do that, I needed to detach the brake assembly from the frame. First step was to detach the rear brake torque arm, which was attached via a nut and split pin (which I broke, oops). Next I tried to remove the tension arm (not sure if that’s what it’s really called – the end looks like a piece of all-thread with a spring on it). I loosened the little flanged nut on the end of the arm but wasn’t quite able to get the brake operating arm (big silver piece) to pull free from the tension arm. This was solved by loosening the pinch bolt on the operating arm, allowing it to spin freely and fall away from the tension arm. Now the brake is disconnected from the frame.
-
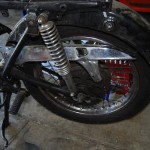
- Here’s the rear wheel from the left side.

-
- First remove the split pin and the castellated wheel spindle nut.

-
- Also remove the large sprocket shaft nut
-
- You can now start to push the spindle from the left towards the right
-
- Keep pushing…
-
- Here’s the view from the right side as you push. Notice the Chain Adjuster (hanging down) and the black spool looking device (the wheel spindle spacer).
-
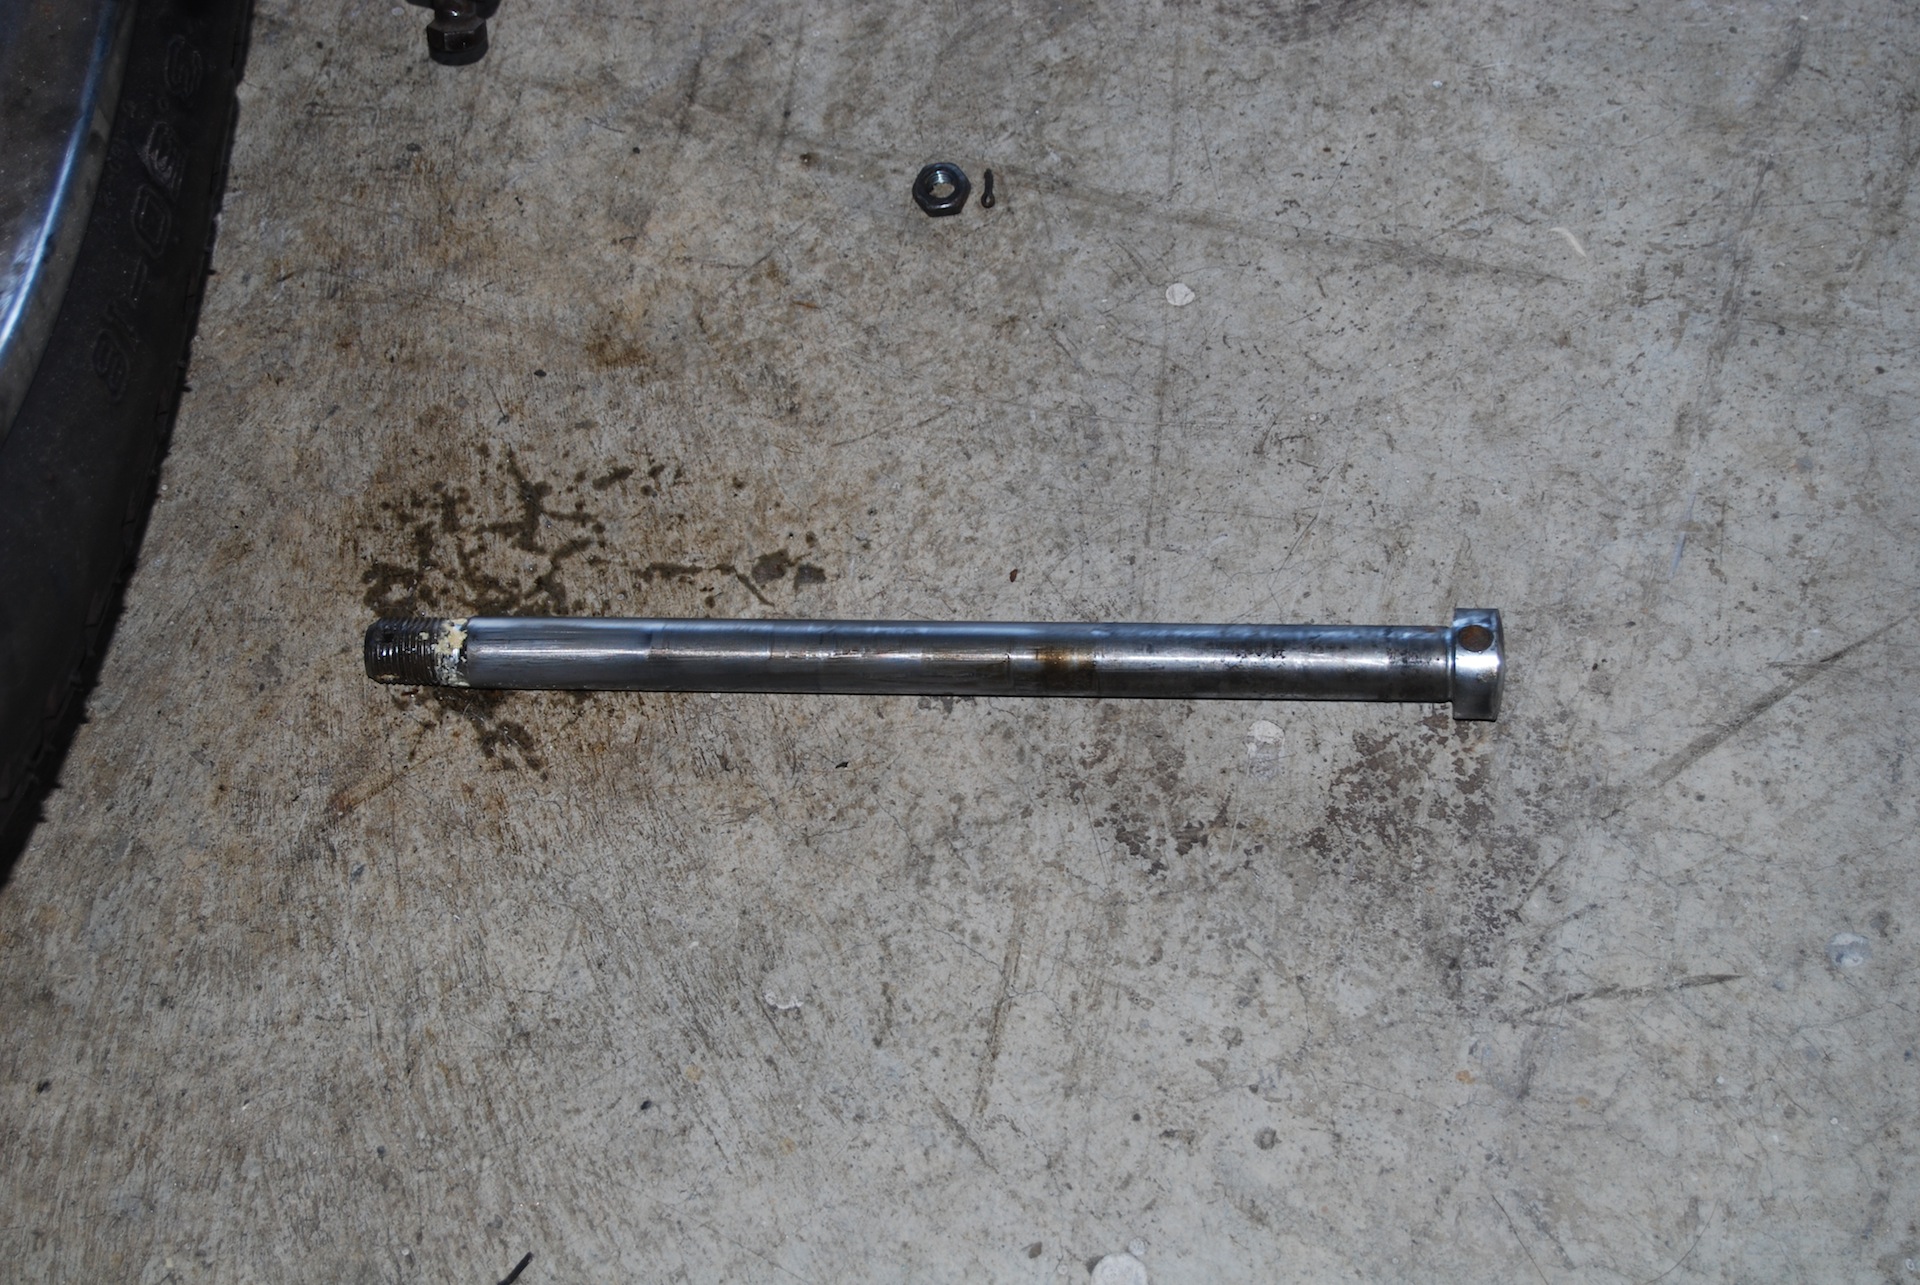
- Spindle removed
-
- Spindle HW installed for reference.
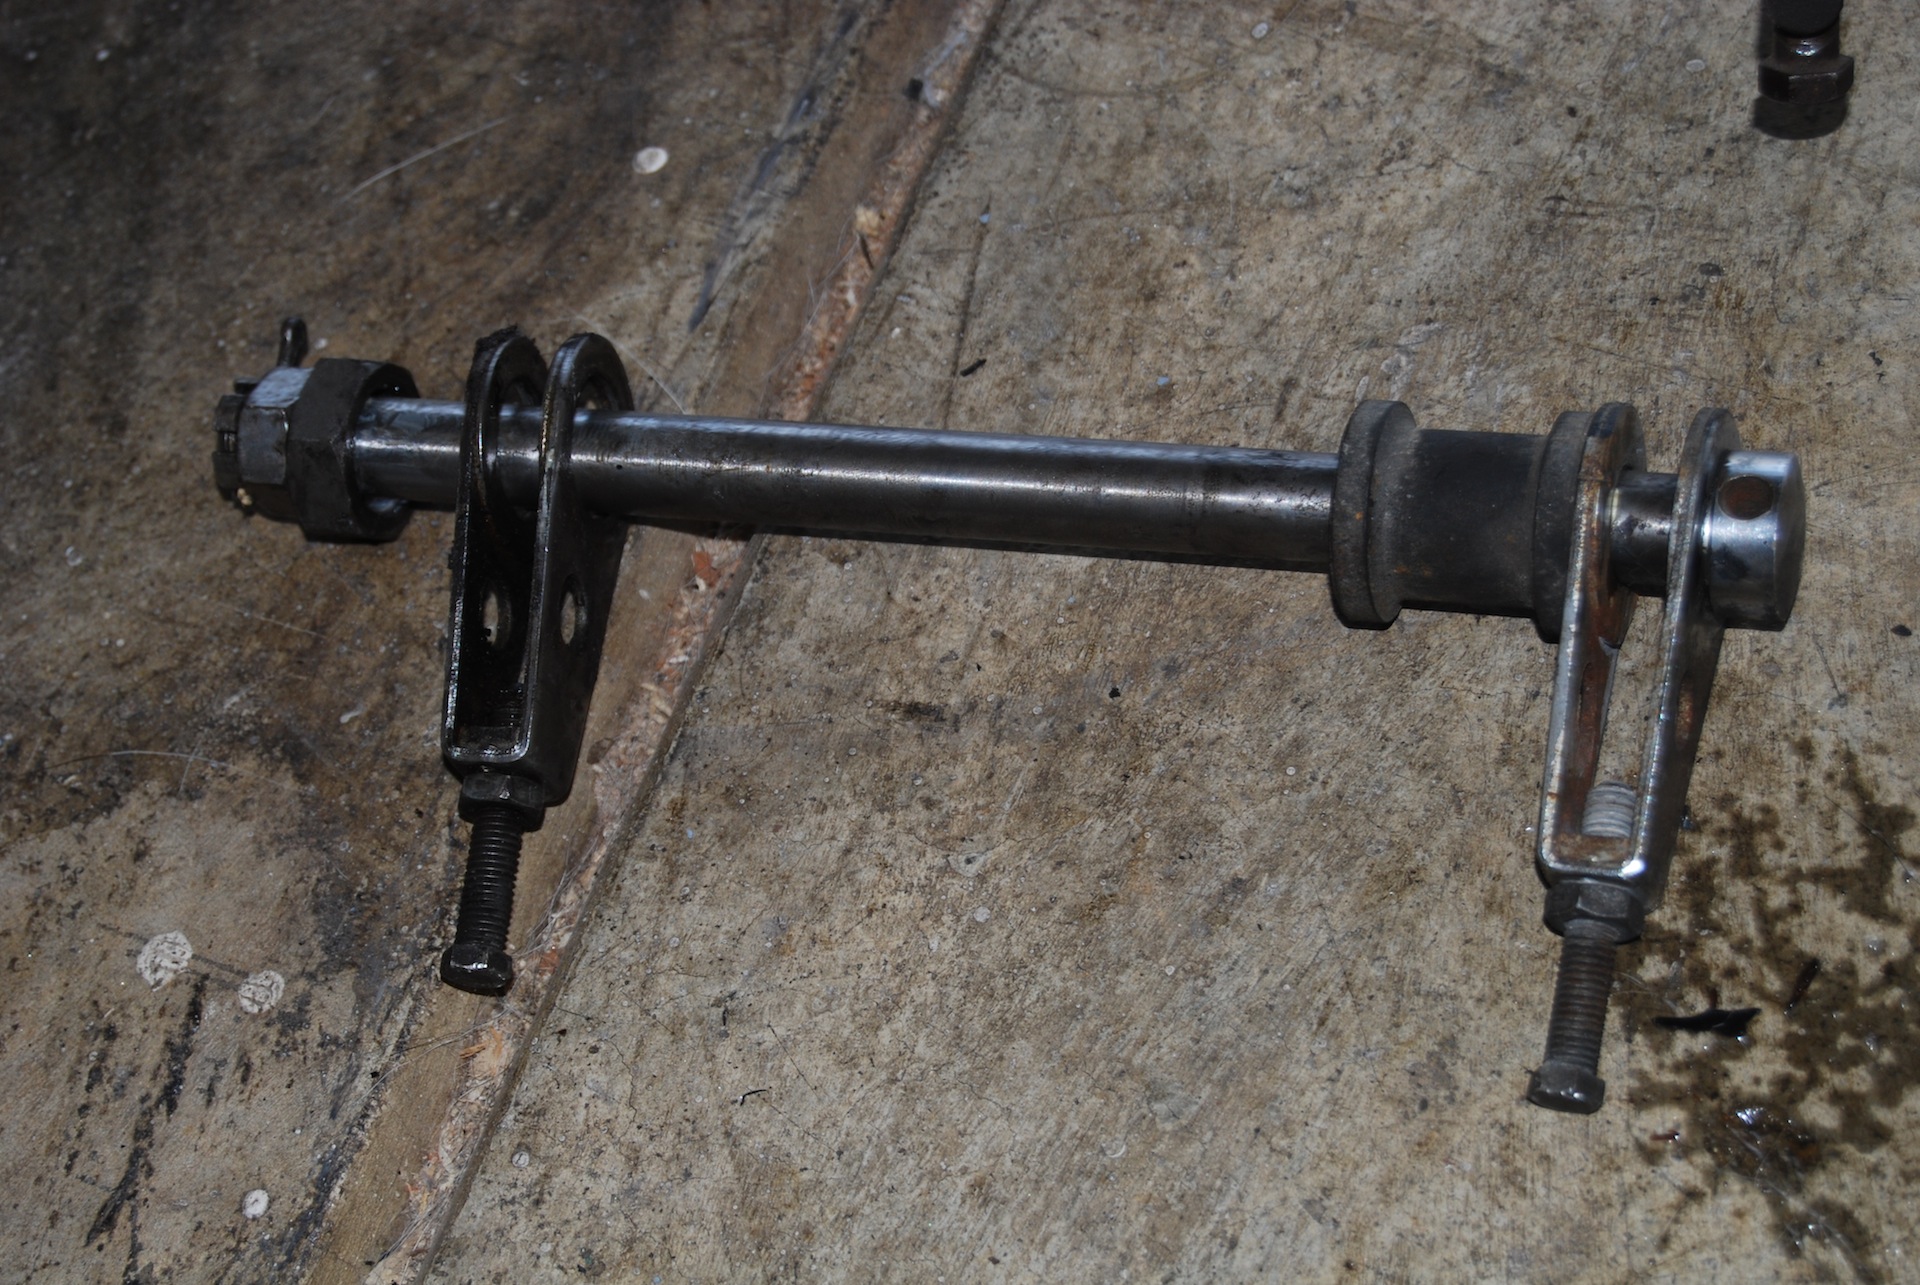
With the rear brake disconnected, now we can move on to the wheel itself. On the left side of the bike, remove the split pin and the castellated nut from the wheel spindle, along with the big sprocket shaft nut. Now you should be able to push the spindle through the wheel from left to right. On the right side there is a wheel spindle spacer and chain adjuster that will fall off once the spindle is removed.
Reference the photo above for how these parts would need to be re-installed.
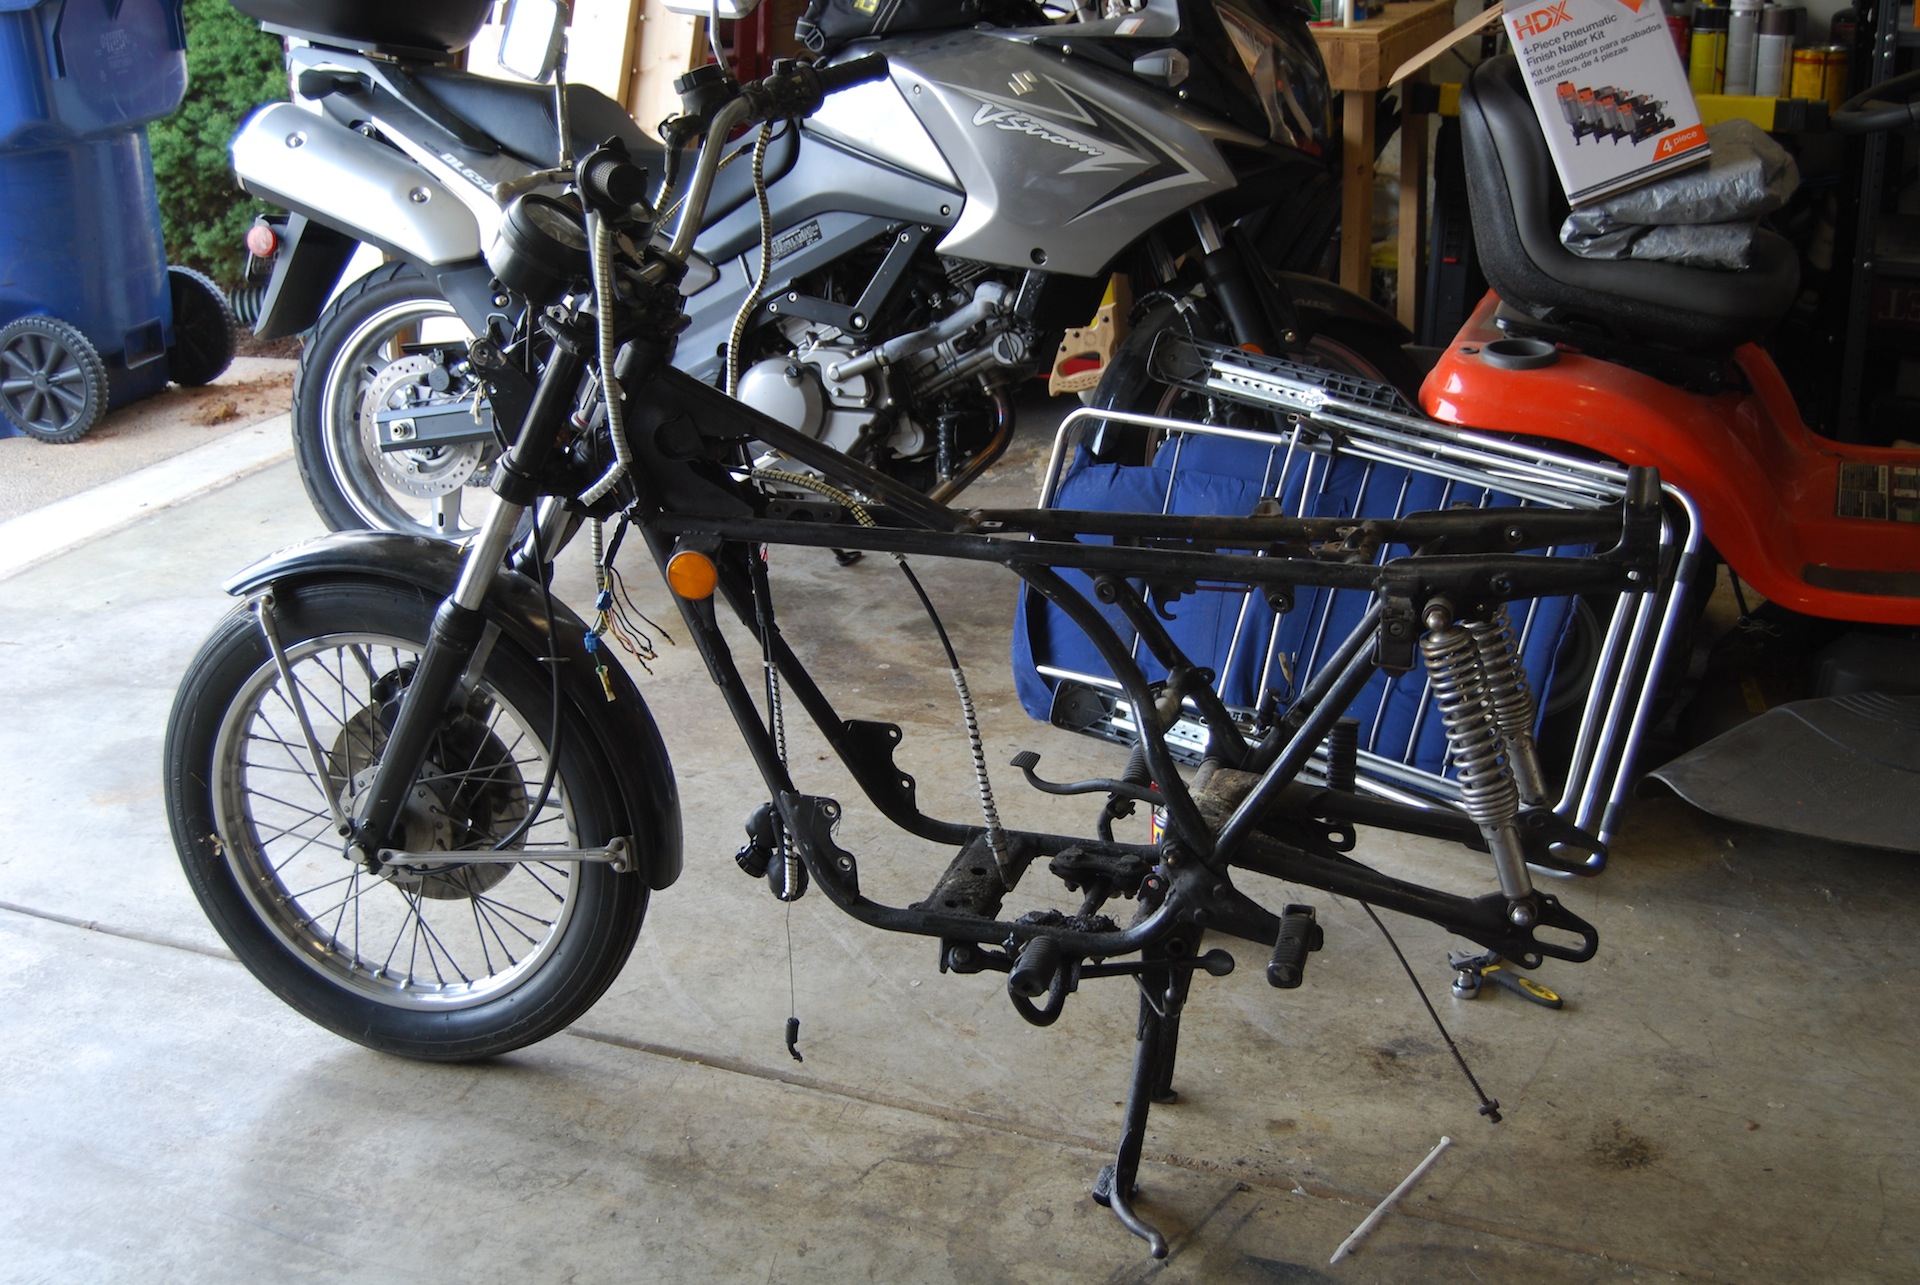
Rear wheel removed
With these parts removed, you should now be able to lift the bike and pull the wheel out, leaving the rear suspension and mudguard/fender in place. The chainguard should come loose now too.
Rear Mudguard / Fender Removal
-
- The rear fender/mudguard is attached with two more screws.
-
- Here’s the first screw, looking from right to left. This screw is on the left side of the bike.
-
- Closeup of left screw
-
- Right Screw

-
- Closeup of right screw
-
- Mudguard removed!
The rear mudguard is attached in two more places near the middle of the bike. Reference the pictures above to find the remaining two bolts and damper assemblies to completely remove the mud guard. Good riddance!
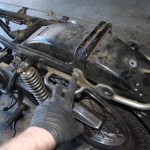
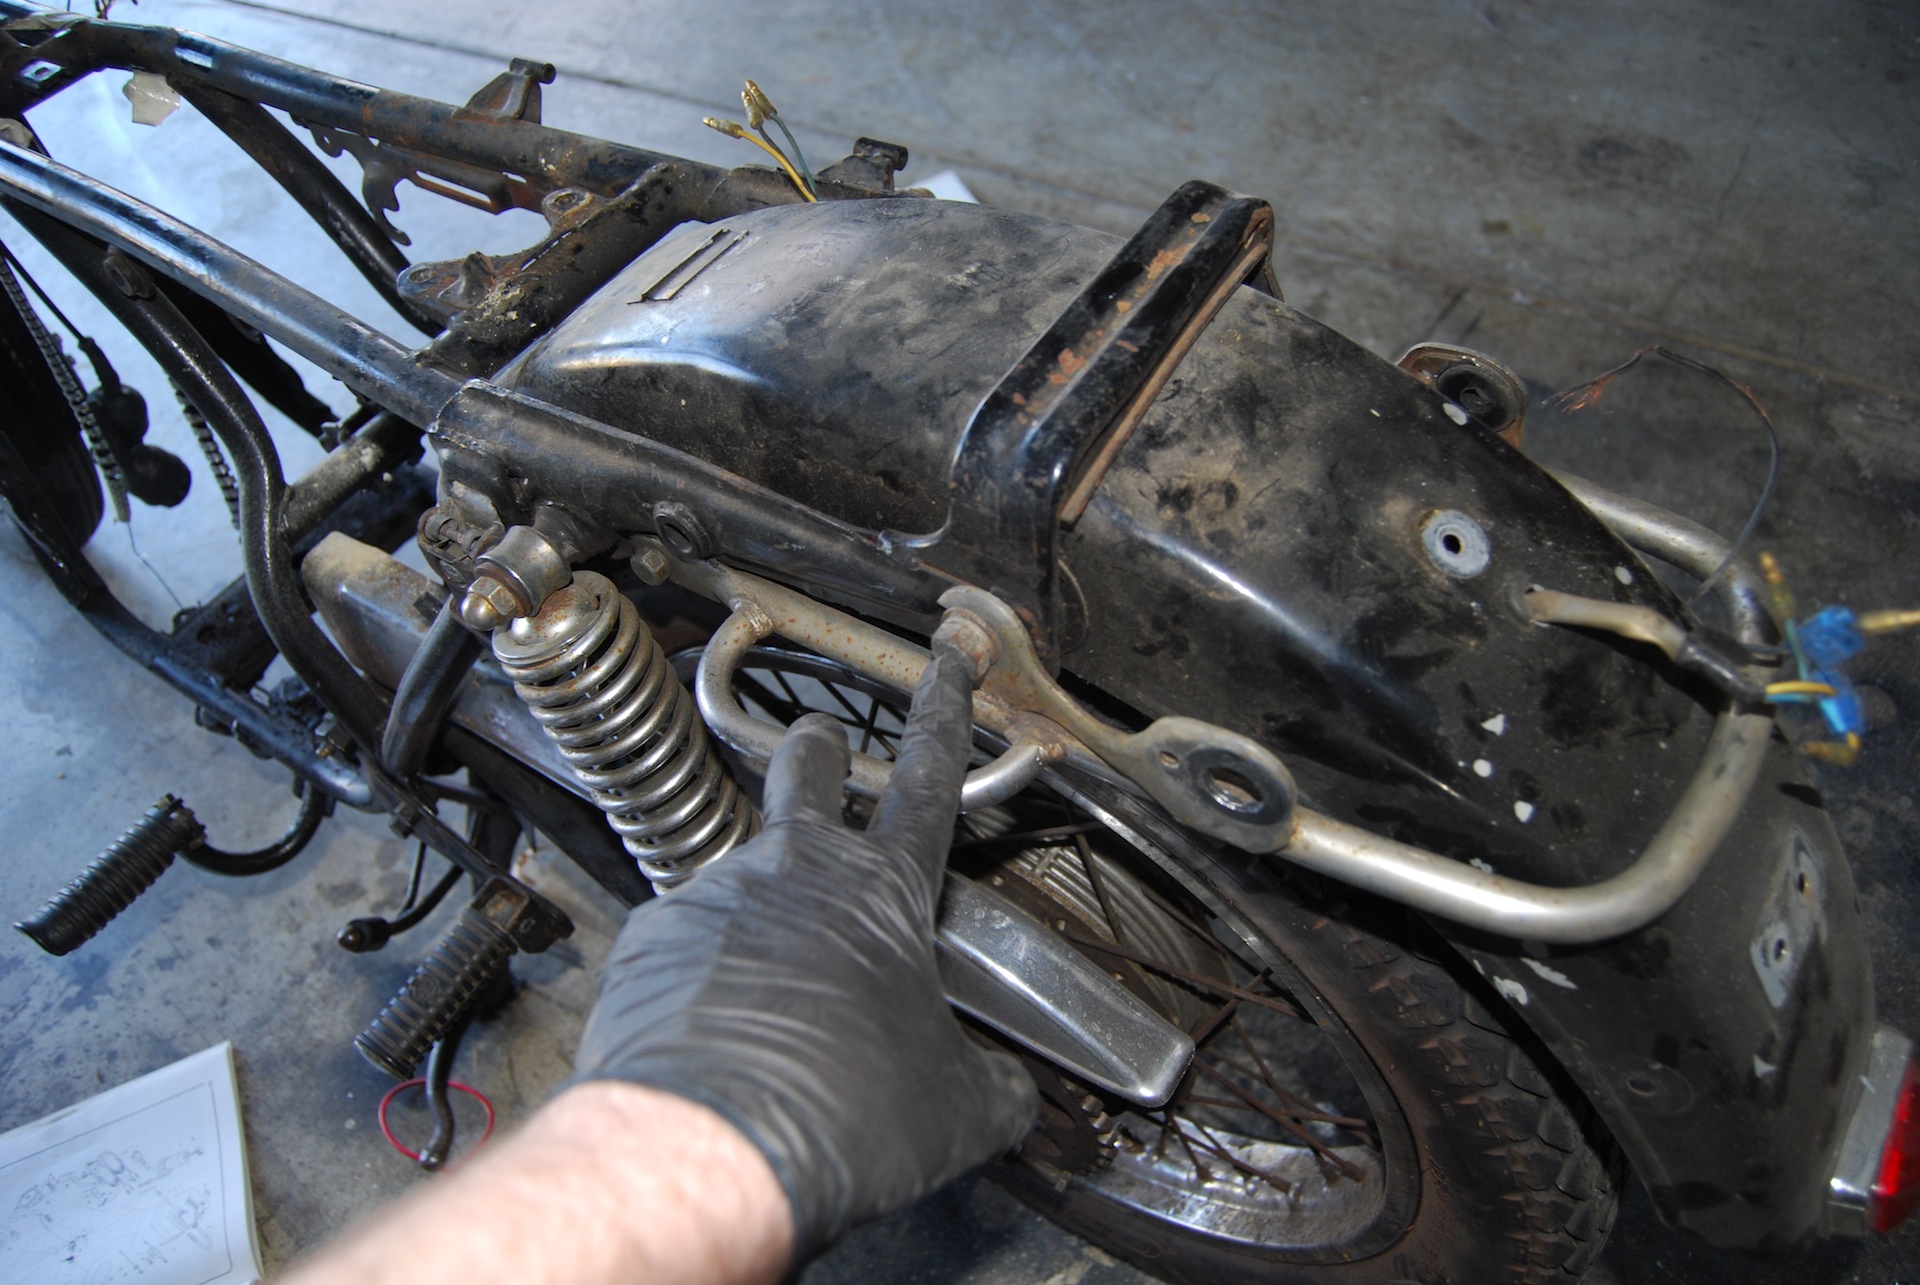
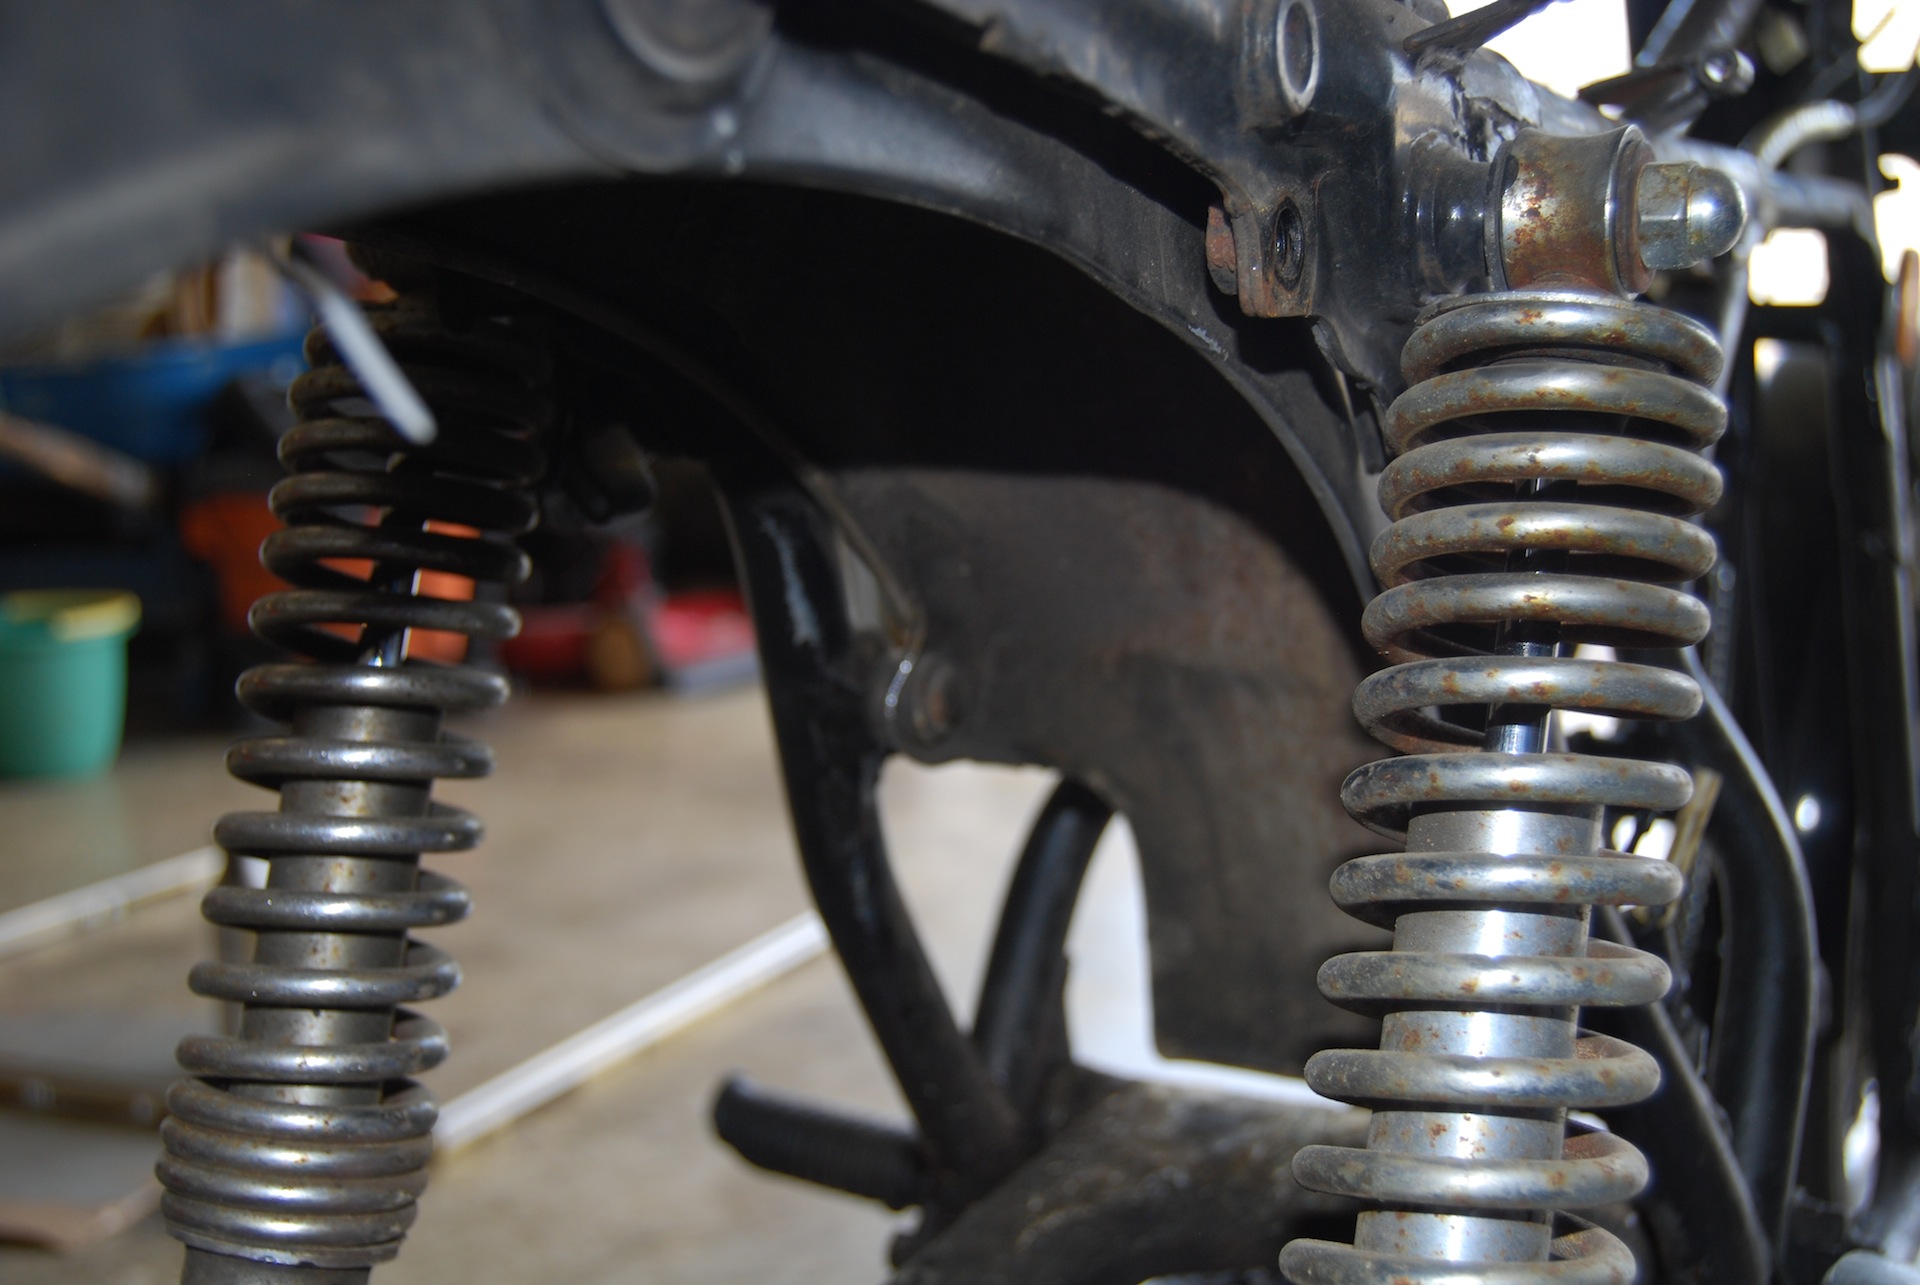
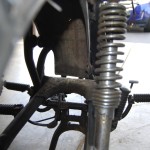
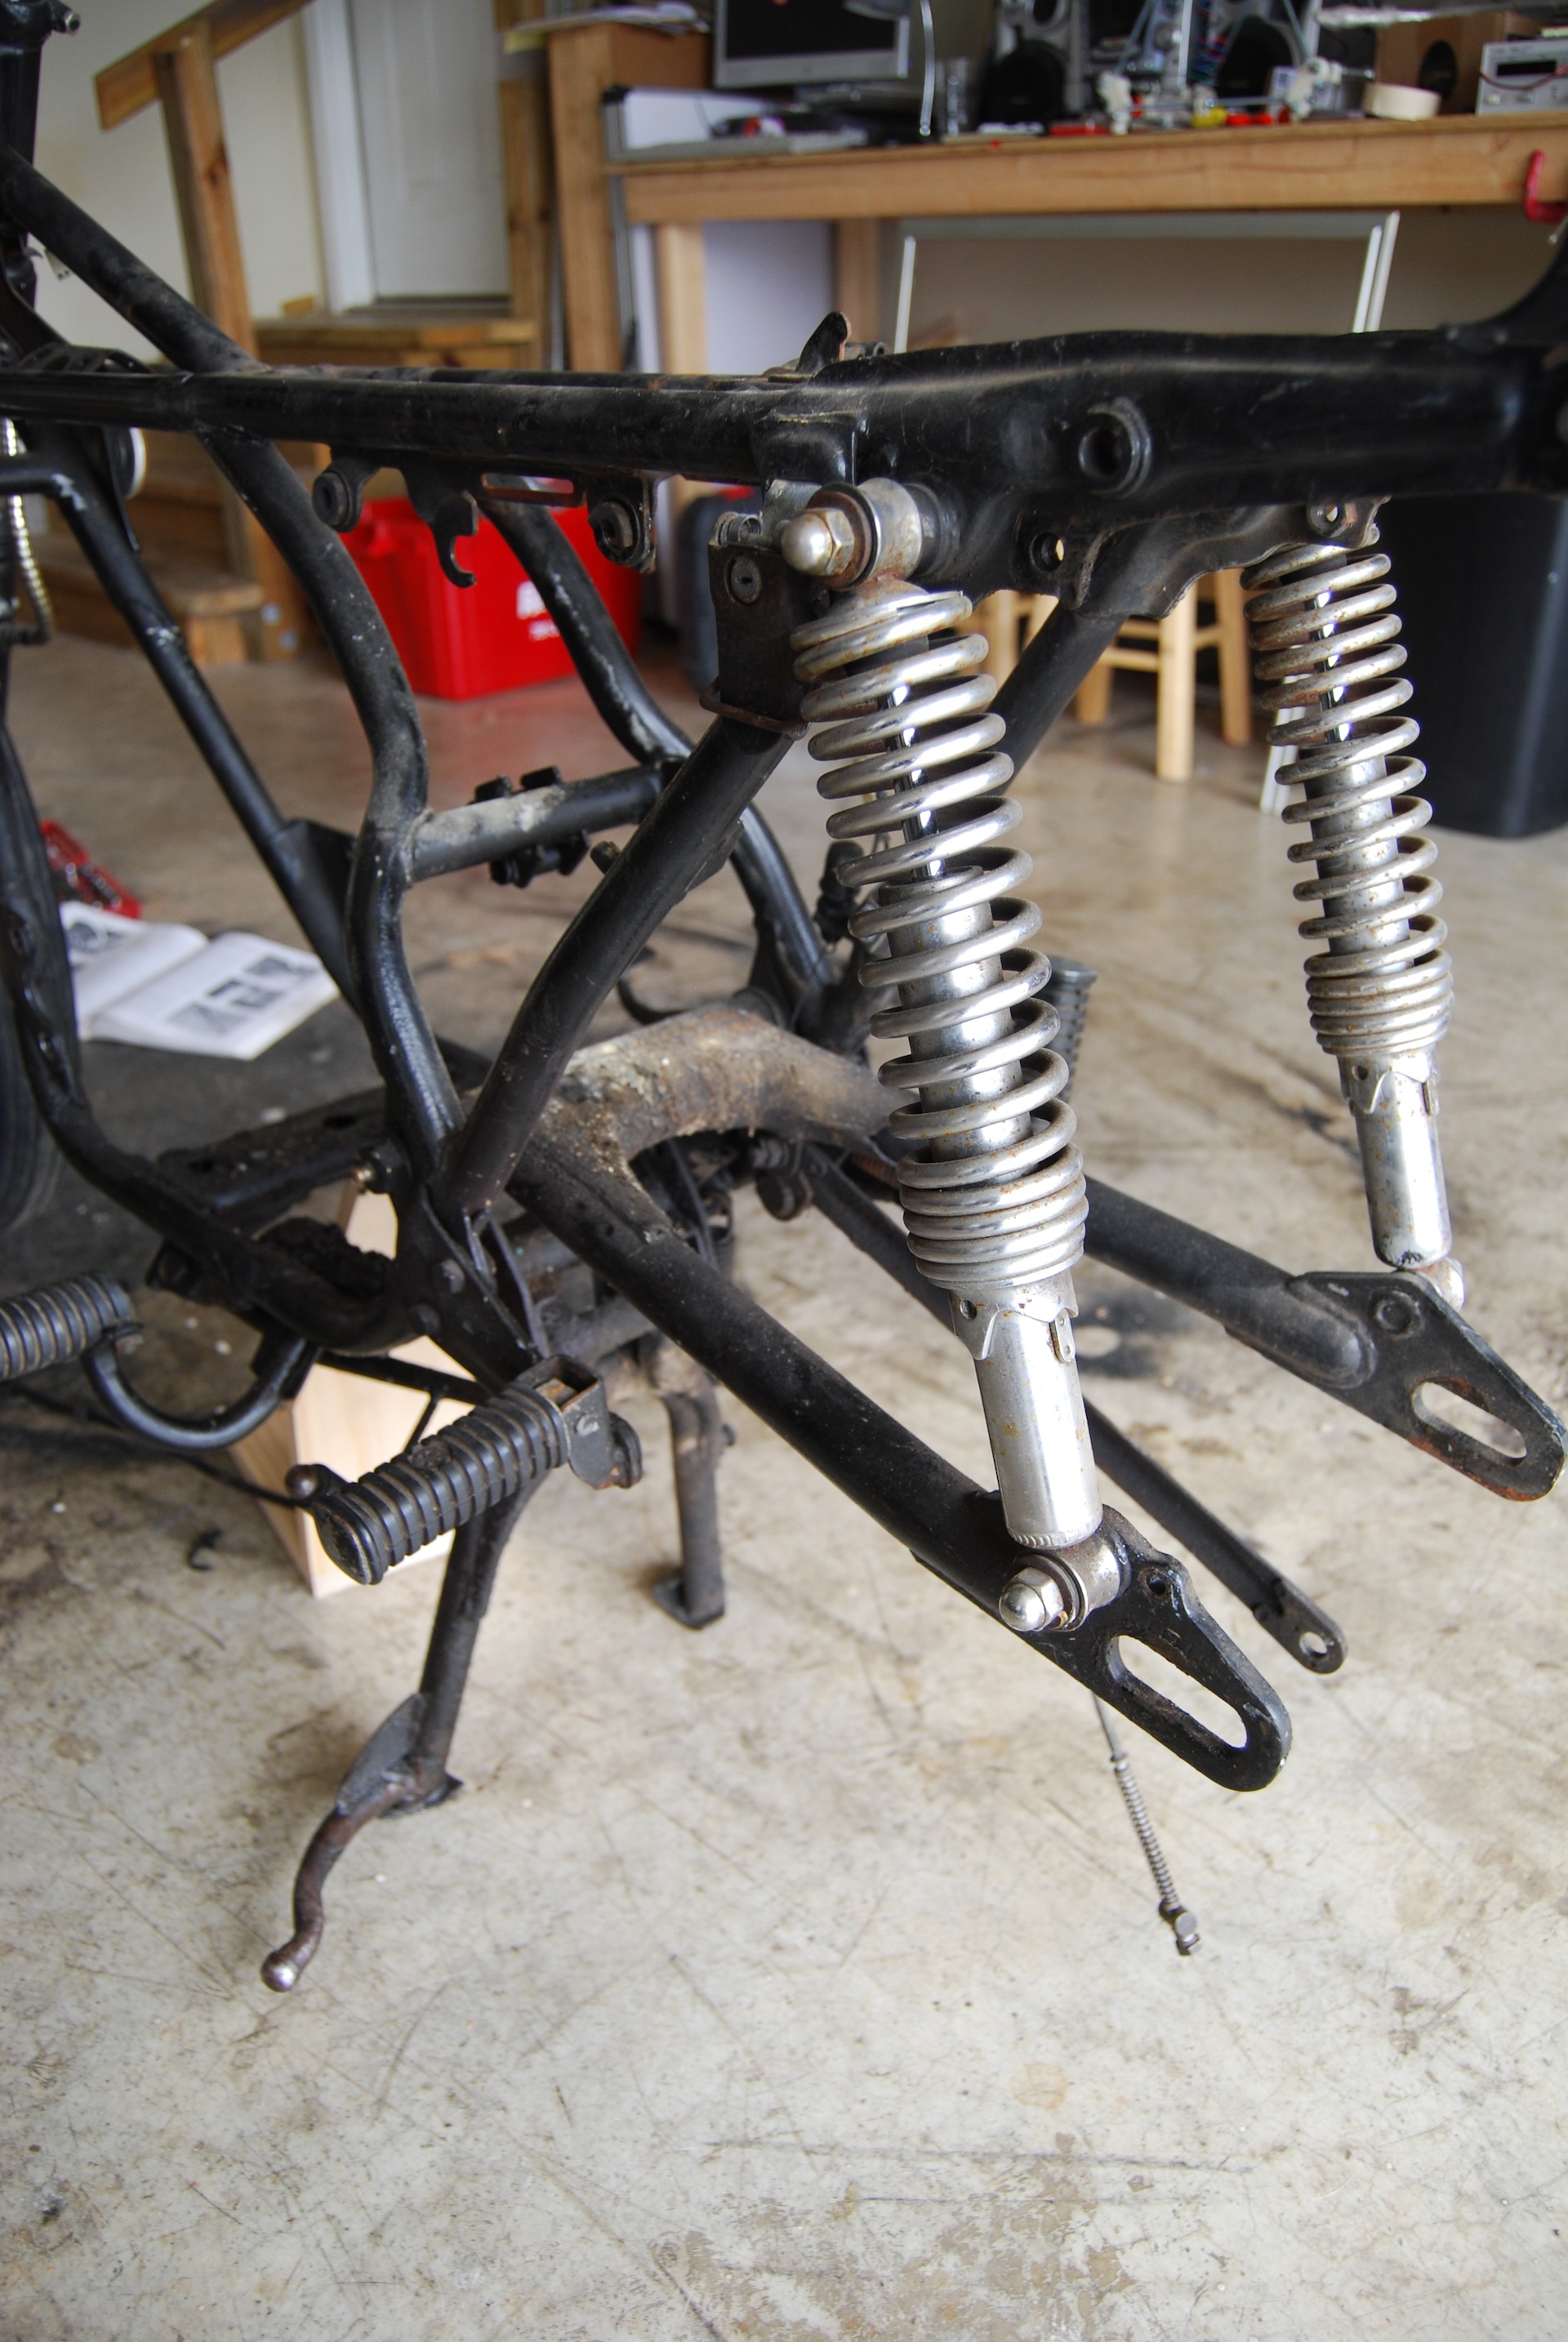
Rear Shock Removal
-
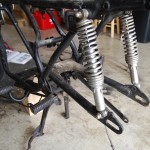
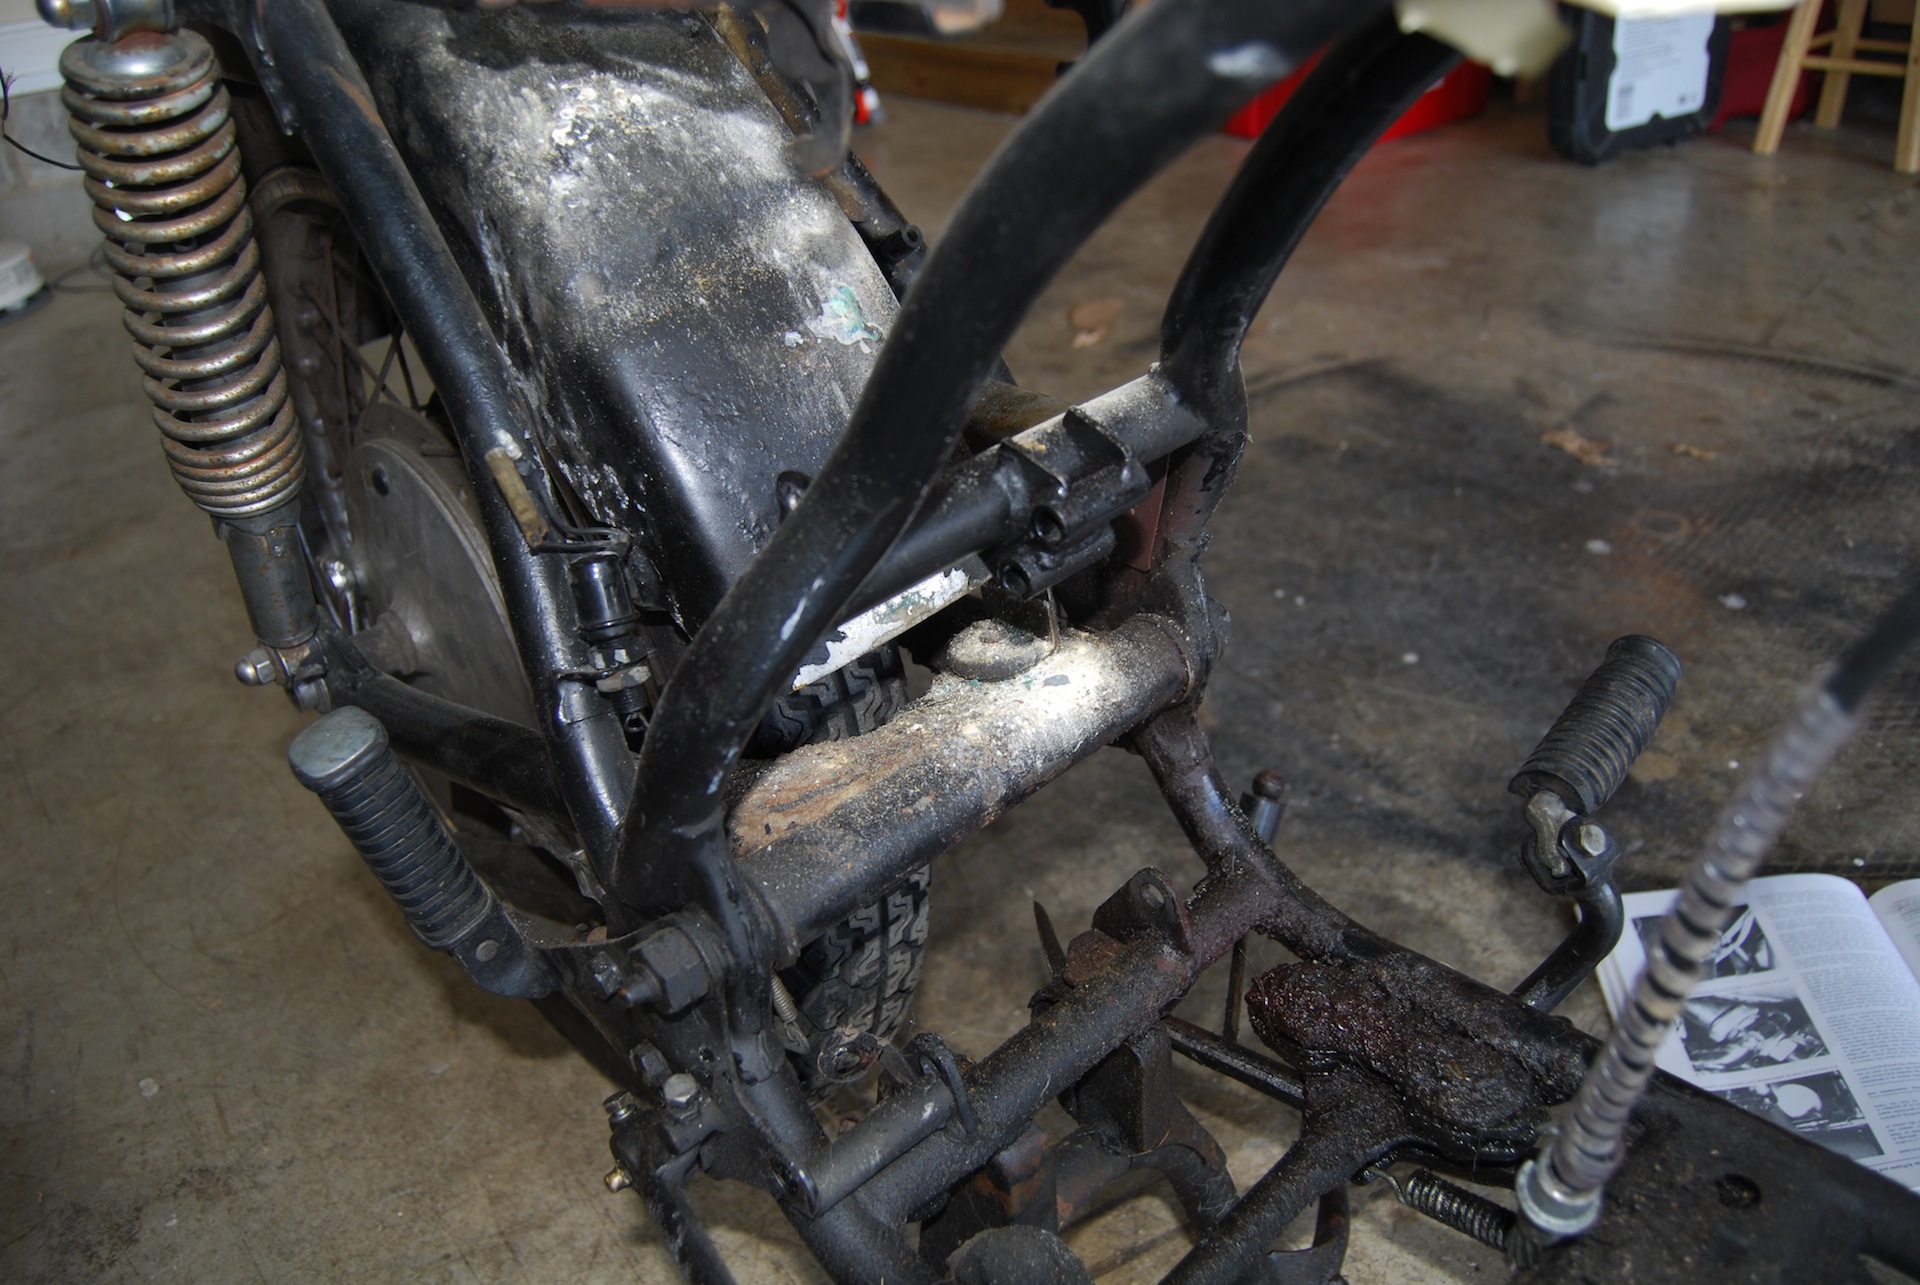
- Rear suspension
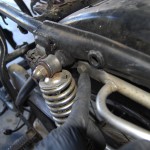
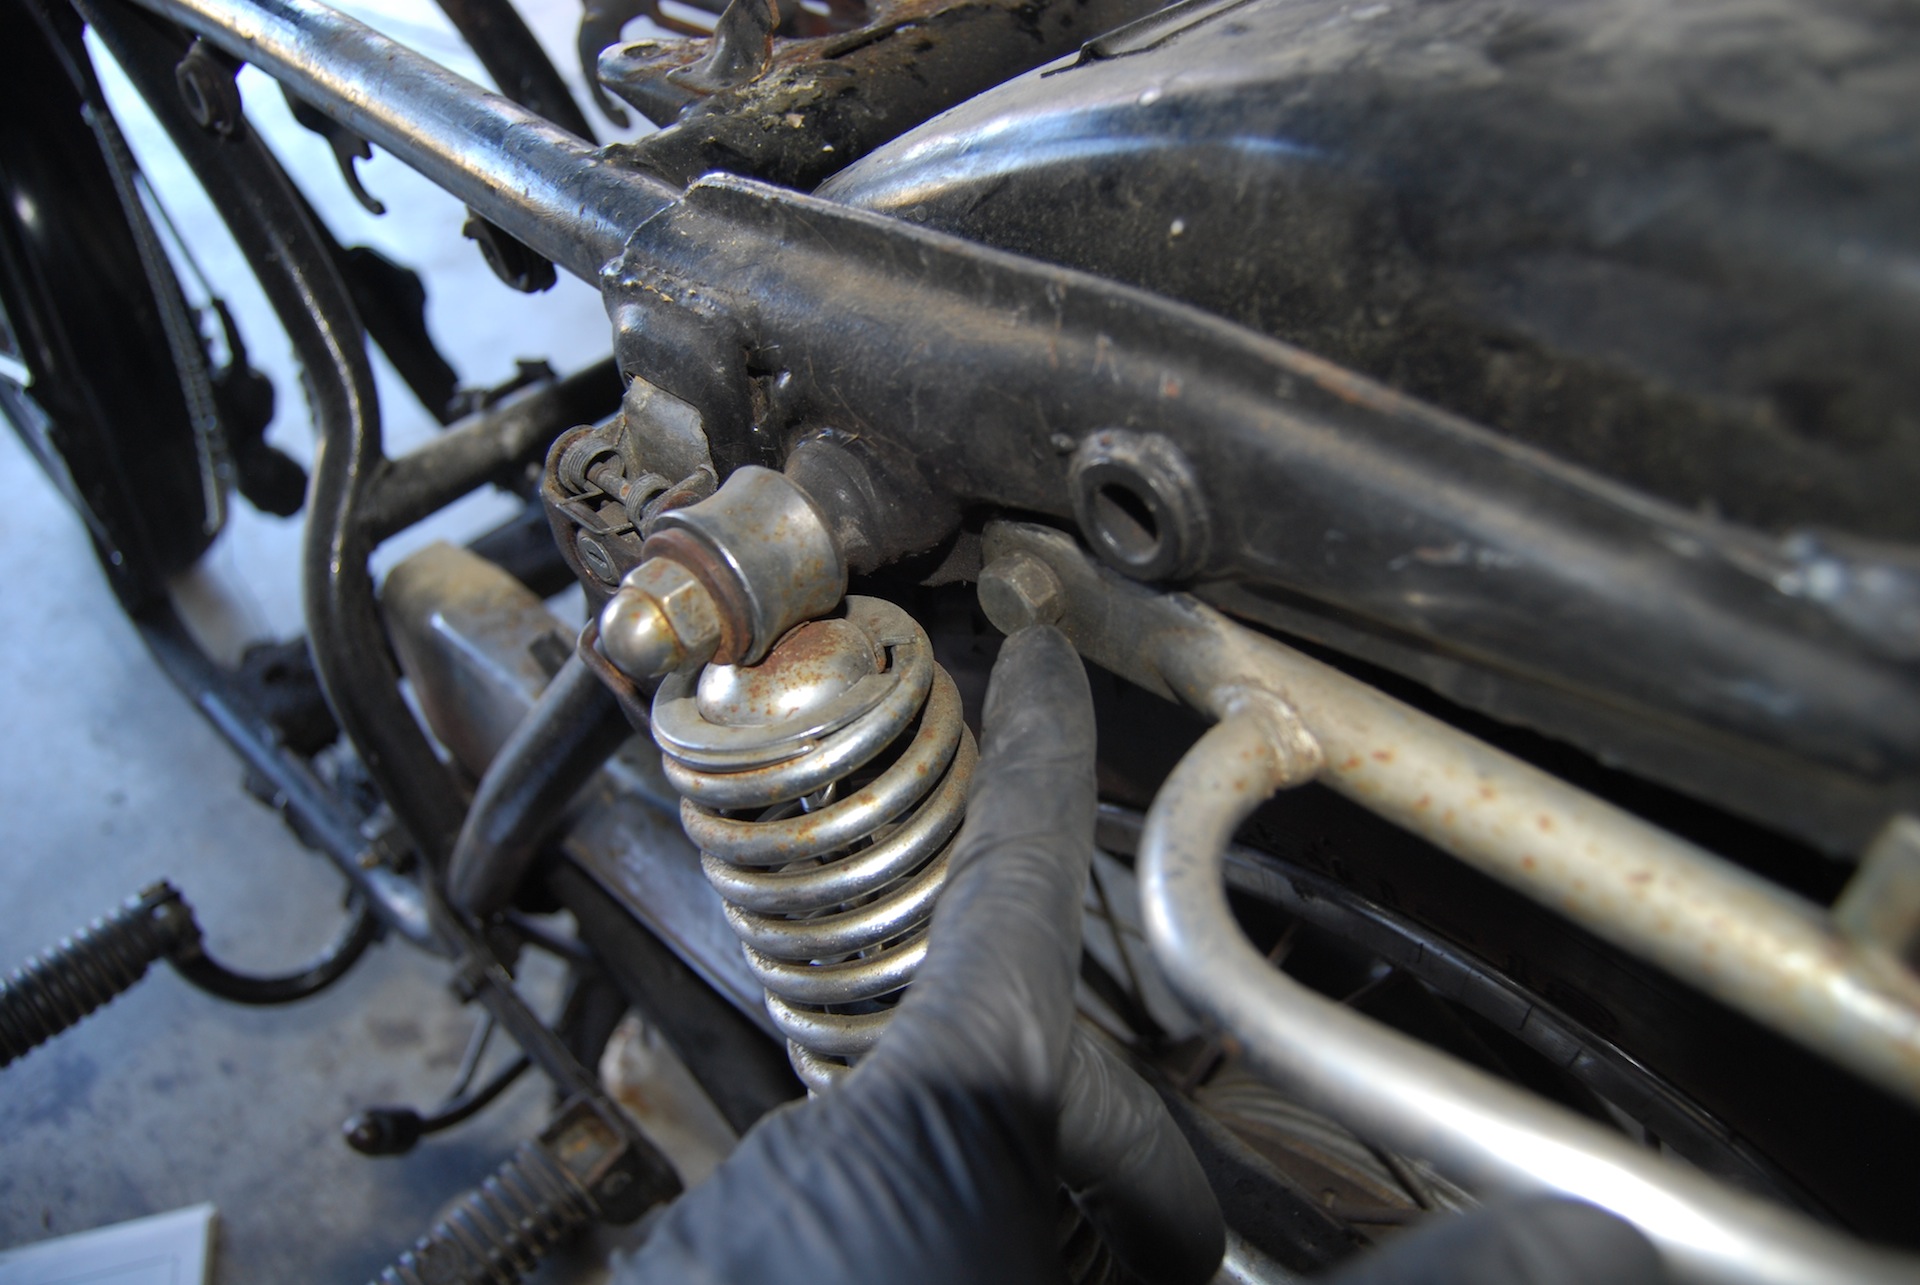
-
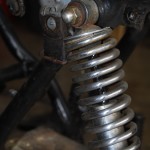
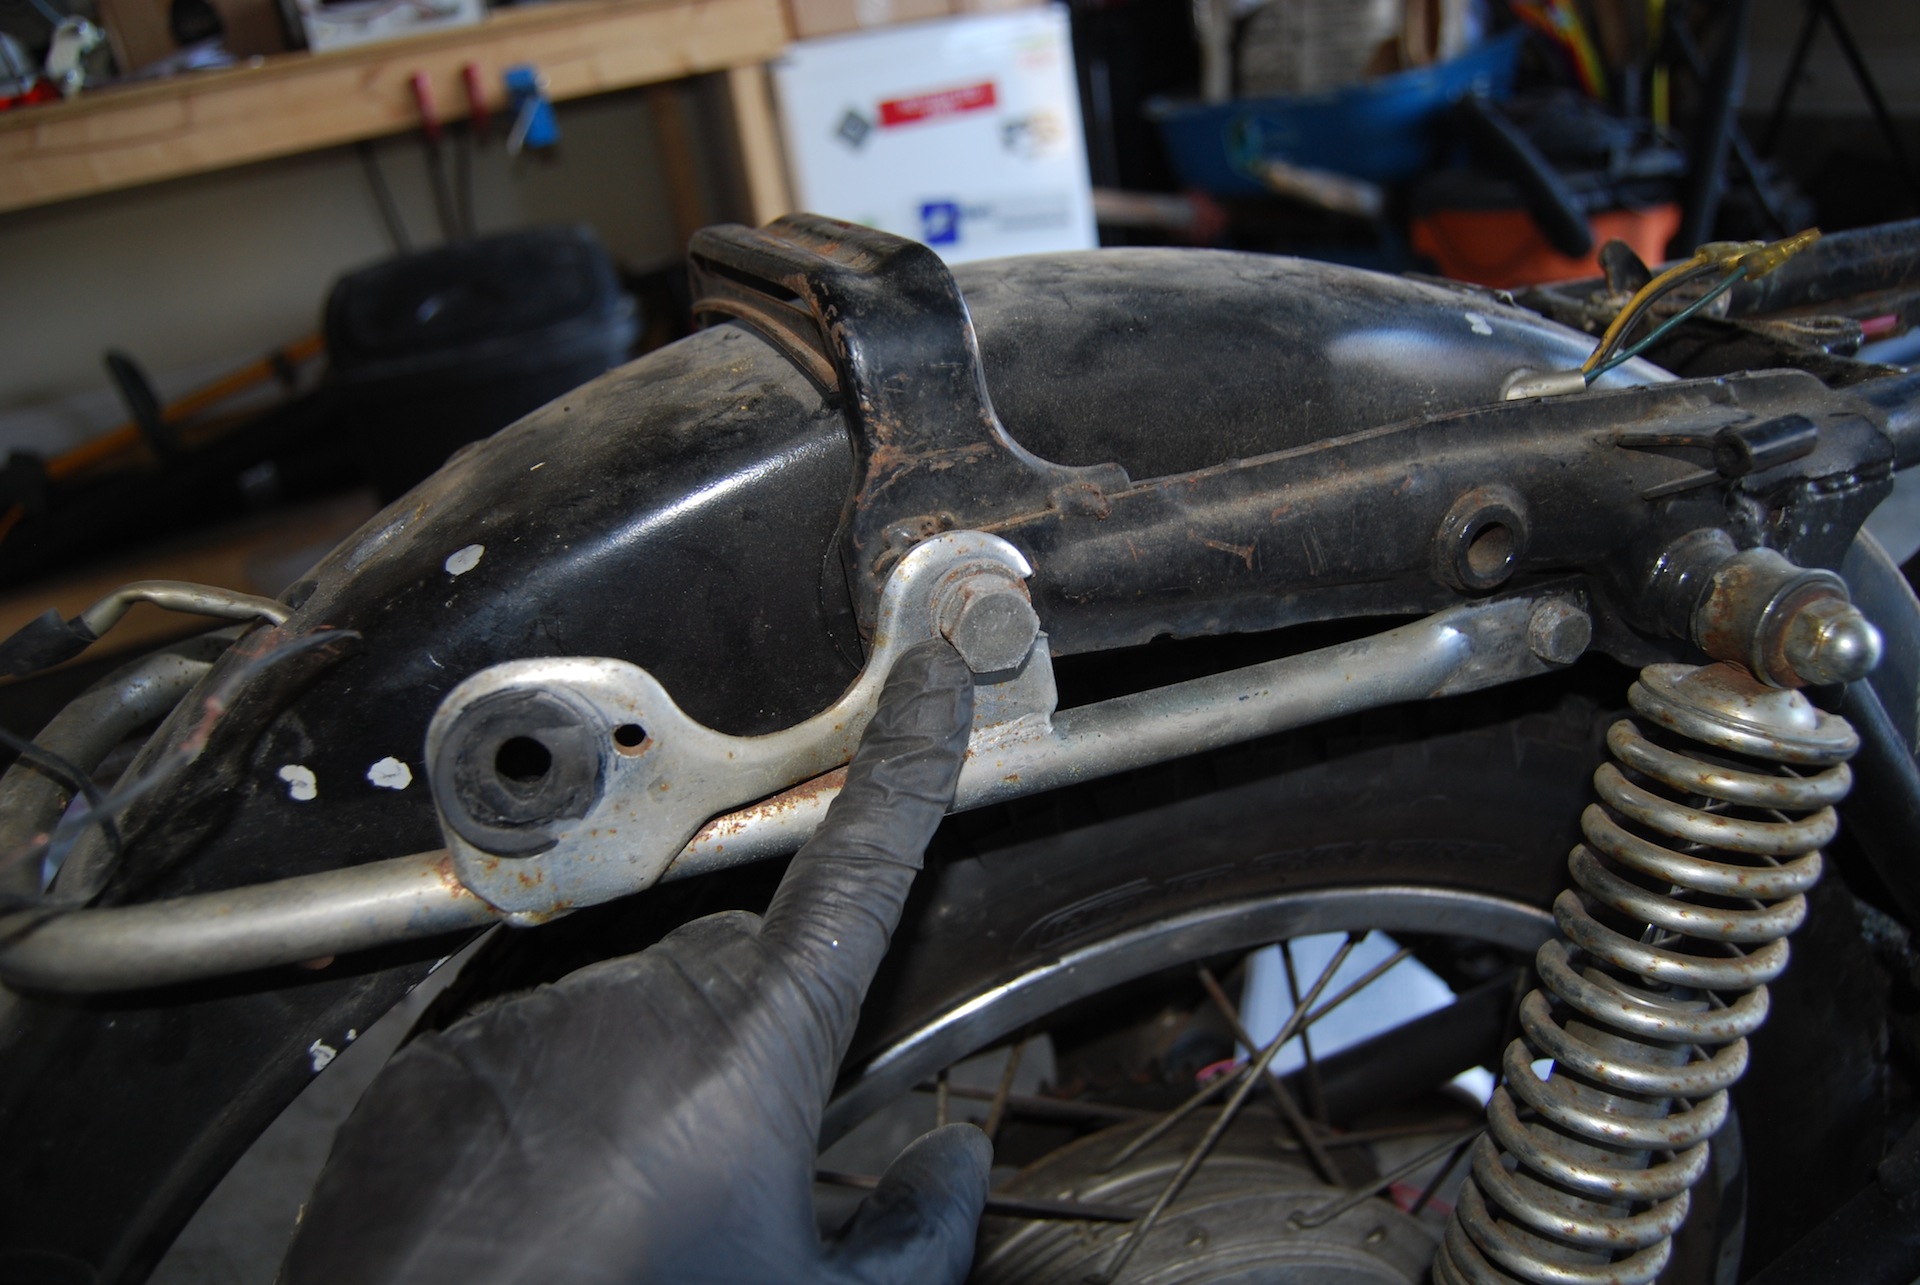
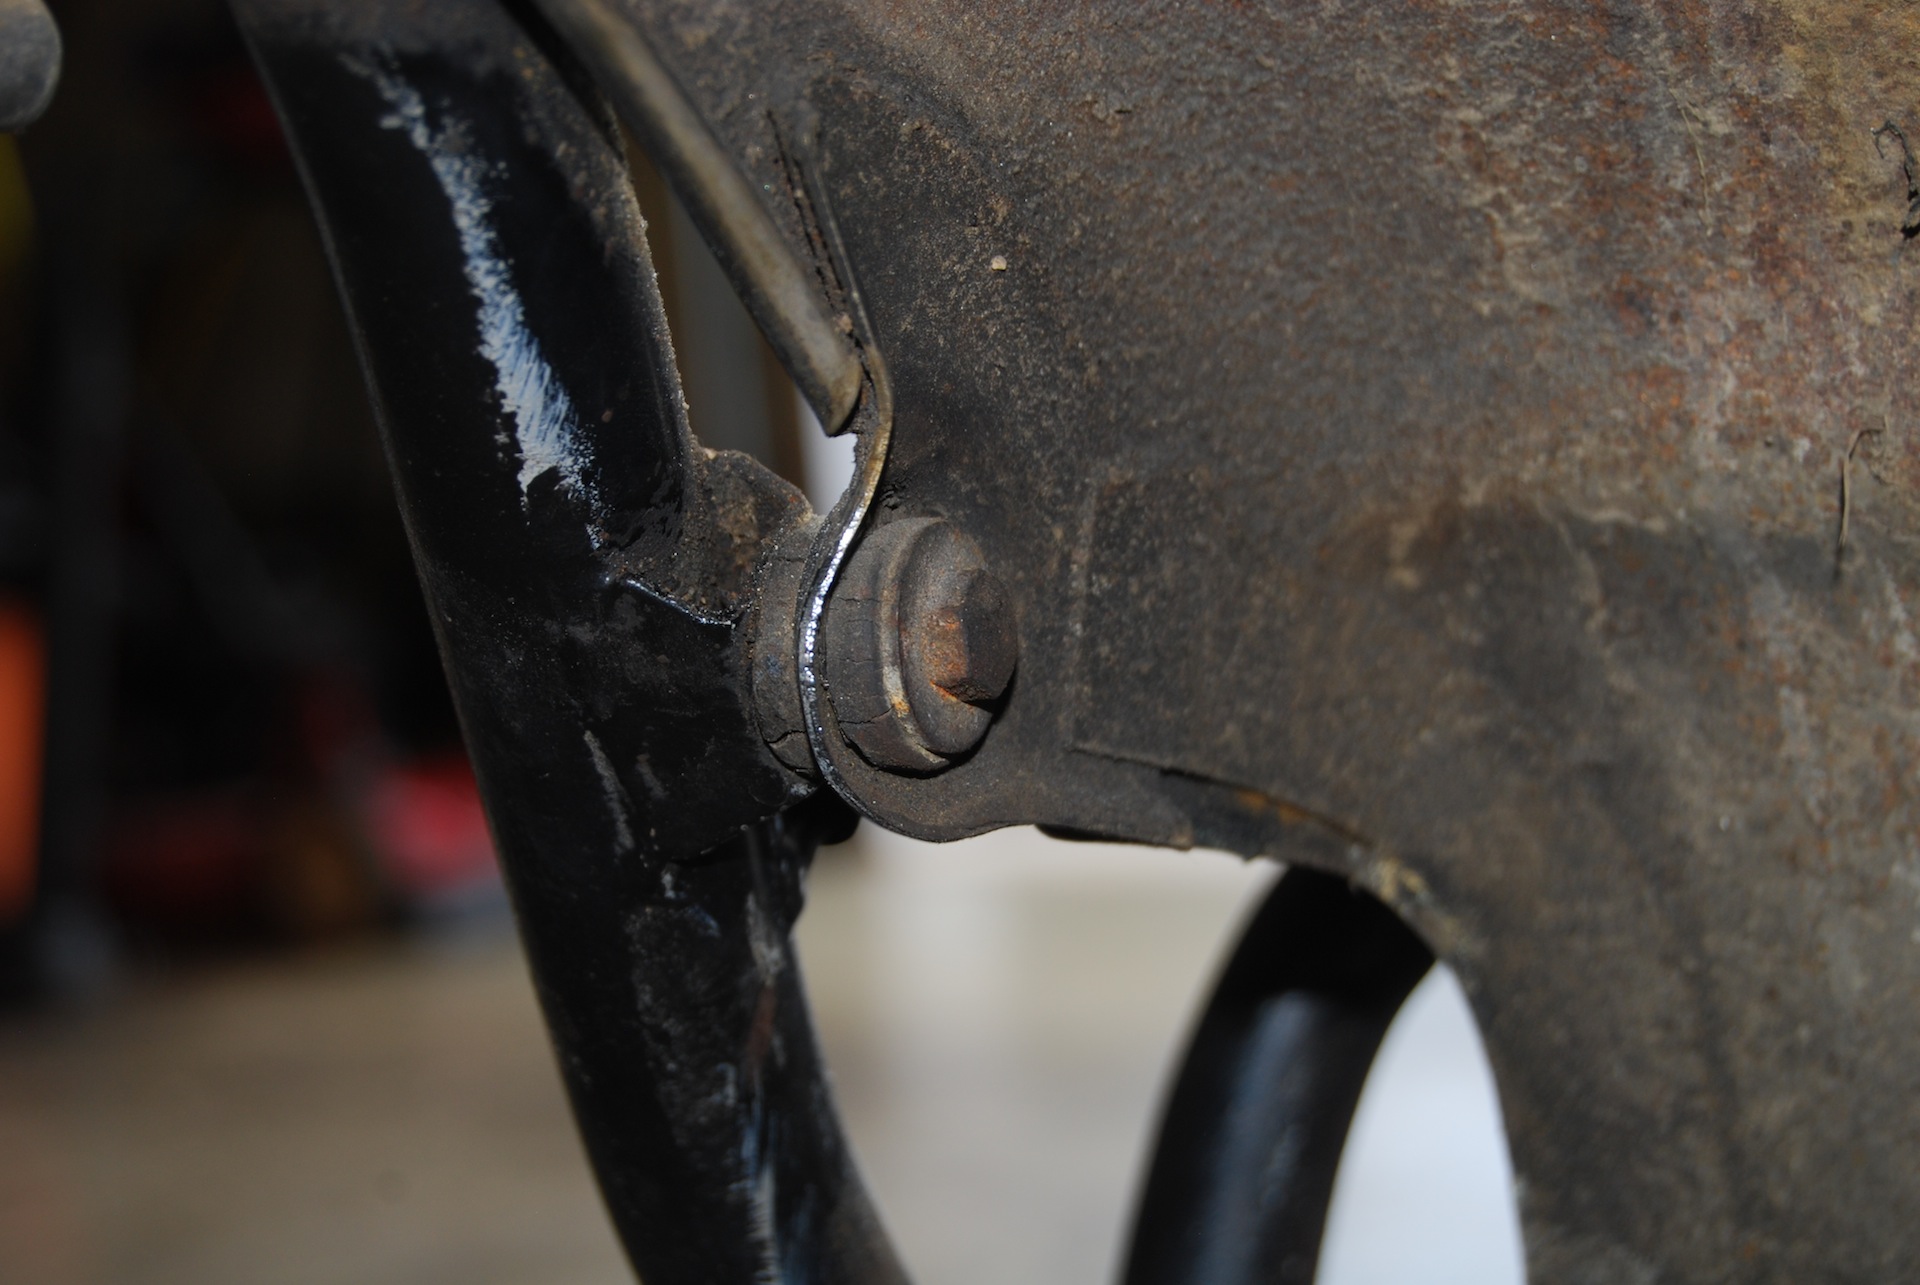
- Closeup of top attachment to frame

-
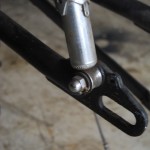
- Closeup of bottom attachment to swingarm
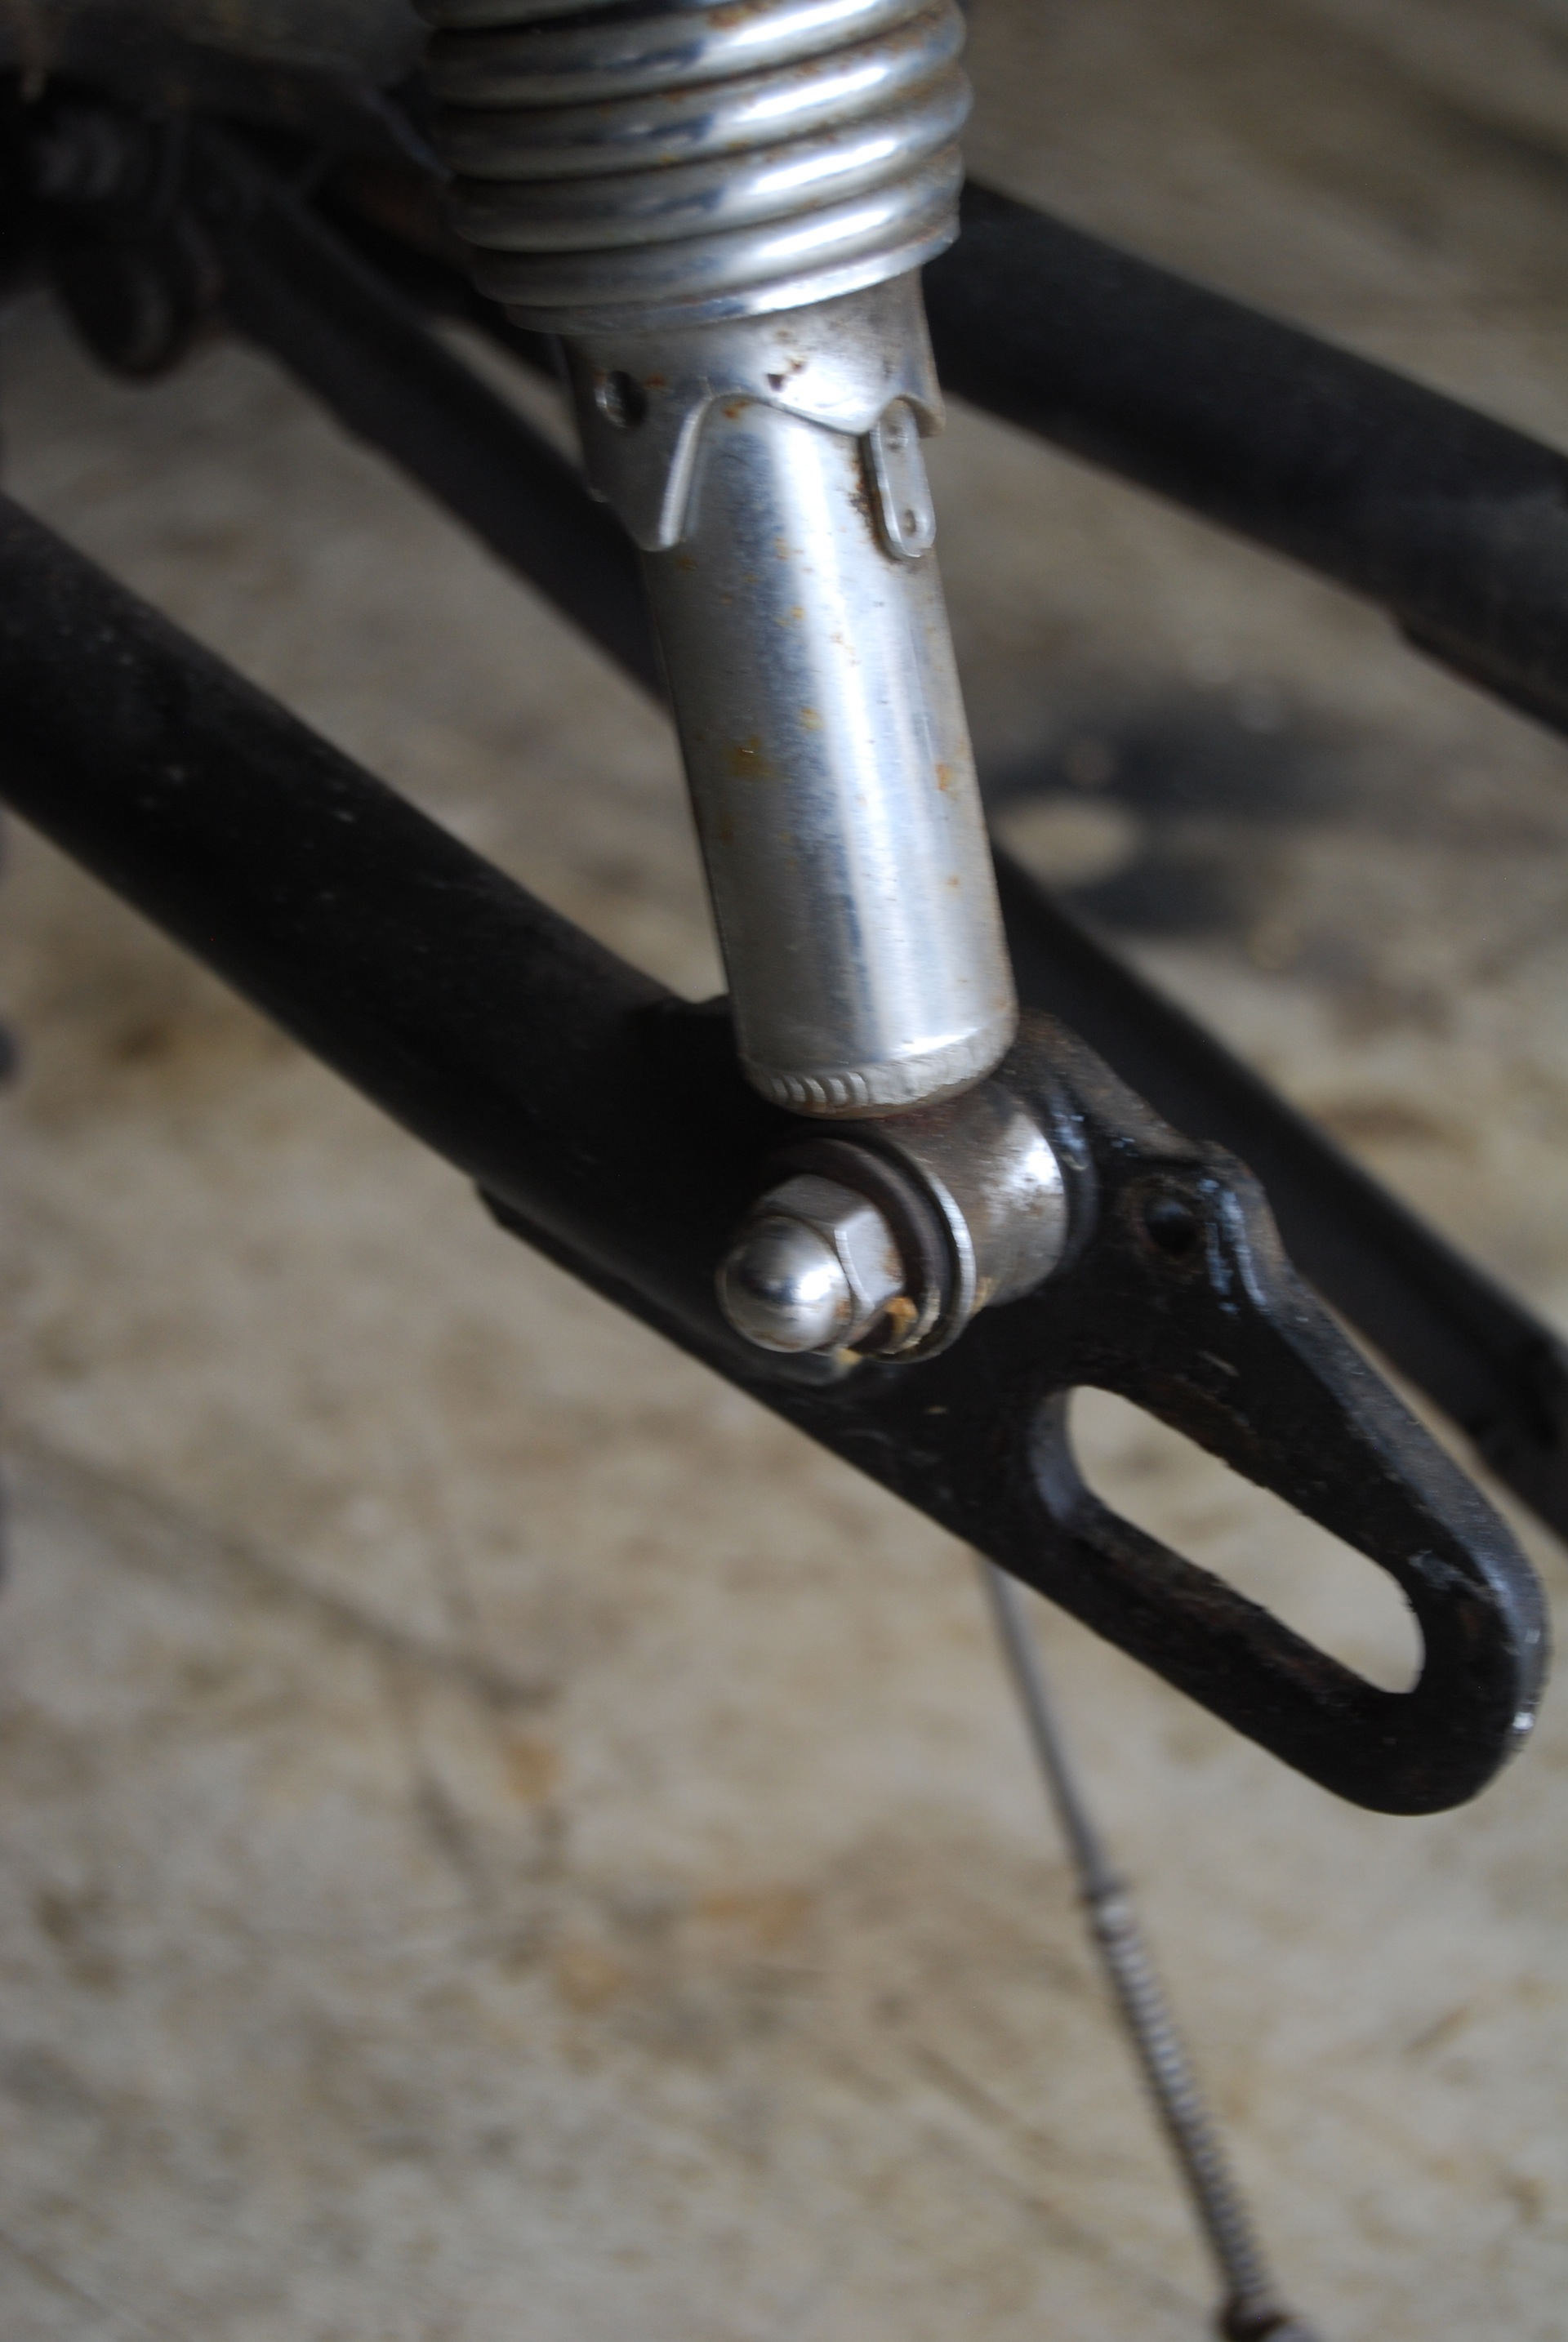
-
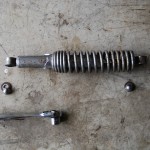
- Rear suspension removed (both sides will be removed)

The rear suspension units are attached at the top to large posts on the frame, and at the bottom to the swingarm. Use a socket to carefully remove the acorn nuts from each connection point, and make sure to retain the washers as well.
And now you have a completely naked rear end (teehee). We’ll work on the front end and handlebars next time.
David Tapley