
After sitting in front of a computer for 8 hours a day, there’s something extremely cathartic about finishing a hands-on project in the shop. The “finishing” parts are usually few and far between with as many “in progress” projects I have on my roster.
Enter the artform of pen turning. In the span of half an hour I can go from wood blank to shiny new pen, giving me that warm feeling of satisfaction and content that only comes from seeing a project all the way through.
I didn’t have any local expertise to show me the ropes, so I read pen kit manuals and watched a few videos. The most in depth one I found is copied below. I encourage you to watch it, but it is lengthy, so I’ll try to succinctly cover everything you need to get started.
NOTE: Don’t get discouraged reading the hardware lists below. It seems like a lot, but it all makes sense once you see the process once. Read all the way through, trust me!
Required Tools:
- Lathe – I’m using a wood lathe from Harbor Freight. From what I’ve read, it’s one of the “diamonds in the rough” of the otherwise questionable quality of power tools available at HF.
- Lathe Tools – This is an area where I am still mostly ignorant. Leveraging the easy entry-cost of Harbor Freight, I’m using their 1/4″ spindle gouge for my pens.
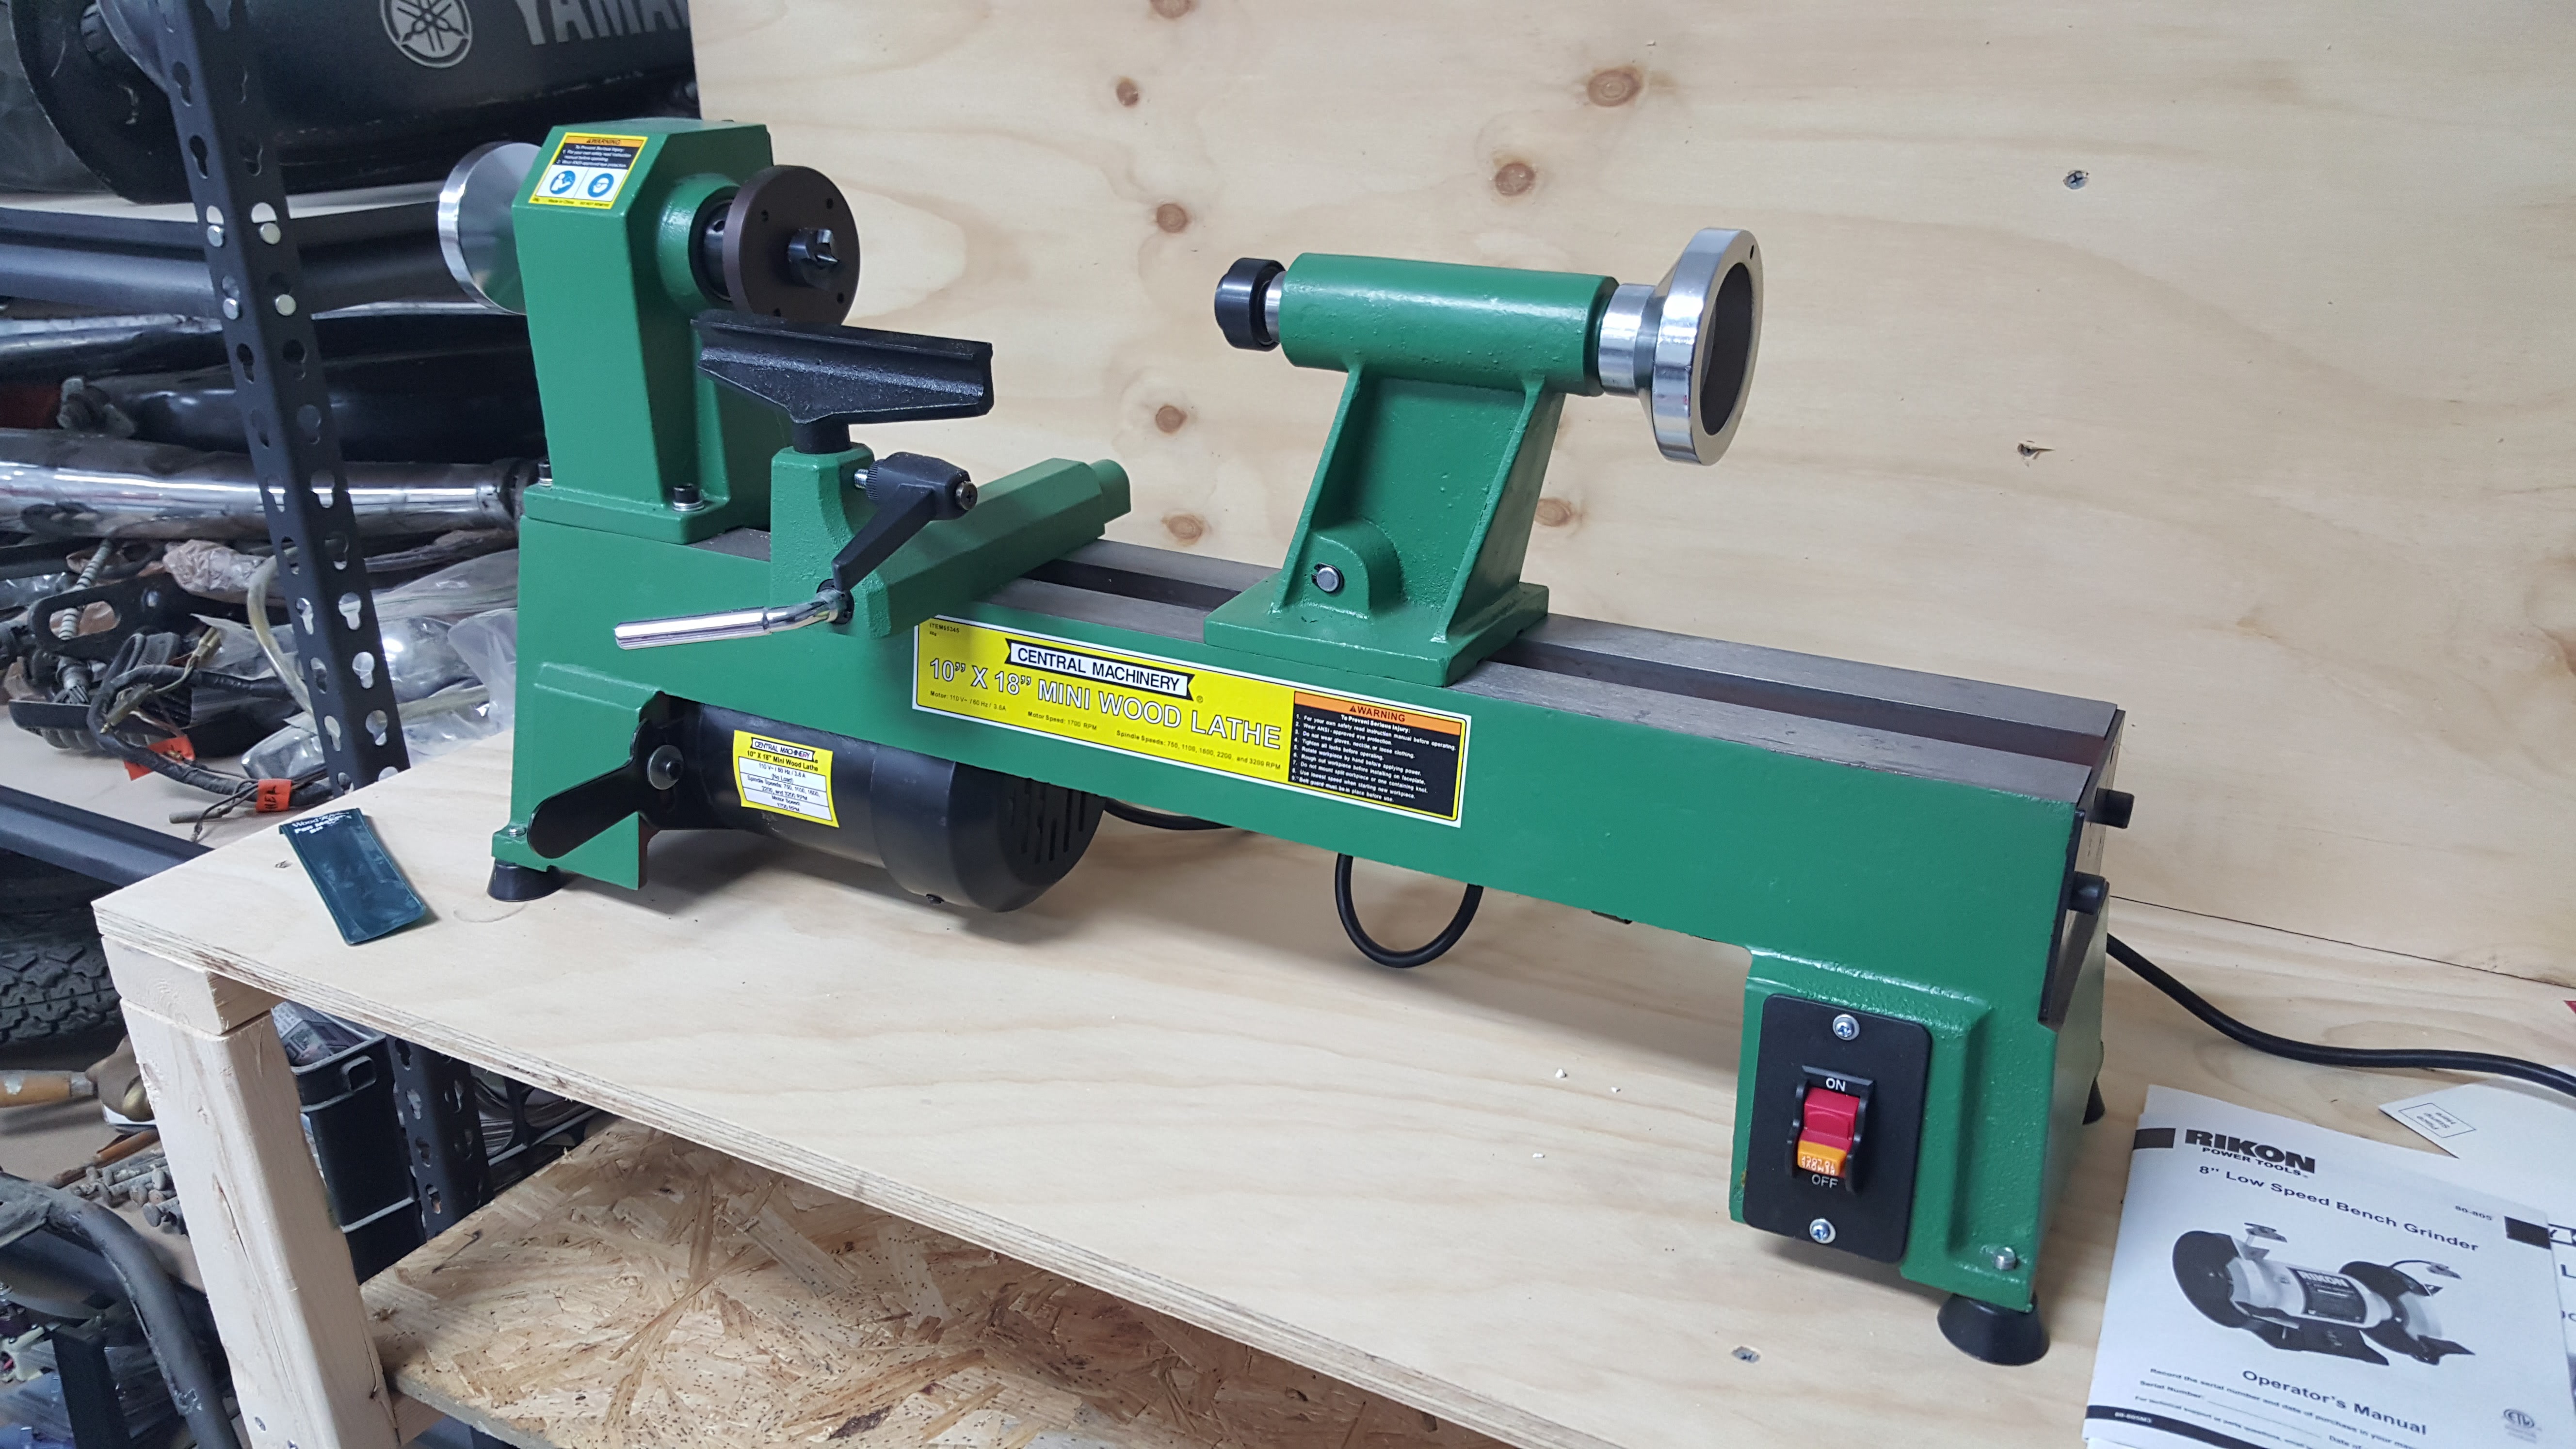
- Bench Grinder – This depends on which lathe tools you use. Carbide cutters will be sharp until they aren’t and you have to replace them. HSS tools need sharpening on a bench grinder. Either way, sharp tools make for a much more enjoyable turning experience.
- Drill/Drill Press – You can get away with just a drill, especially for squaring the blanks, but a drill press will be much easier to use when it comes to drilling the hole for the pen tube
- Pen Makers Bit – The bit size you need will depend on which pen you are making. There are a few very common tube sizes, so you can either pick one size and make pens that fit the tooling you have, or pick up a full set of them that will cover most of your pen-making needs, like the Woodriver set at Woodcraft.
- Pen Mill – This isn’t a must have, but man is it a time saver. The pilot bit size is, like the drill bit above, dependent on the size of your pen tube. The trimmer head slides onto whichever size pilot shaft you need, and using a hand drill, you slide the pilot bit into your tube, allowing the trimmer head to cut away wood until the wood is flush with the brass. Whiteside makes a mill set with common sized pilot bits.
- Bar Clamp or Pen Vice – We need some way to squeeze the parts together. If you have a bar clamp, you have all you need already.
-
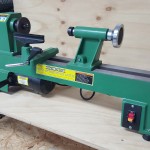
- HF Wood Lathe
-
- Rikon 8″ Grinder
-
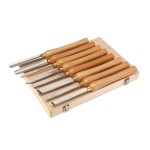
- HSS Lathe Tools from Harbor Freight

Required Hardware:
- Pen Kit – This kit provides the consumable of your pen. Most pen kits come with one (or more) pen tubes and the hardware that goes into making your pen a pen (chrome/brass/metal pieces, spring, ink refill, etc).
- Pen Bushings – These are pen-style specific items that are reusable. When mounted on the lathe spindle, the smaller diameter fits inside the pen tube, and the larger diameter gives you a guide as to what profile you need to make the ends of your pen. Most pen kits will indicate the part number or style of bushing you need.
- Pen Mandrel – The mandrel fits on your lathe and allows you to mount spacers, bushings, and the tube/blank combo co-linearly. Most mandrels have a knurled nut at one end that lets you apply appropriate pressure so the blanks spin with the mandrel. An alternative to the knurled nut is something cool called a “mandrel saver”. The mandrel saver replaces the end stock of your lathe and the knurled nut on the mandrel, and lets you slide the tailstock right up to the bushings. By applying pressure in this manner, you avoid introducing flex on your mandrel which keeps it from getting bent out of whack (technical term) overtime. Mandrel’s come in one of two sizes depending on your which style your lathe accepts. I’m using the 2MT mandrel on my HF lathe.
- Mandrel Spacers – My mandrel came with 3 spacers I think, and several of the pens I’ve turned have needed up to 7. So having extra spacers on hand is a good thing. Spacers just let you center the workspace on the mandrel and transfer pressure from the knurled nut (or mandrel saver) back to the headstock. You can even use bushings for slim pens/pencils.
- Pen Blank – Just about anything can become a pen blank, and there are an endless number of options from wood to manmade materials. I grabbed the 100 blank assortment from Woodcraft. It has some cool wood that I’d never worked with before, and I don’t have to worry about running out of blanks any time soon. Just double check that your chosen blank will work with your pen kit. Most of the time a 3/4″ square blank that’s 5″ long will be plenty of stock.
Other Items:
- Sandpaper – We need a big variety of sandpaper. I use 80, 120, 150, 220, 320, 400, 800 and 0000 steel wool.
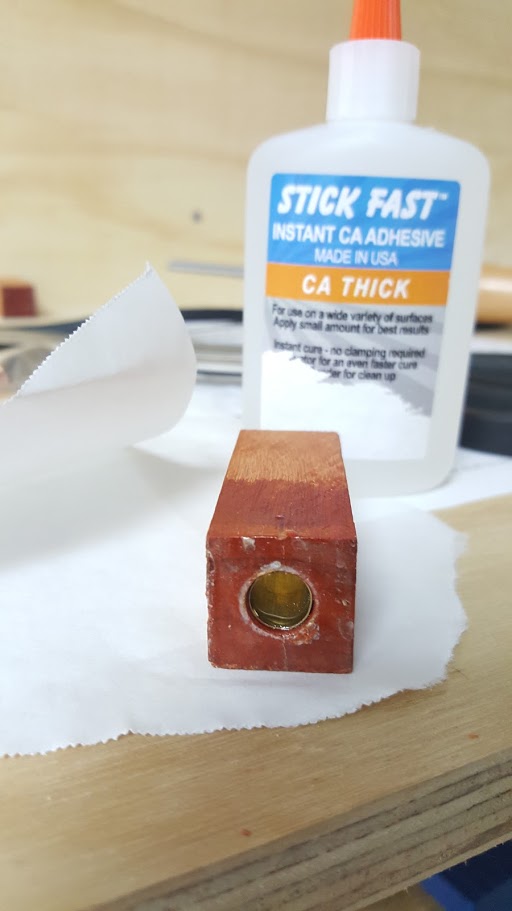
- Thick Super Glue (CA Glue) – We’ll use this to glue the pen tube to the blank.
- Finish – I use a high friction polish on mine. You can apparently use CA glue as a finish as well, but I haven’t tried that yet.
- Old Rag / T-Shirt – We need an old clean cloth to apply the high friction finish.
Let’s Get Started!
Step 1: Cut your blank to size
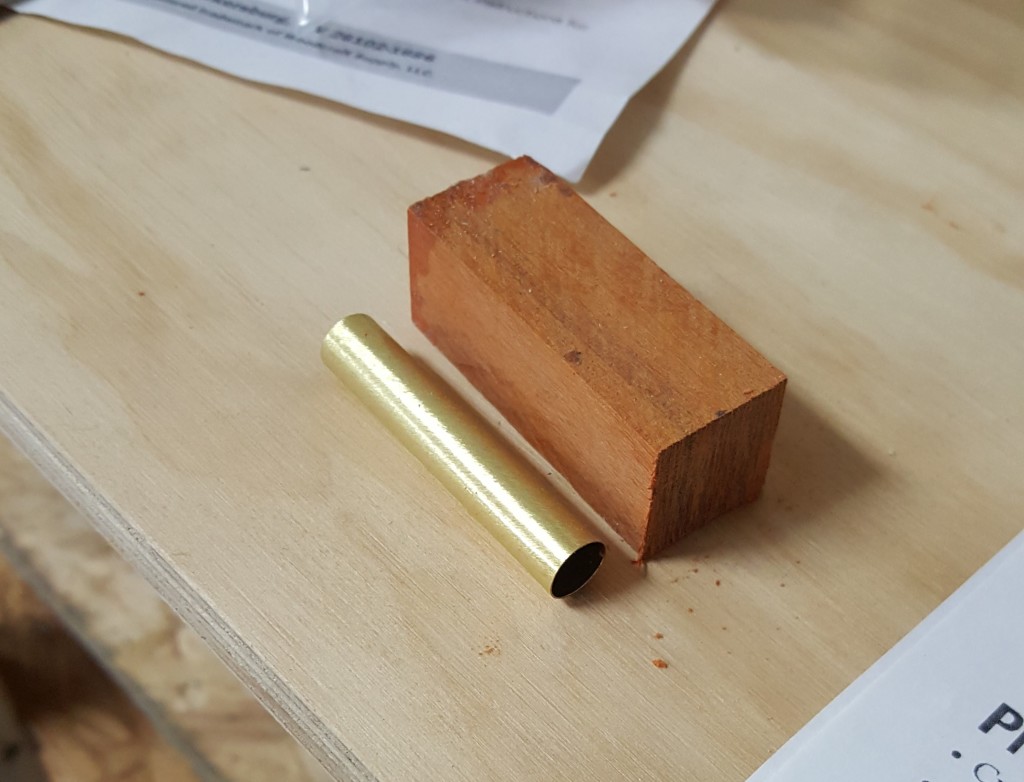
This length should be specified in your kit manual, but if it isn’t you just want to be sure that your pen blank is ~1/8″ longer than your brass tube.
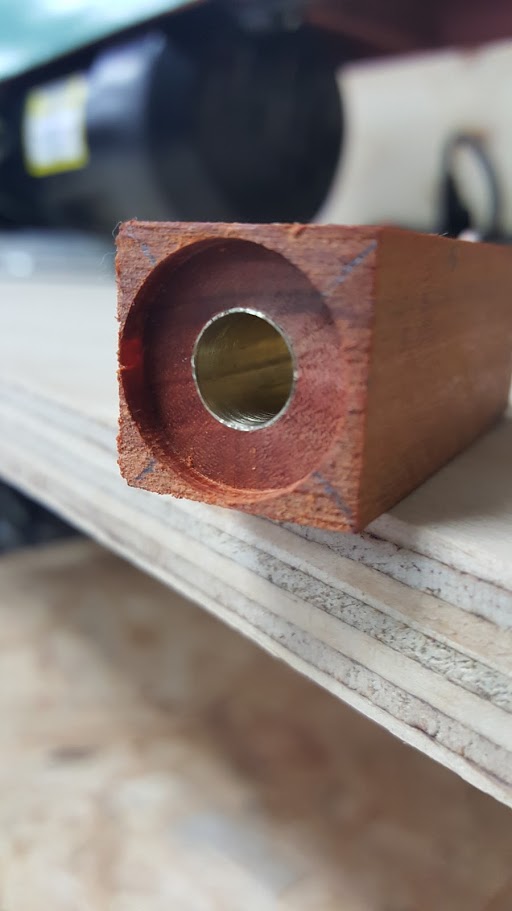
Step 2: Drill a hole for the brass tube
Remember, easiest on a drill press. Use the correct bit for the size of the tube. Take it slow, and only drill ~ 1/2″ at a time, pulling the bit out with each 1/2″ drilled to remove chips. I used a slow-ish speed on my drill press, ~600RPM if I recall correctly.
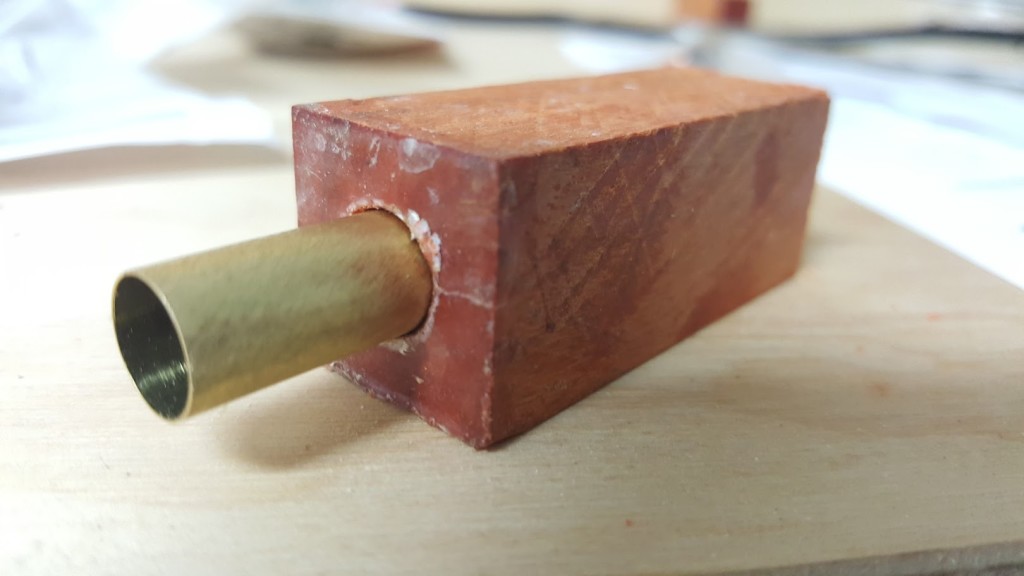
Step 3: Glue your Tube
Using some low-grit (~ 80) sandpaper, rough up your brass tube a bit to make it adhere to the glue better. Apply some thick CA glue to the outside of the tube, and using a twisting motion, insert it into the hole in your blank. Twisting while inserting will make sure the glue gets good coverage. CA glue cures really fast, so you only really need to wait ~5 to 10 minutes.
Step 4: Square your ends
You can use a belt sander for this step, but I started with the pen mills and will continue using them. Use the correct pilot bit for your tube size and square the end of your blank flush with the brass tube. I found it easiest to use the mill in a hand drill instead of a drill press for this step.
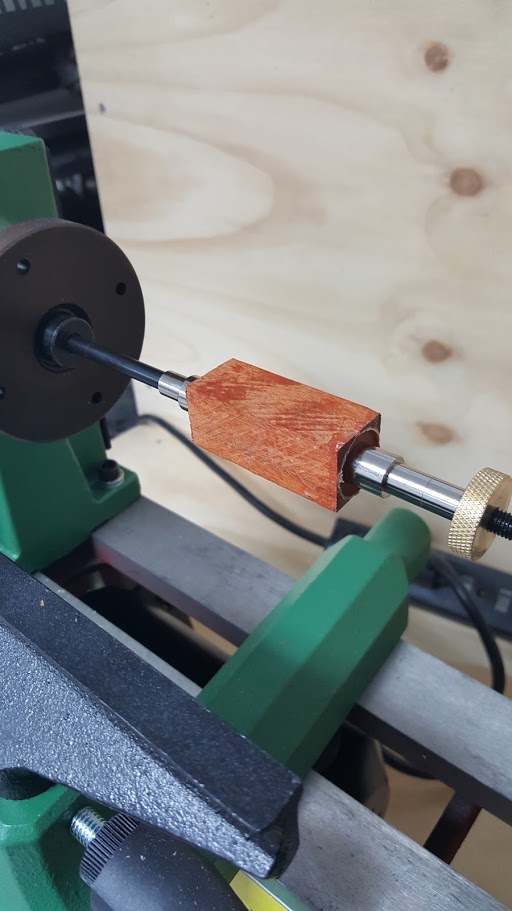
Step 5: Load your spacers, bushings, blank, etc onto the mandrel
Load the following onto your mandrel: a spacer or two, one of the blank bushings, your blank, the other bearing, and finally another spacer or two. The number of spacers you need will depend heavily on your pen. In this example we’re only turning one section, but some pens use two separate sections, so you’ll likely need fewer spacers to take up space on the mandrel. In the image below, I didn’t have enough spacers to fill the gap on the left side of the mandrel, so I had to wait for more to arrive. If you load your mandrel correctly, you should be able to spin the lathe headstock and have your blank turn, and vice versa (spin the blank, and the lathe should turn without slipping). You want it tight enough to spin correctly, but not so tight that you bend your mandrel rod.
Step 6: Start Turning!
Move your tool rest close to your blank, making sure the corners clear. Use a fast speed on your lathe (I’m using the max on mine at 3200 RPM). This is where a video will come in handy. I’ve linked to the appropriate timestamp of the video above here, he does a great job showing how to hold the tool and make the first cuts on the blank. Make sure to wear a face shield and safety glasses!
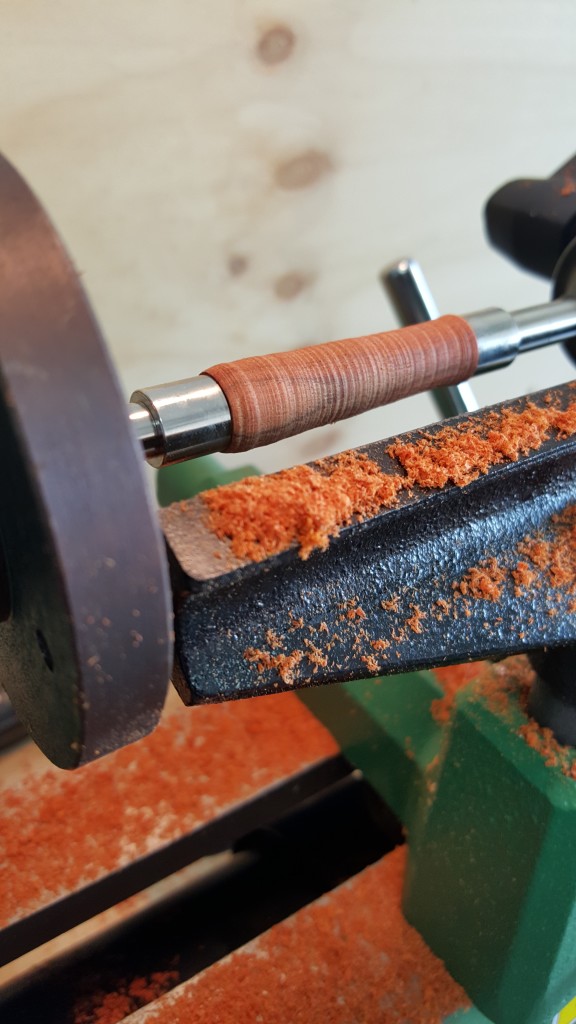
Step 7: Sanding
Once you have your blanks turned down to the profile you want (and nearly flush with the bushings at the end), it’s time to start sanding. You’ll spend most of your time on the lower grits, as you want to get rid of any excess material near the bushings so you don’t have an awkward shoulder between your blank and pen hardware. Fold your sandpaper into small squares and press up against the blank from the bottom, evenly removing material as the lathe spins. Take care not to sand down the bushings, as this will wear them out over time. After you finish each grit, turn the lathe off and gently sand parallel with the blank as you turn the lathe by hand to remove the circular sanding pattern introduced while sanding with the lathe on. The video above does a great job illustrating the sanding process. You can see the progress of the blank as I moved from 400 all the way to 800 grit in the slide show below. So satisfying seeing it shine after the steel wool:

Step 8: Finishing
Now that you’ve sanded everything down to perfection, lets add some friction shine! Here’s the stuff I’m using:
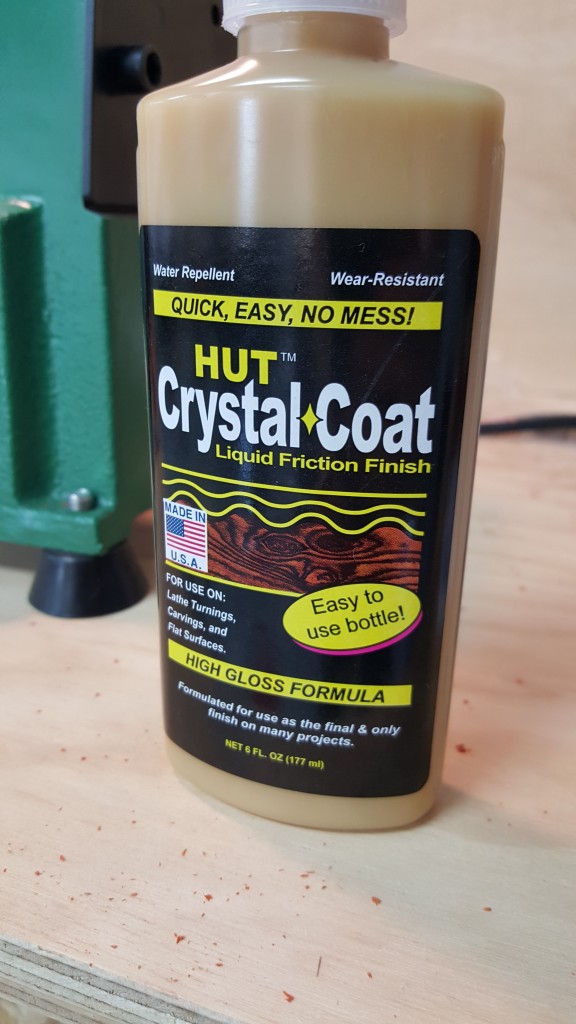
Put a small amount on your clean cloth and coat the pen blank well with the lathe off. Once coated, turn on the lathe and hold the cloth against the spinning blank (see video if you want a visual). Holding it in place over time causes heat, which cures the finish. Be careful not to let the cloth snag in the lathe. Using a small piece of cloth is the best bet. When you’re done with the finish, you should have a glowing pen like this:
Step 9: Assembly
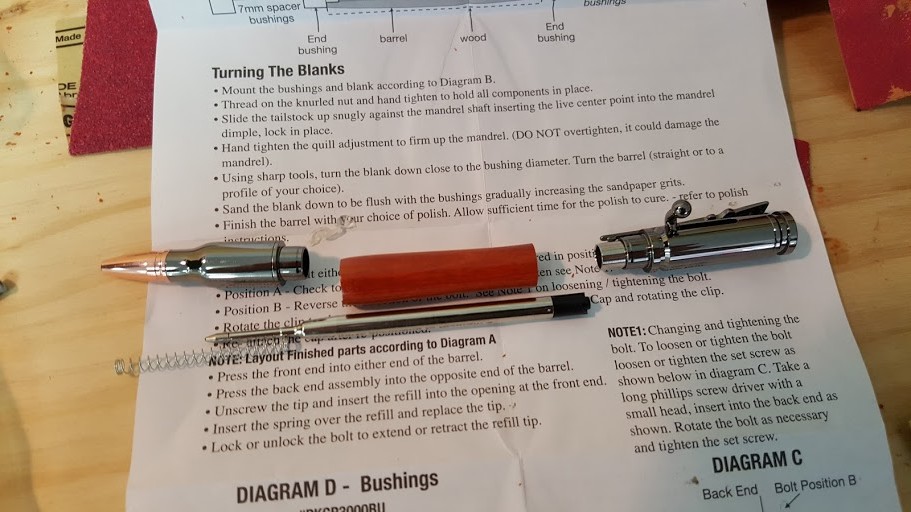
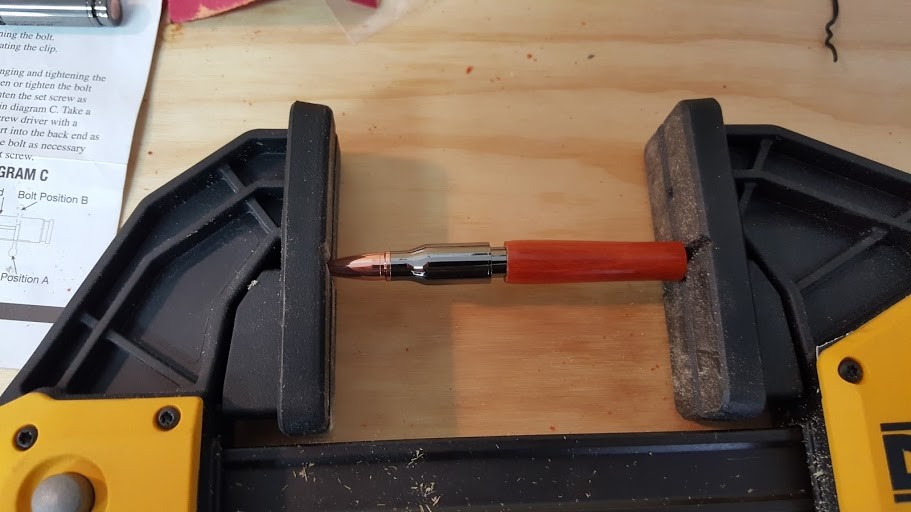
Almost there! They make special vices to put pens together, but I had no problems using a bar clamp with a large jaw. Follow your instructions carefully here, no need to ruin a perfect pen tube with poor assembly. Although the instructions for each pen will be slightly different, here’s how my hardware was laid out:
Step 10: Deal with your newfound addiction to pen making!
And we’re done! With some practice, pens can be completed in half an hour or less. Here are a few more I’ve done: