
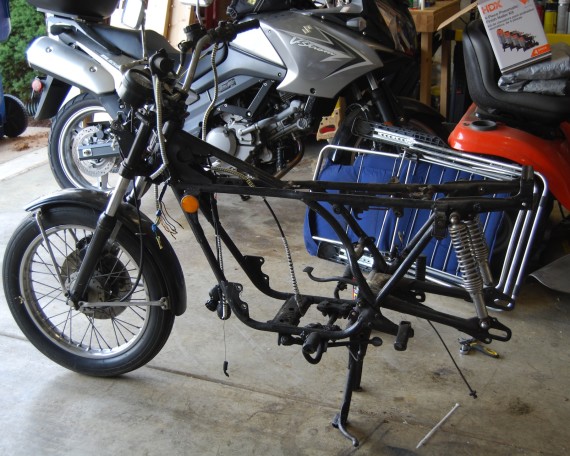
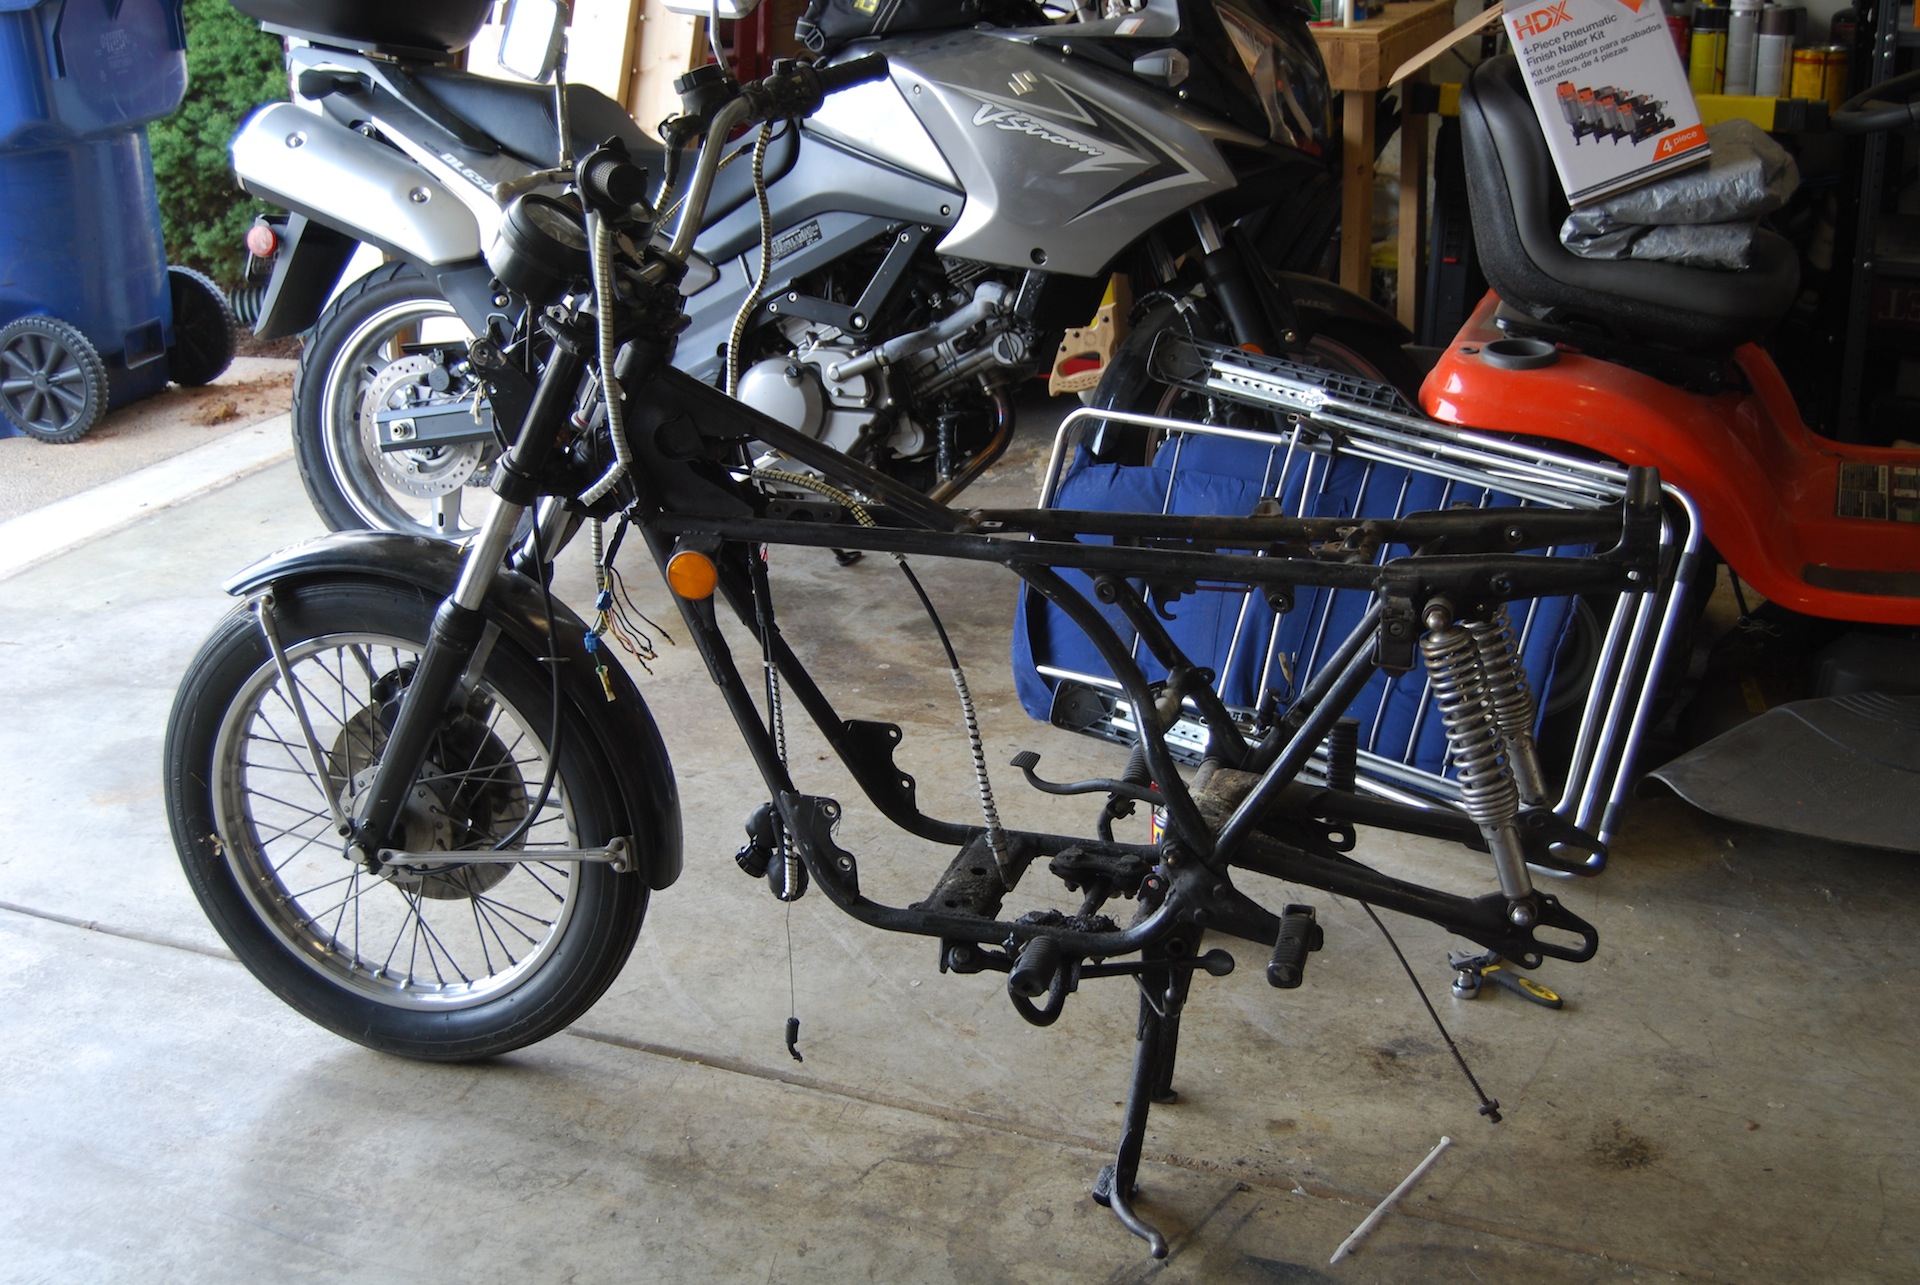
RD250 Cafe – Gauges, Front Fender, & Rear Suspension
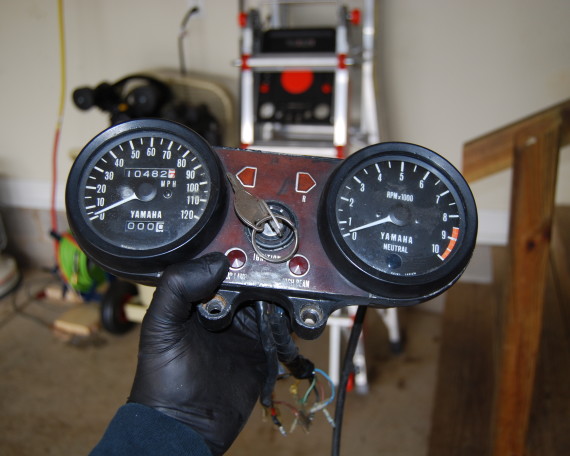
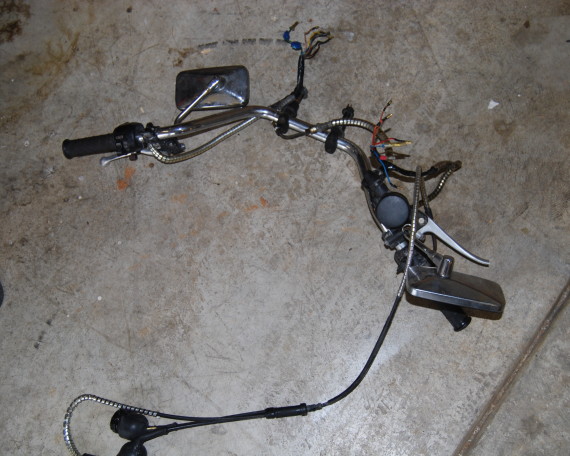
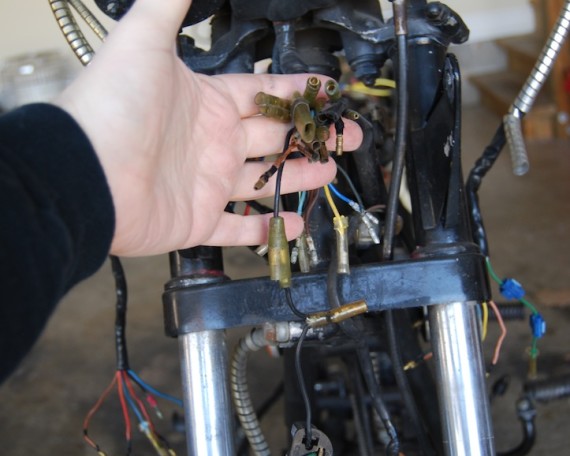
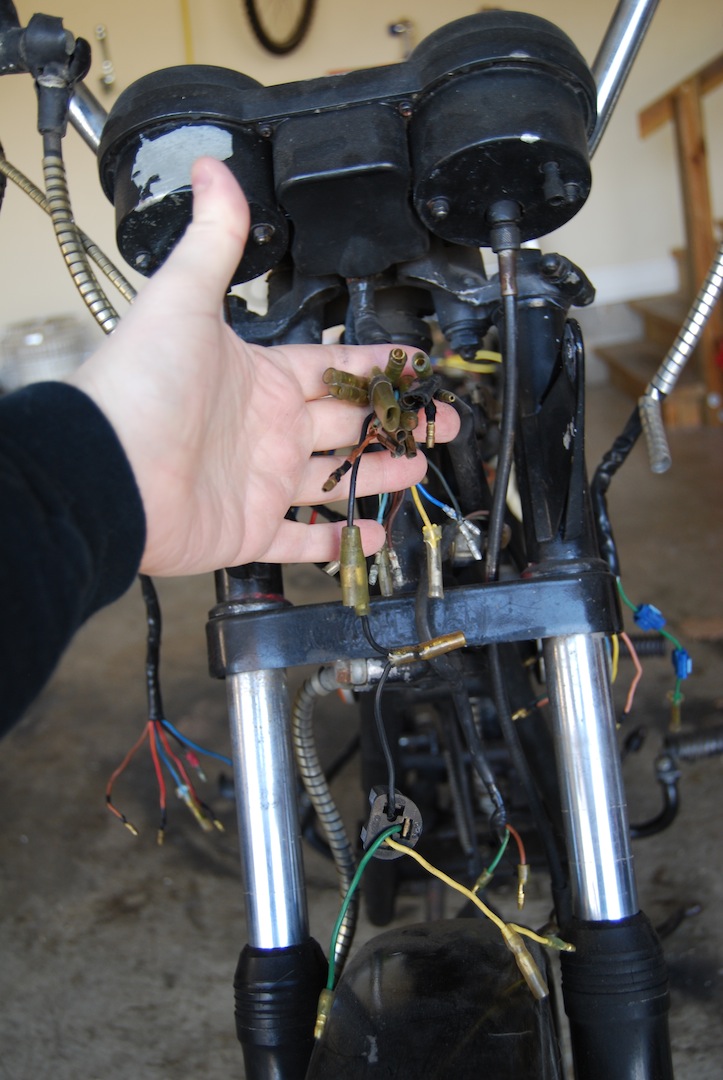
With the handlebars removed, the next step is to remove the gauge cluster. We can also start removing other bits as well as we work our way towards a bare frame. Also on the hit list are the front fender and rear forks. Gauge Cluster Lets start with the gauge cluster. It’s held in place


