
DIY SCUBA noise makers made from PVC and stainless steel ball bearings
Intro
My wife and I went on a couple of dives in Destin, FL, USA over our summer vacation. The first was an awesome boat dive chartered through ScubaTech. Aside from nearly losing my new GoPro on the bottom of the ocean, it was uneventful and extremely enjoyable.
The next day we (mainly me) decided to try our first solo shore dive. The Destin Jetties are a popular shore diving location, and after renting our gear and lugging it 150 yards from the car in loose sand in the summer sun, we were ready to dive. The Jetties were very crowded (boats, snorkelers, dive classes, etc), and this was my first time towing a dive flag (which I will NEVER do again). After roughly 35 minutes on the bottom we were both following our course back towards the shore. I suddenly became aware of some rather intense currents. As I found myself getting pulled up and away from my wife, I frantically tried to make noise so she would know to begin her ascent. Between struggling with the tow line, and focusing on getting my wife’s attention, I neglected to dump the expanding air from my BC and shot up to the surface. Thankfully we had been at a shallower depth for a while, so no issues with the fast ascent (although DEFINITELY not recommended). My wife eventually noticed I was missing, she stuck to her training and looked around for 1 minute, then surfaced about 20ft from me. As we exited the water, I resolved to buy or make some kind of noise maker to bring with me next time. Obviously the better solutions are proper buoyancy control and staying next to your buddy, but this gives you a last ditch effort to get someone’s attention.
Materials
- 4″ of 1/2″ diameter PVC pipe (I was able to get a 2′ section of this pipe at Home Depot)
- 2x 1/2″ pipe caps
- 1/4″ Stainless Steel Ball Bearings (I used 10 in each of my shakers, you can use more or less) – Available at McMaster Carr in 50 packs
- Spray Paint (I used matte black on the pipes and pink/yellow fluorescent on the end caps)
- PVC Cement
- 11/64″ Drill Bit
- Nylon cord or Paracord (~18″ per shaker)
- Masking/Painters tape
Step 0: Cut and Drill PVC
11/64″ holes drilled to make the shakers neutrally buoyant.
If you got a larger section of PVC pipe, cut it down to about 4″. In order to keep the shaker from floating in the water, we want to allow it to fill with water without letting any of the bearings escape. Drill 3 11/64″ holes evenly along the length of the pipe. These holes will allow water to enter but are small enough to keep the bearings from escaping.
Step 1: Tape and Paint the Pipes
A screw and some thread make it easy to hang the pipes for painting
Tape the very ends of the pipes with some masking tape . This keeps spray paint off the ends and lets the PVC cement adhere better. You can use the end caps as a rough guide as to how much tape to use, but they may be difficult to remove once in place. I hung the pipes using some screws and cord from an old ladder before painting. A couple of coats of matte black and them leave them to dry while you prepare the caps.
Step 2: Drill Cap Holes, Thread and Test Cord
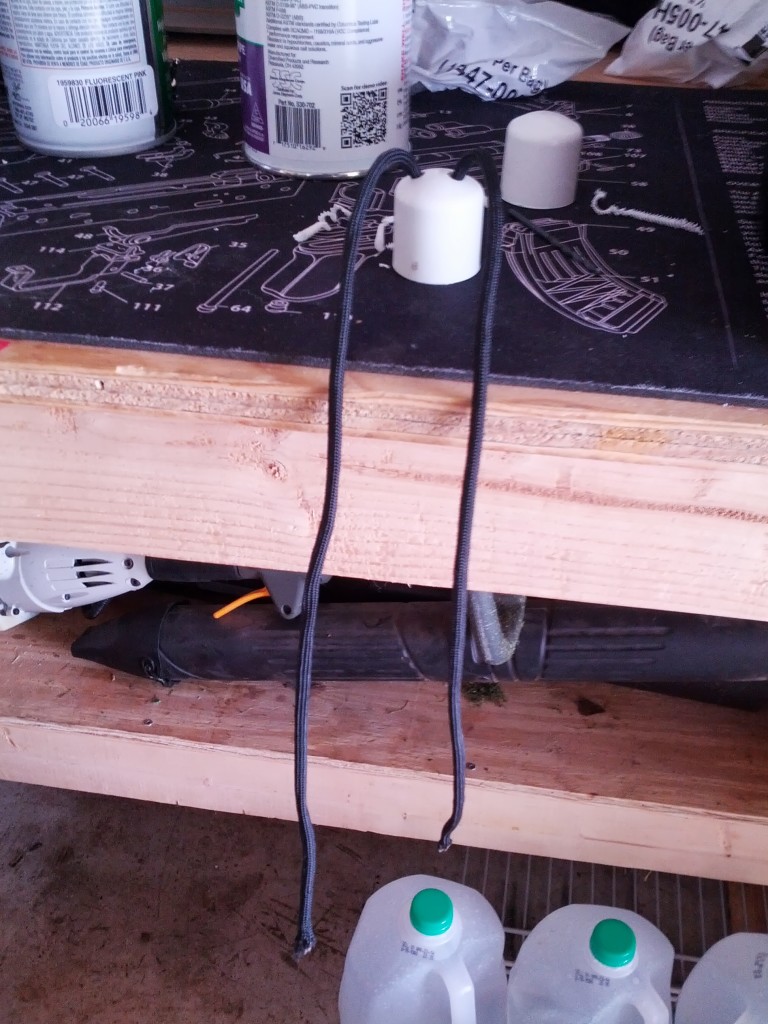
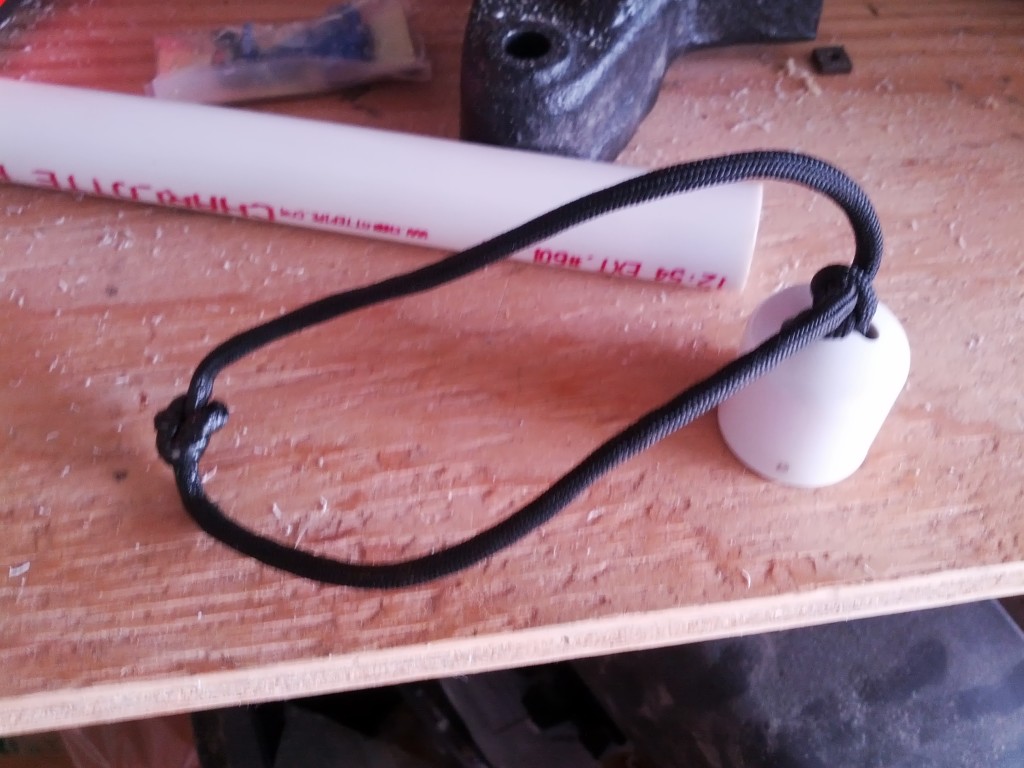
While the tubes are drying, it’s now time to prepare the cap for it’s cord. Select one cap and drill two holes across from each other on the top. Test fit the cord to make sure you have enough length. Ideally you’ll have a 5 – 6″ loop in the end so that you can fit your tube back through it (in order to attach it to a D-ring or loop on your BC). Once you’re happy with the cord setup, remove it completely from your cap and set it aside. You’ll reinstall it after you paint the caps.
Step 3: Paint the Caps and Assemble
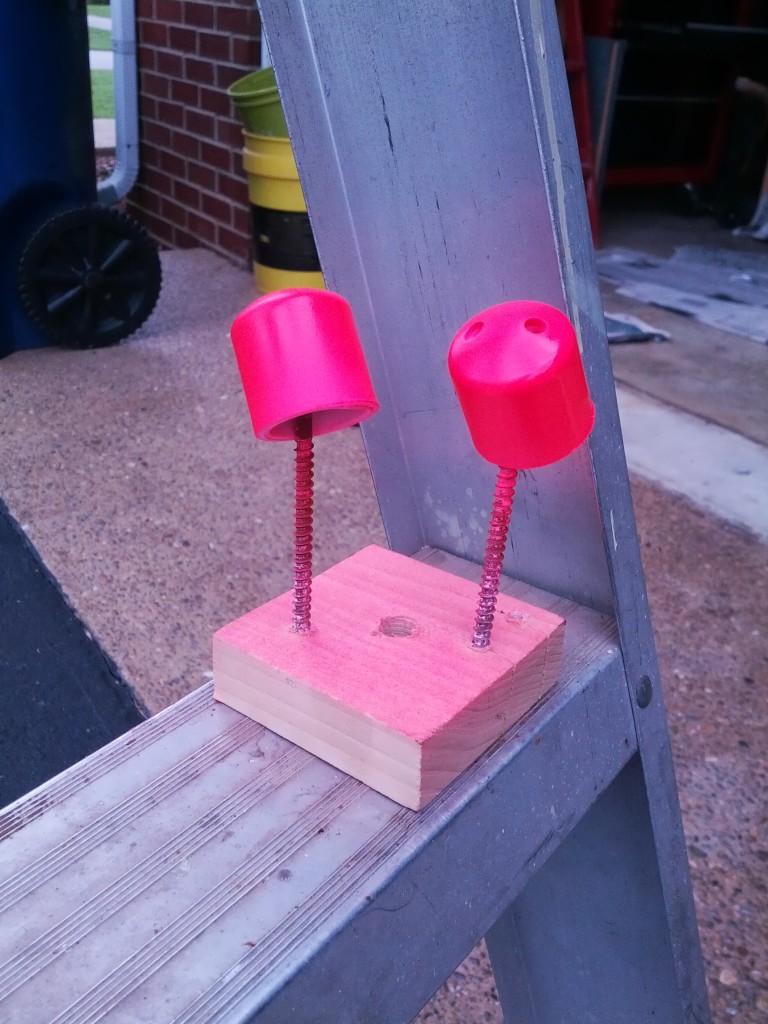
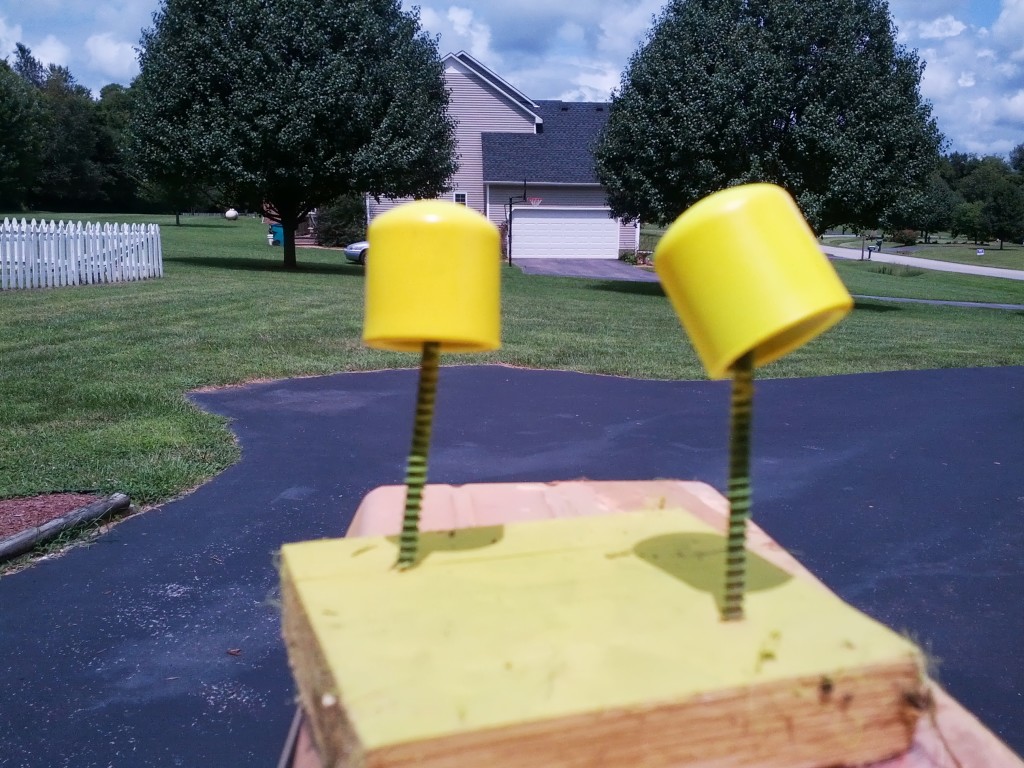
Almost there! Paint the caps however you please. I suspended mine on some screws and scrap wood. Make sure you clean the caps off first, dirt and grime will show up through the paint in most cases. Once the caps are dry, it’s time to attach the end cap that does NOT have holes drilled. Put a little PVC cement on the non-painted portion of the tubes and press the cap into place. Be sure not to get any cement on the inside of the cap, as your bearings may stick if you add them before it dries. Now add 5 – 10 ball bearings to your tube. You can cover the other end with your hand and shake to make sure you are getting the proper amount of rattle. Once satisfied, retie the cord to your other end cap, put cement on the tube, and press into place. Done!
Wendy