
My group of buddies here in town loves to play tabletop games as an excuse to get together and drink homebrew, eat pizza, and catch up with each other at the end of the week. I generally act as the “Game Master” for these games, and have always been a fan of computer generated maps. Before I go further, let me show you the “bleeding edge” technology we used in the beginning for displaying maps we could play on:

That’s right, two cheap tripods, some 2×4’s, a cheap bathroom mirror, and an old projector that usually displays an “OVERHEAT” warning after an hour. It worked for us, but as they say, necessity is the mother of invention, and we needed something better. Enter the virtual gaming table.
![[tabletop] finished table](http://www.castleseven.net/wp-content/uploads/2016/02/tvm1RUU-1024x576.jpg)
The table has two computers setup to run RPTools MapTool software. The first computer is the All-In-One sitting on top of the table. It serves as the “master” PC, and actually hosts the MapTools game for the second PC (which is mounted under the table). The second PC runs the content on the embedded TV and GM “cheater screen” (the angled monitor embedded in the table). The cheater screen lets the GM see exactly what the players are seeing on the TV without needing to awkwardly peer around the All-In-One.
The coolest feature of all is the tabletop mouse we use to let players move their tokens around. Using a wiimote attached to the ceiling and acting as an IR camera for the TV PC, paired with Smoothboard Air software, we can translate a bright area of infrared light into a mouse click. With a small hacked together IR token, we get a tabletop mouse that lets players interact with their onscreen tokens as if they were physical tokens.
BUILD LOG:
If you want to see the steps I took to put this beast together, keep reading! And here’s the sketchup file if you want to look at dimensions: Table.skp
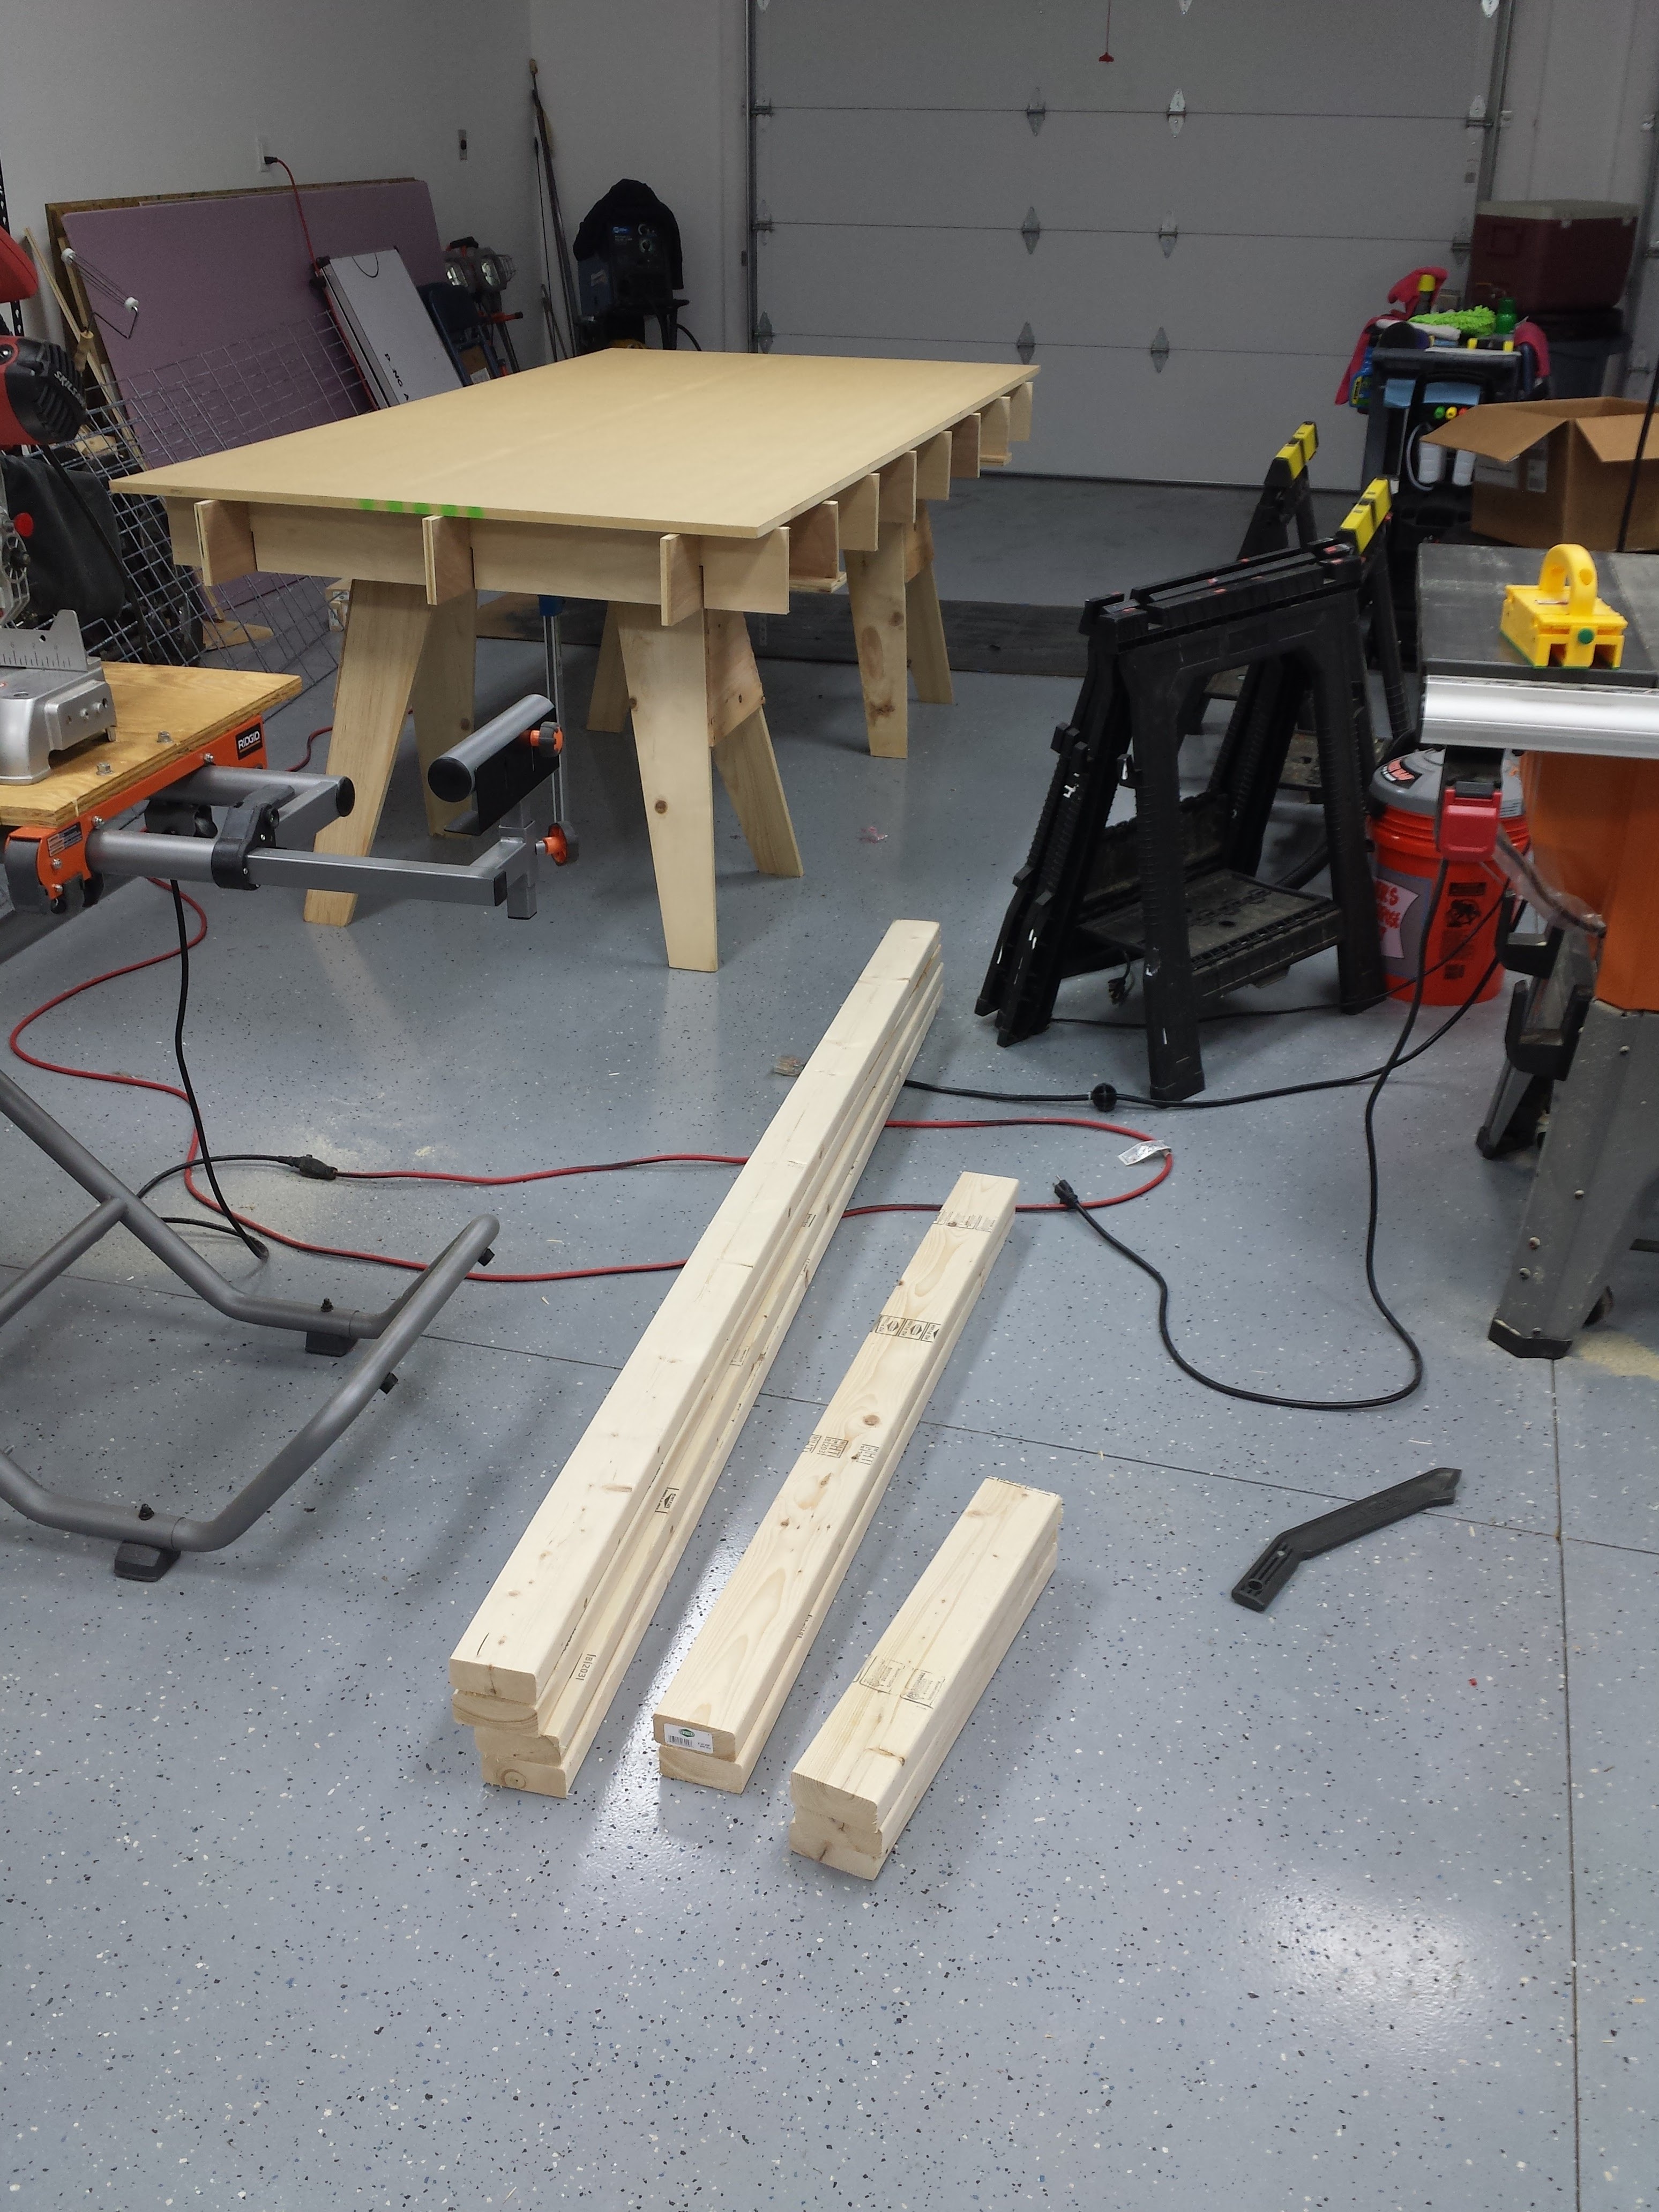
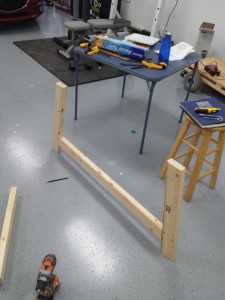
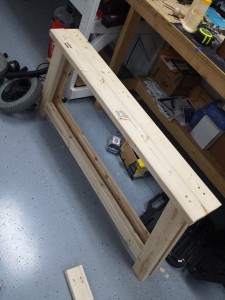
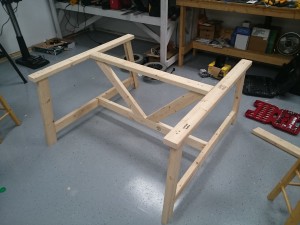
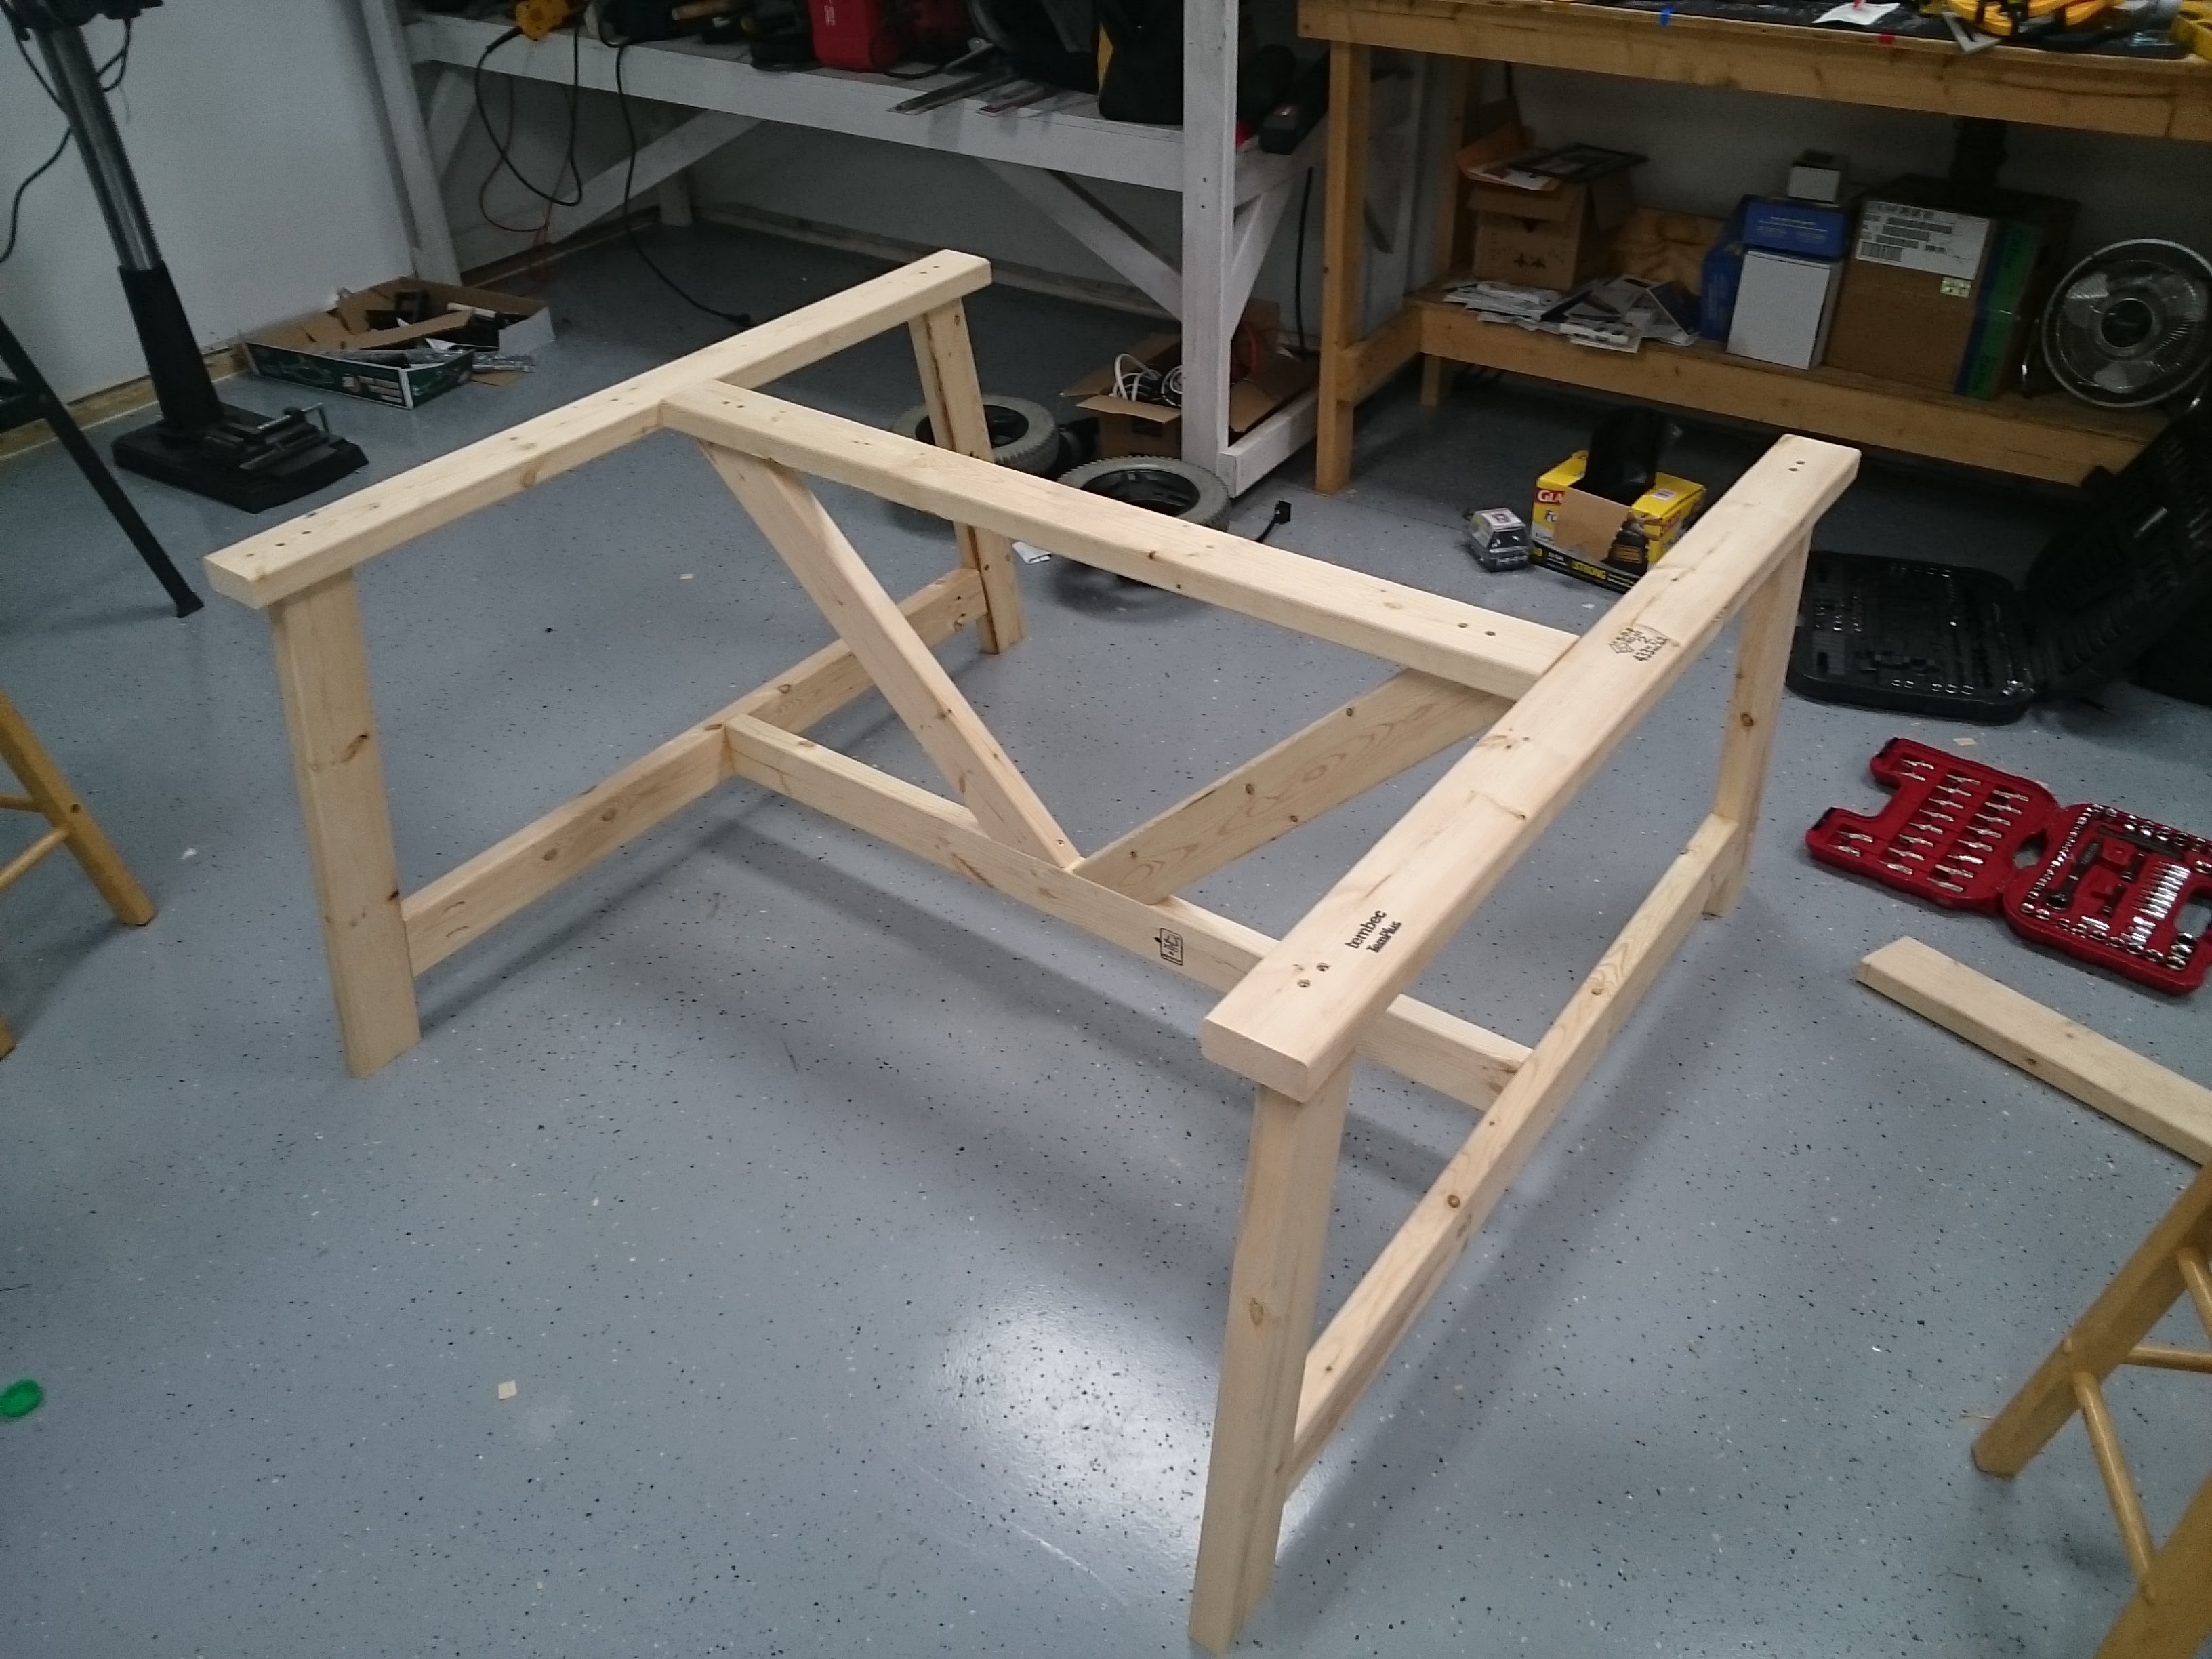
STEP 1: The Frame
-
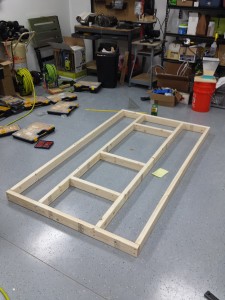
- Assembled Frame

-

- Frame Pieces
I planned the table top to be 4′ x 7′, with the TV offset from center more towards the players side. The framing gives attachment points for the legs as well as providing a cavity for the TV and monitor to sit in. I wanted to make sure everyone had nearly the same playing area, and that the GM had plenty of room for all the extra items that are required to run a game. ![[tabletop] Player Area Comparison](http://www.castleseven.net/wp-content/uploads/2016/03/Player-Area-Comparison.jpg)
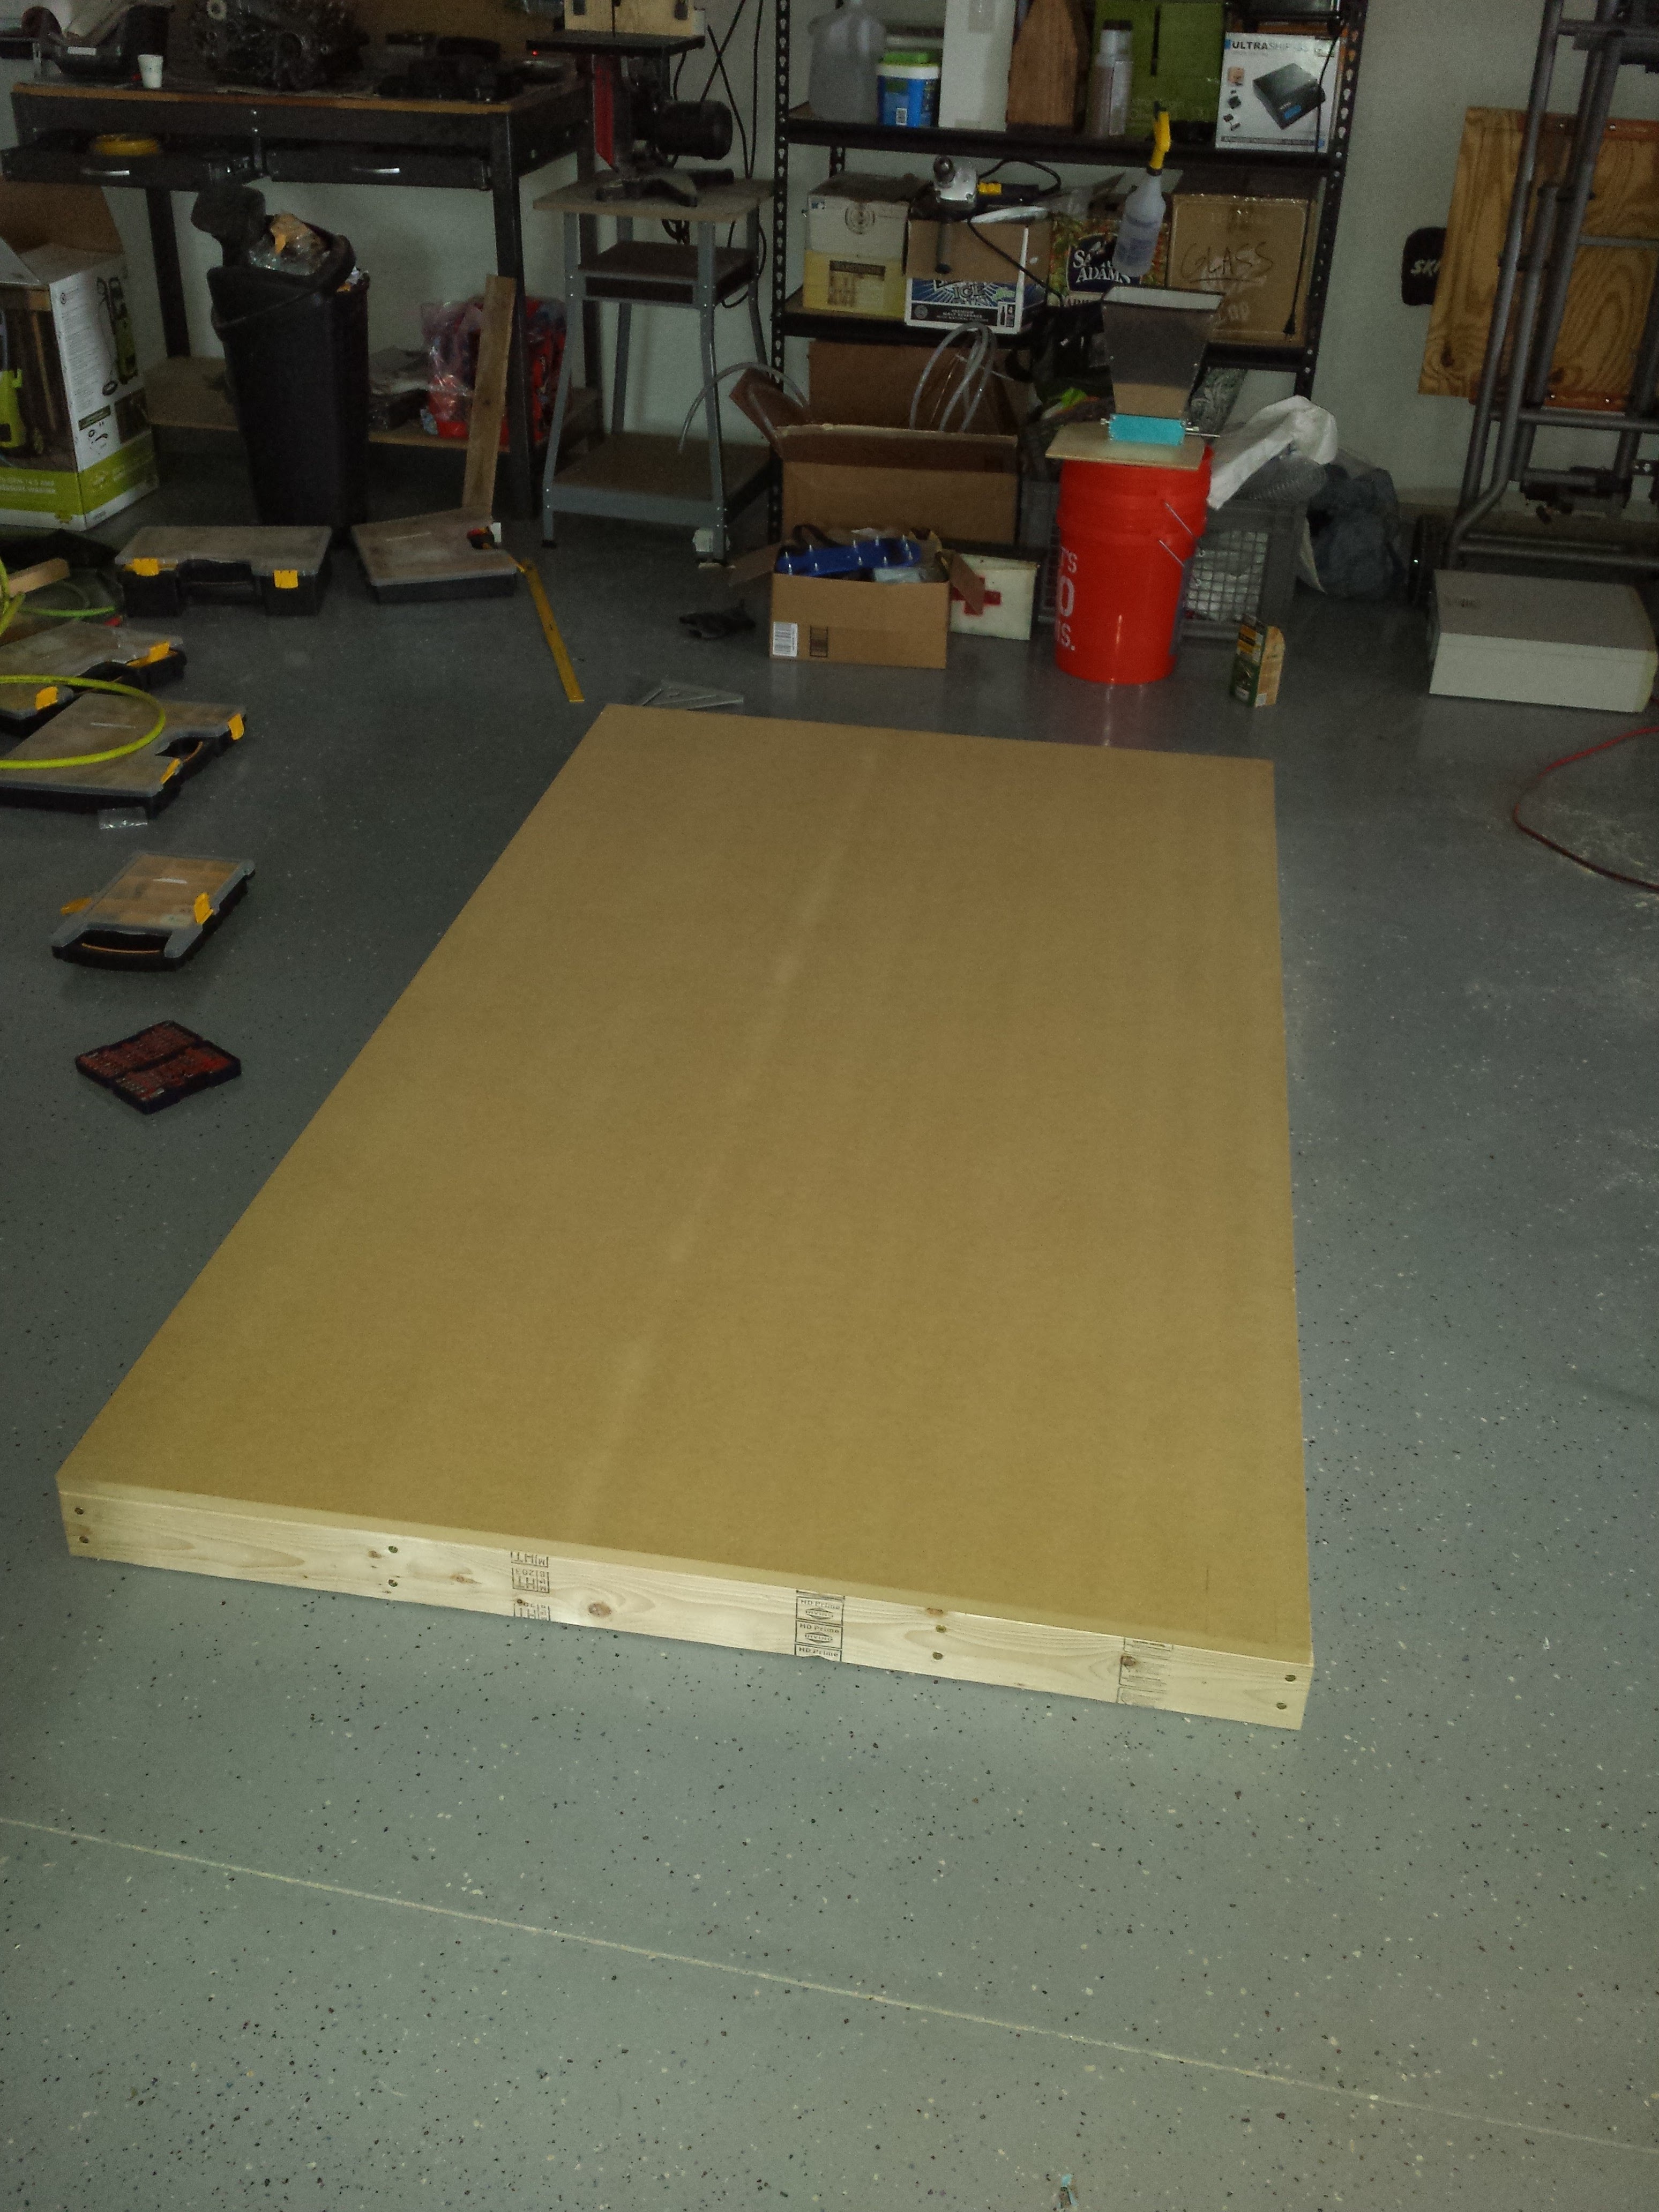
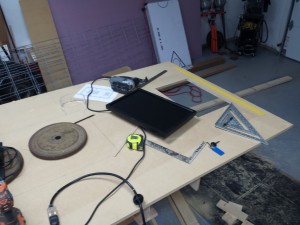
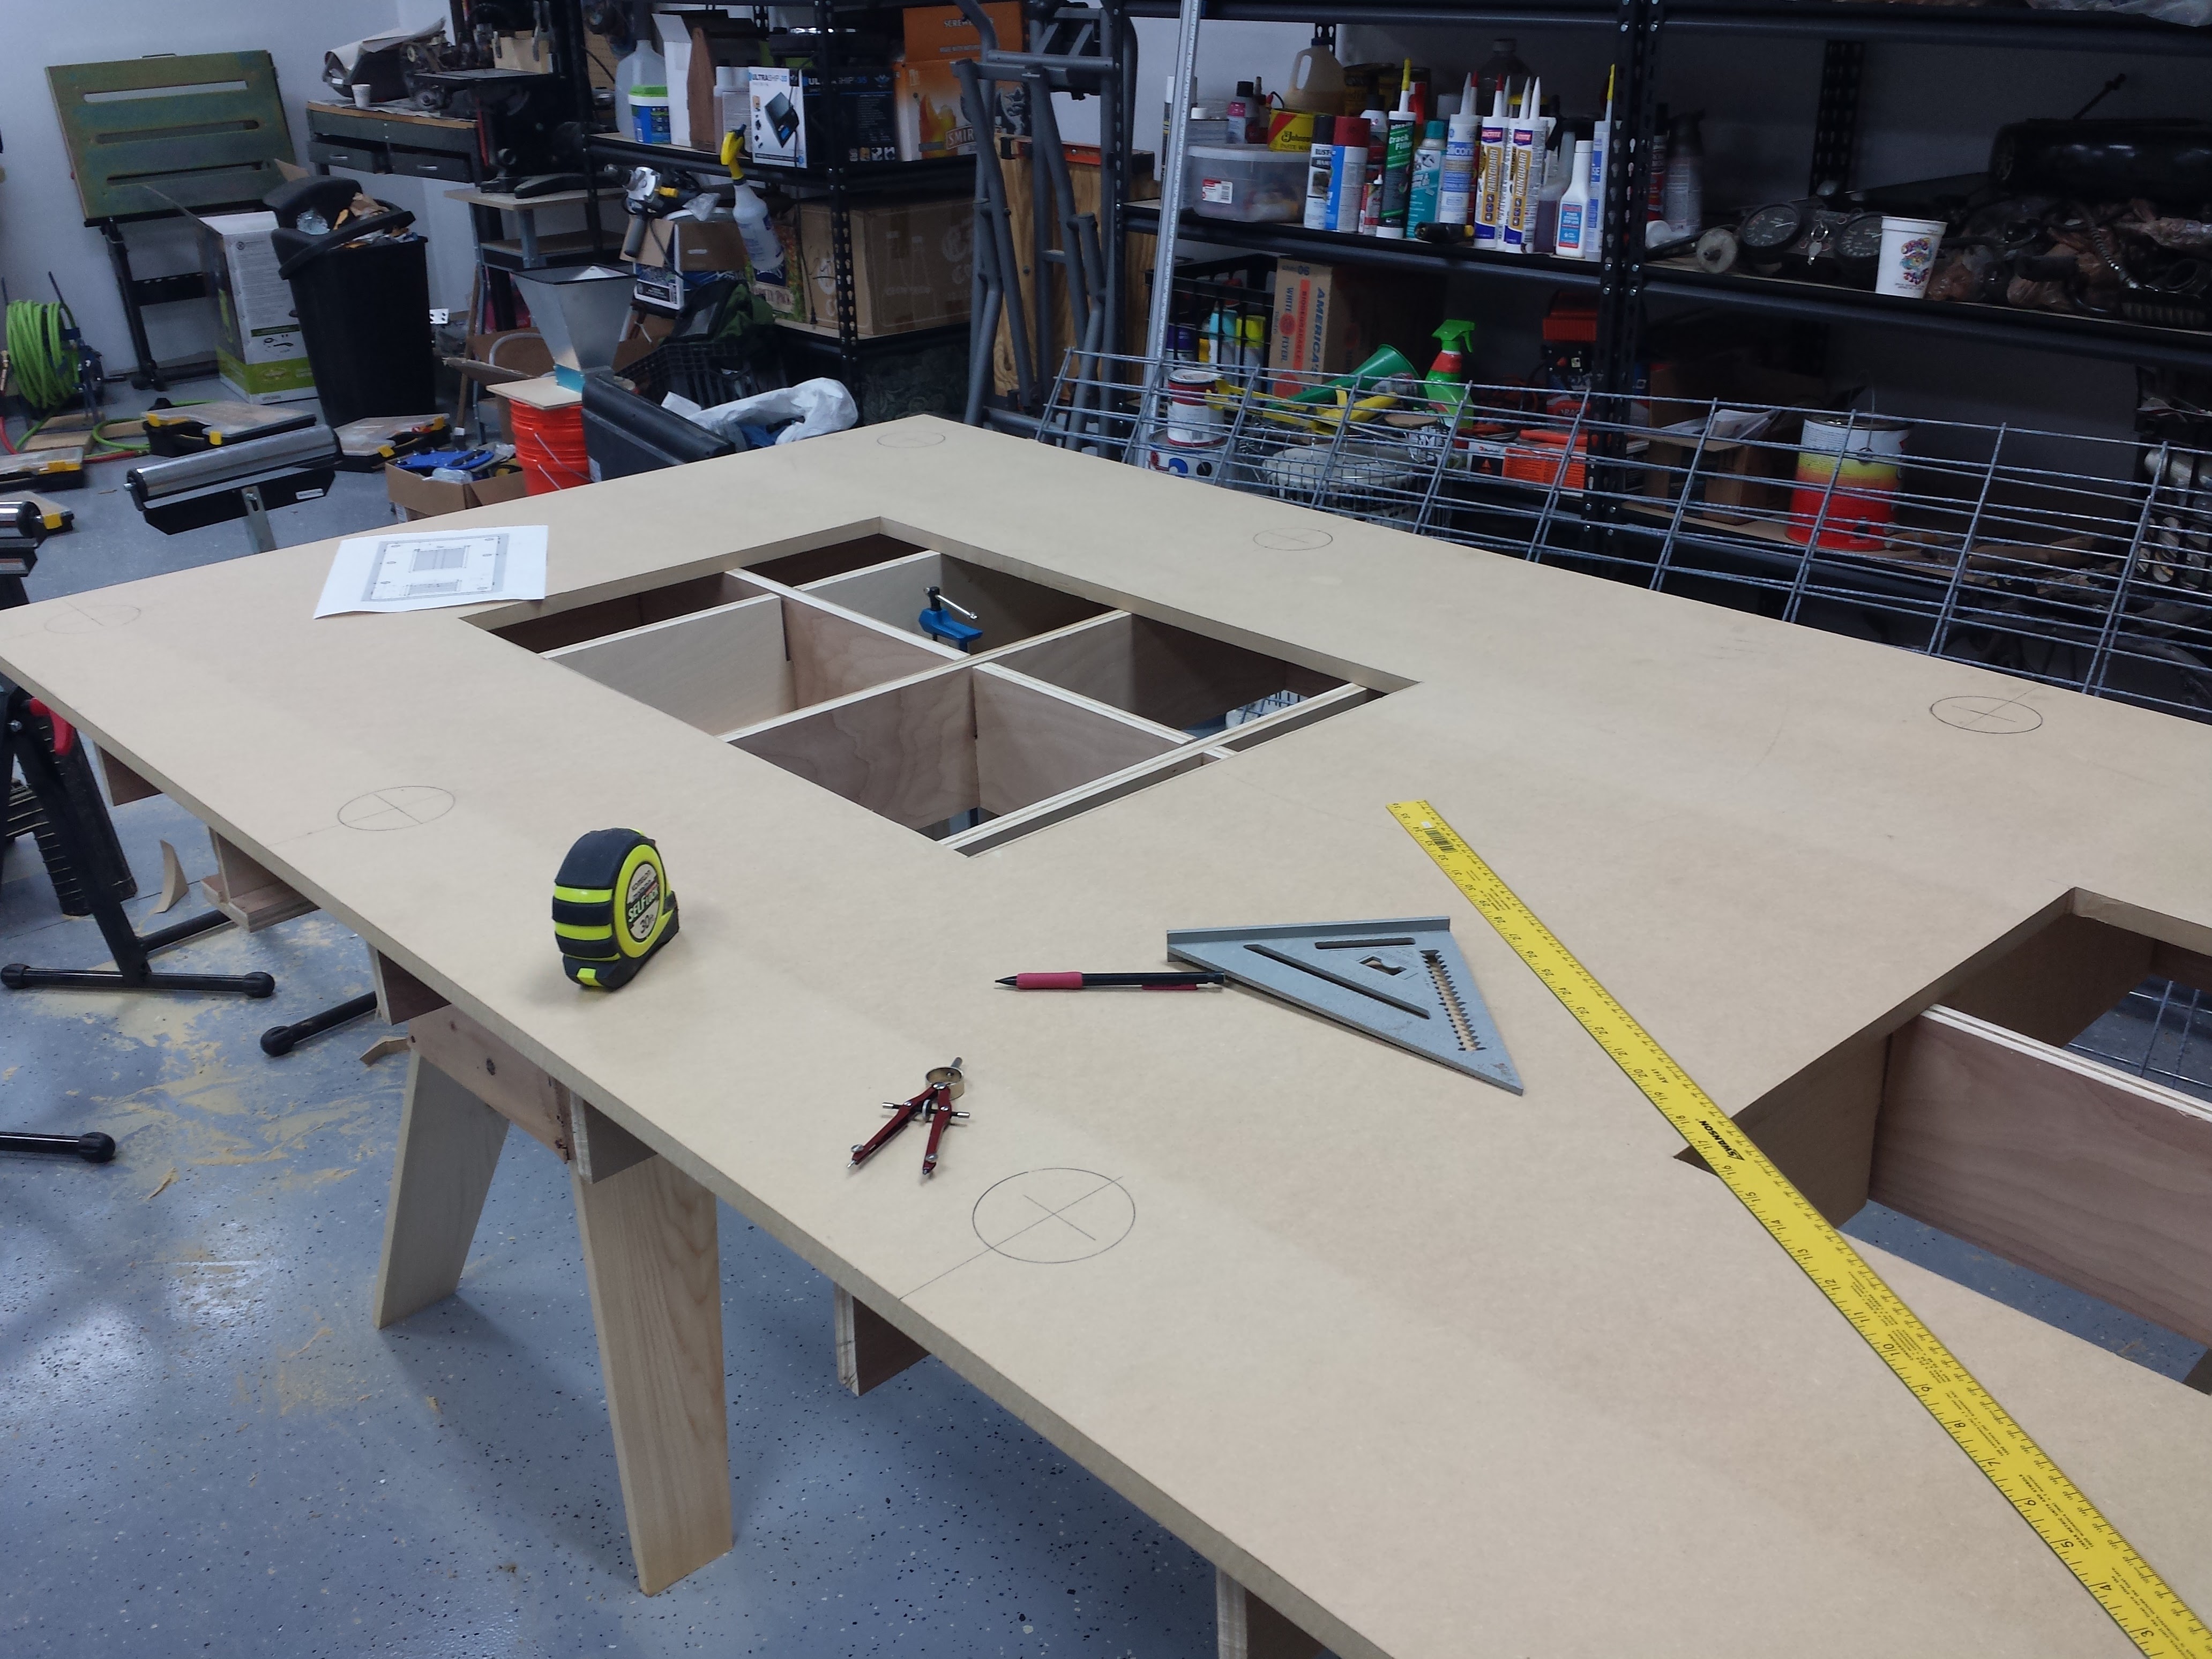
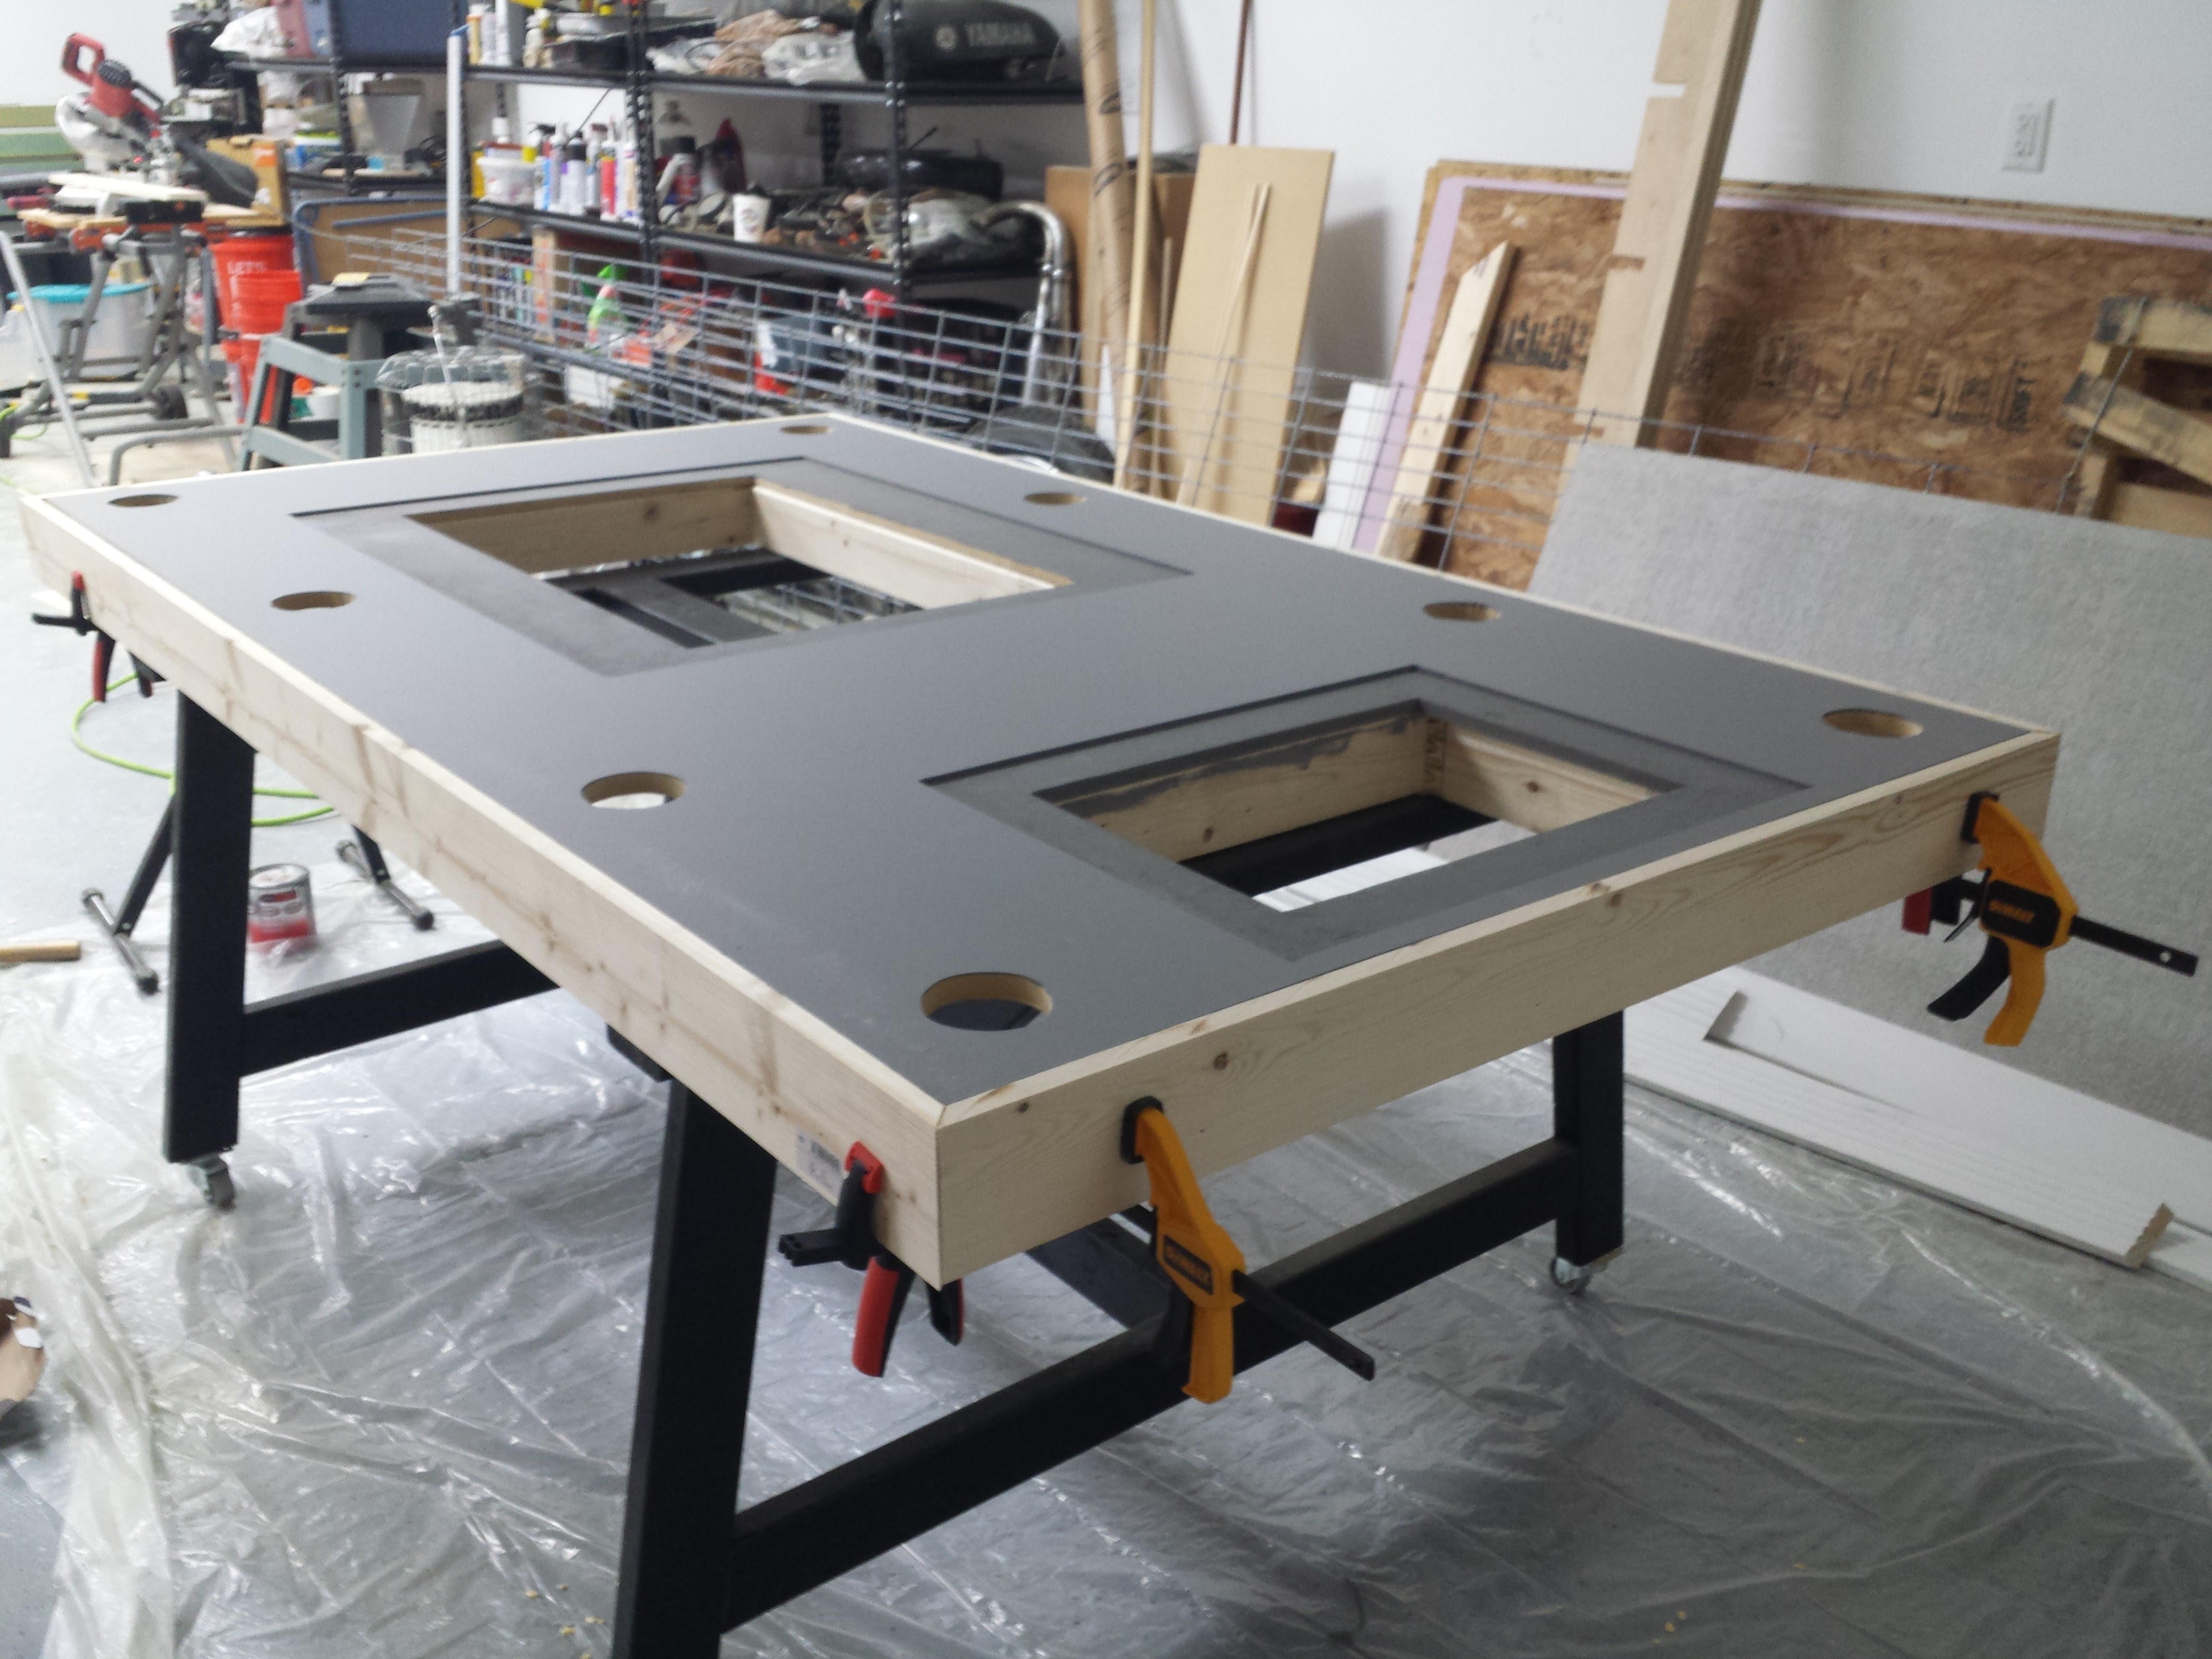
Step 2: The Tabletop
I elected to create the Tabletop out of 3/4″ MDF. The pros of MDF are how easy it is to work with. Rip cuts, hole cuts, any cut is really easy. The downside is the dust. Make sure you have a really good respirator and cancer insurance. I used a jigsaw for the larger square holes and successive router cuts on the cupholders.
-

- Top Cut to Size
-
- Hole for Cheater Screen

-

- Hole for TV
-
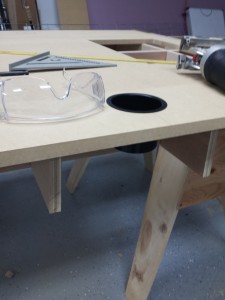
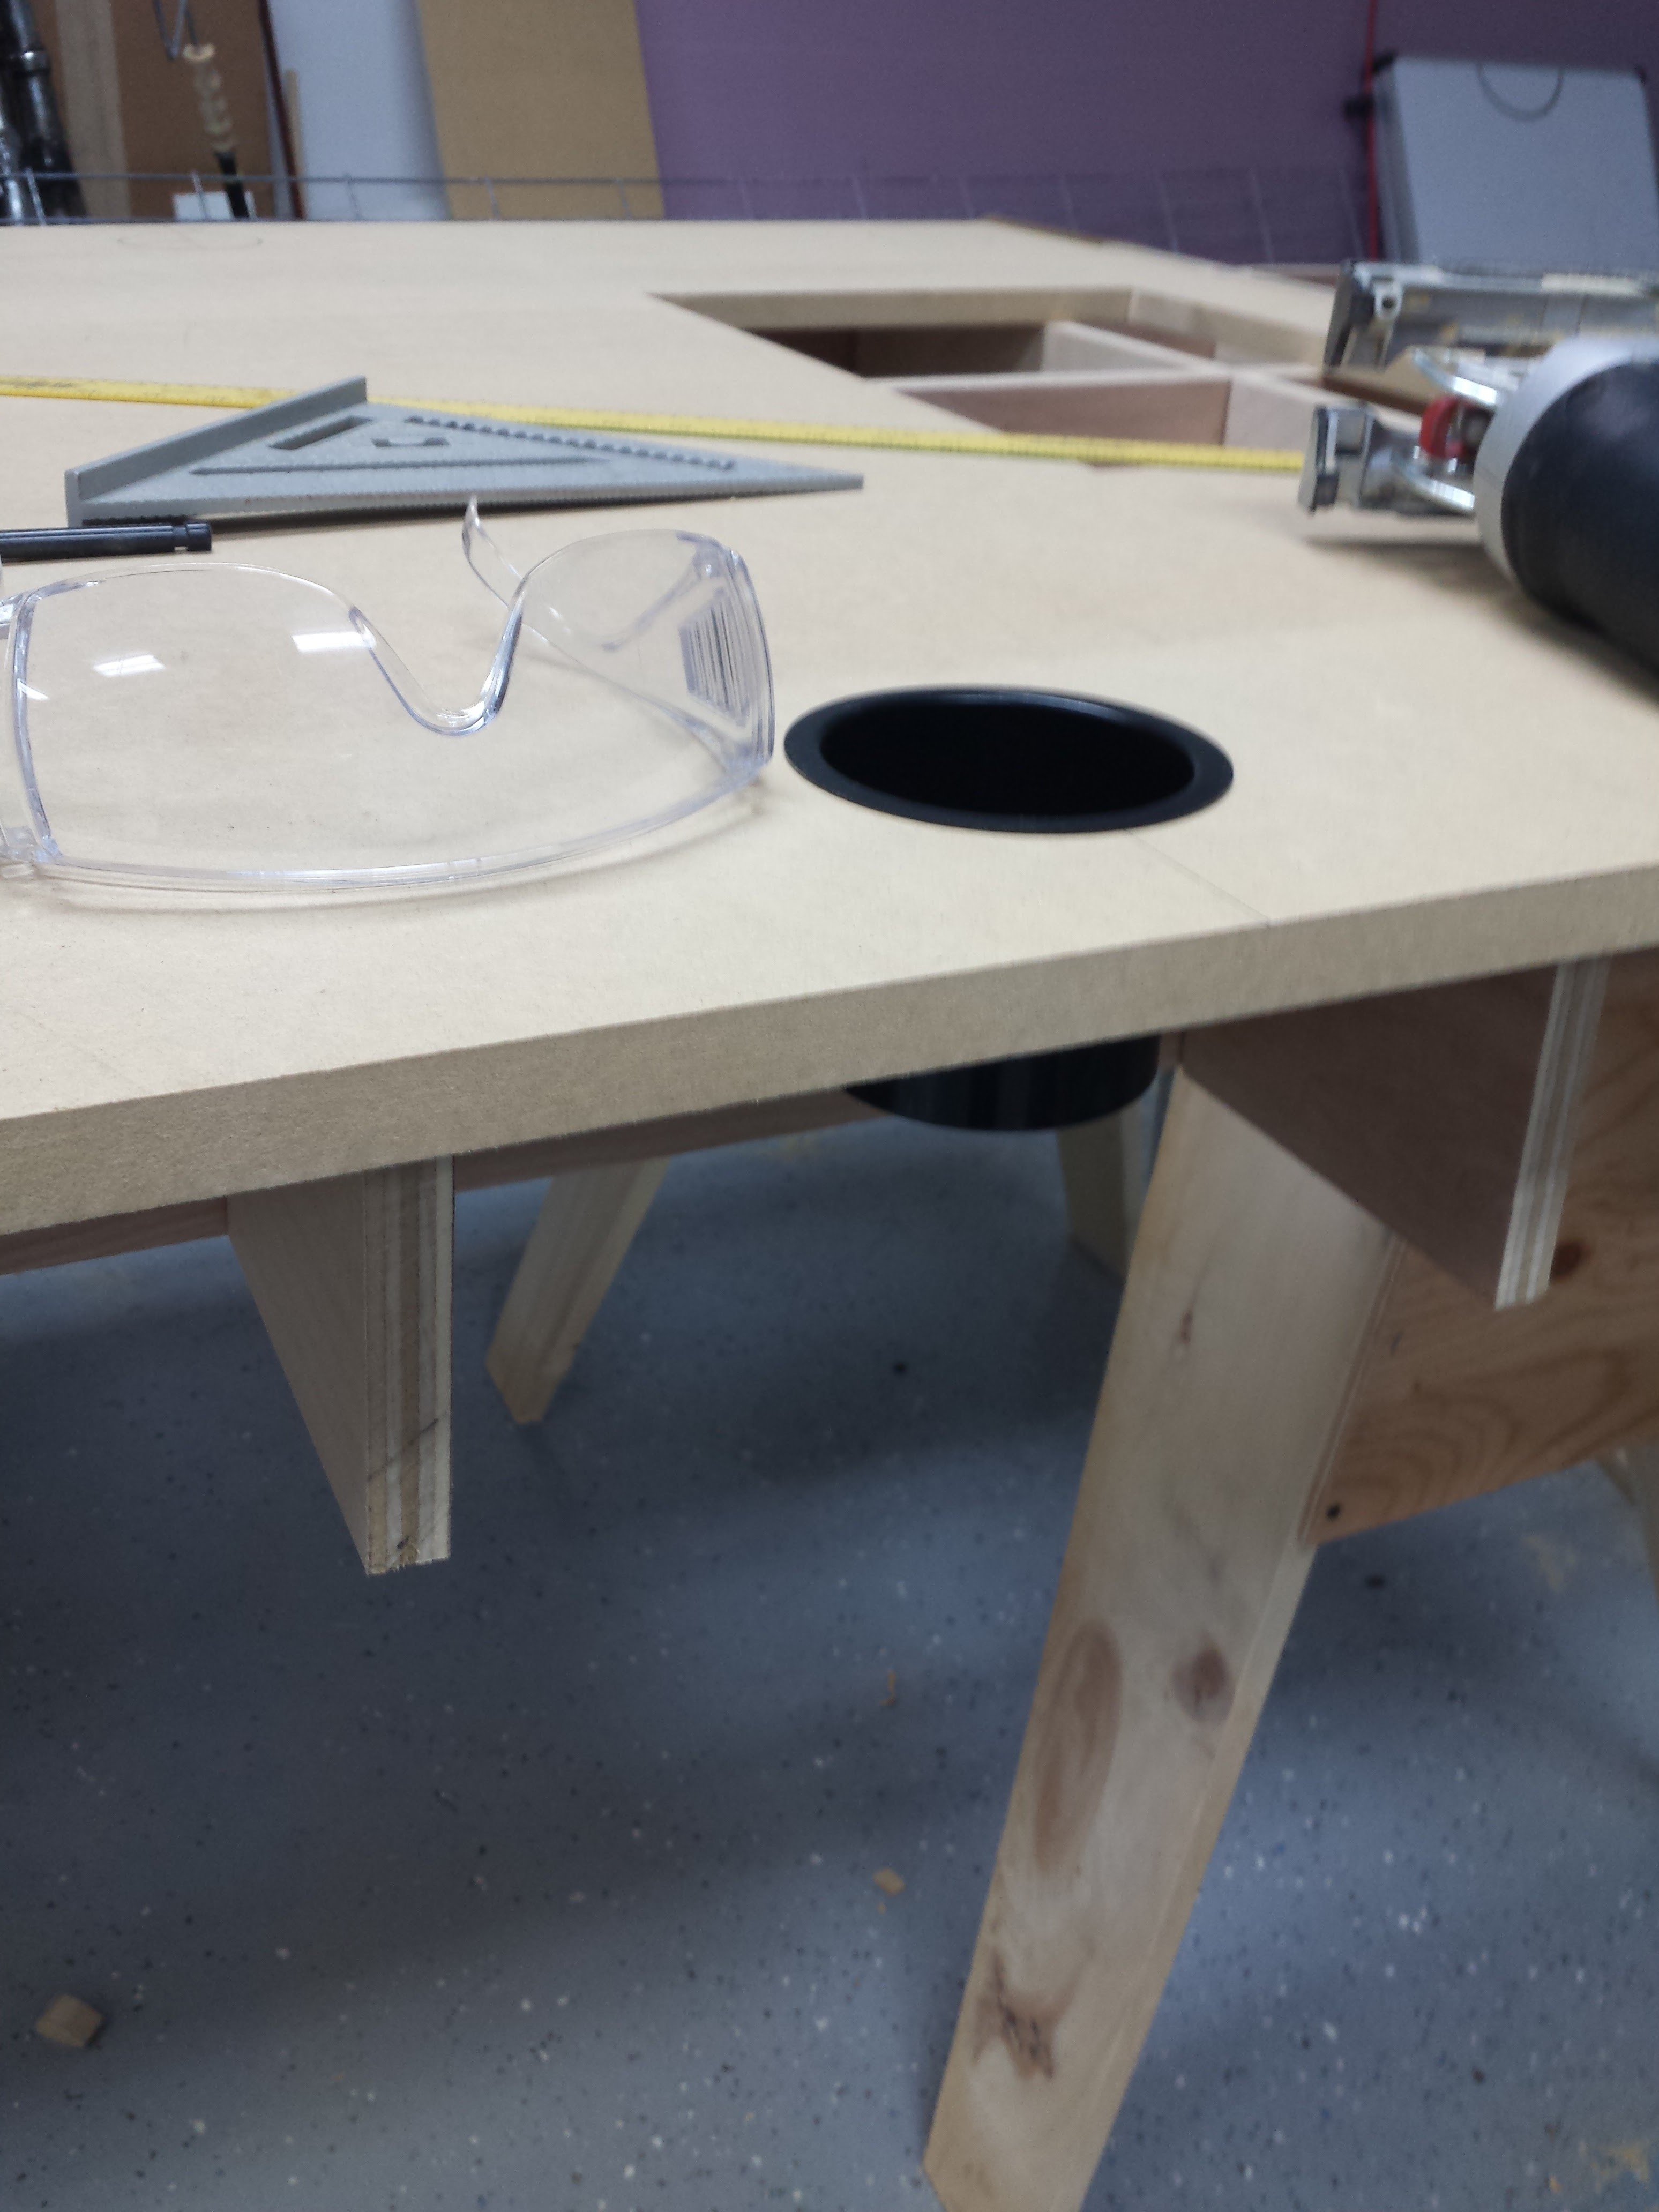
- 8 cupholders
I was excited to see the hole placement after creating pounds and pounds of MDF dust. I don’t think my garage will ever be clean again.
All Holes Cut
Step 3: Combine Frame and Tabletop
After a quick sanity check that the TV and monitor we acquired would fit into the frame and holes, I glued and nailed the MDF tabletop to the 2×4 frame structure.
-
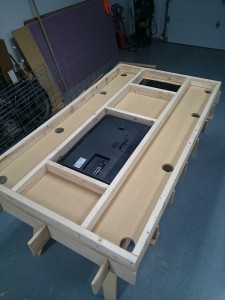
- Test fitting the HW
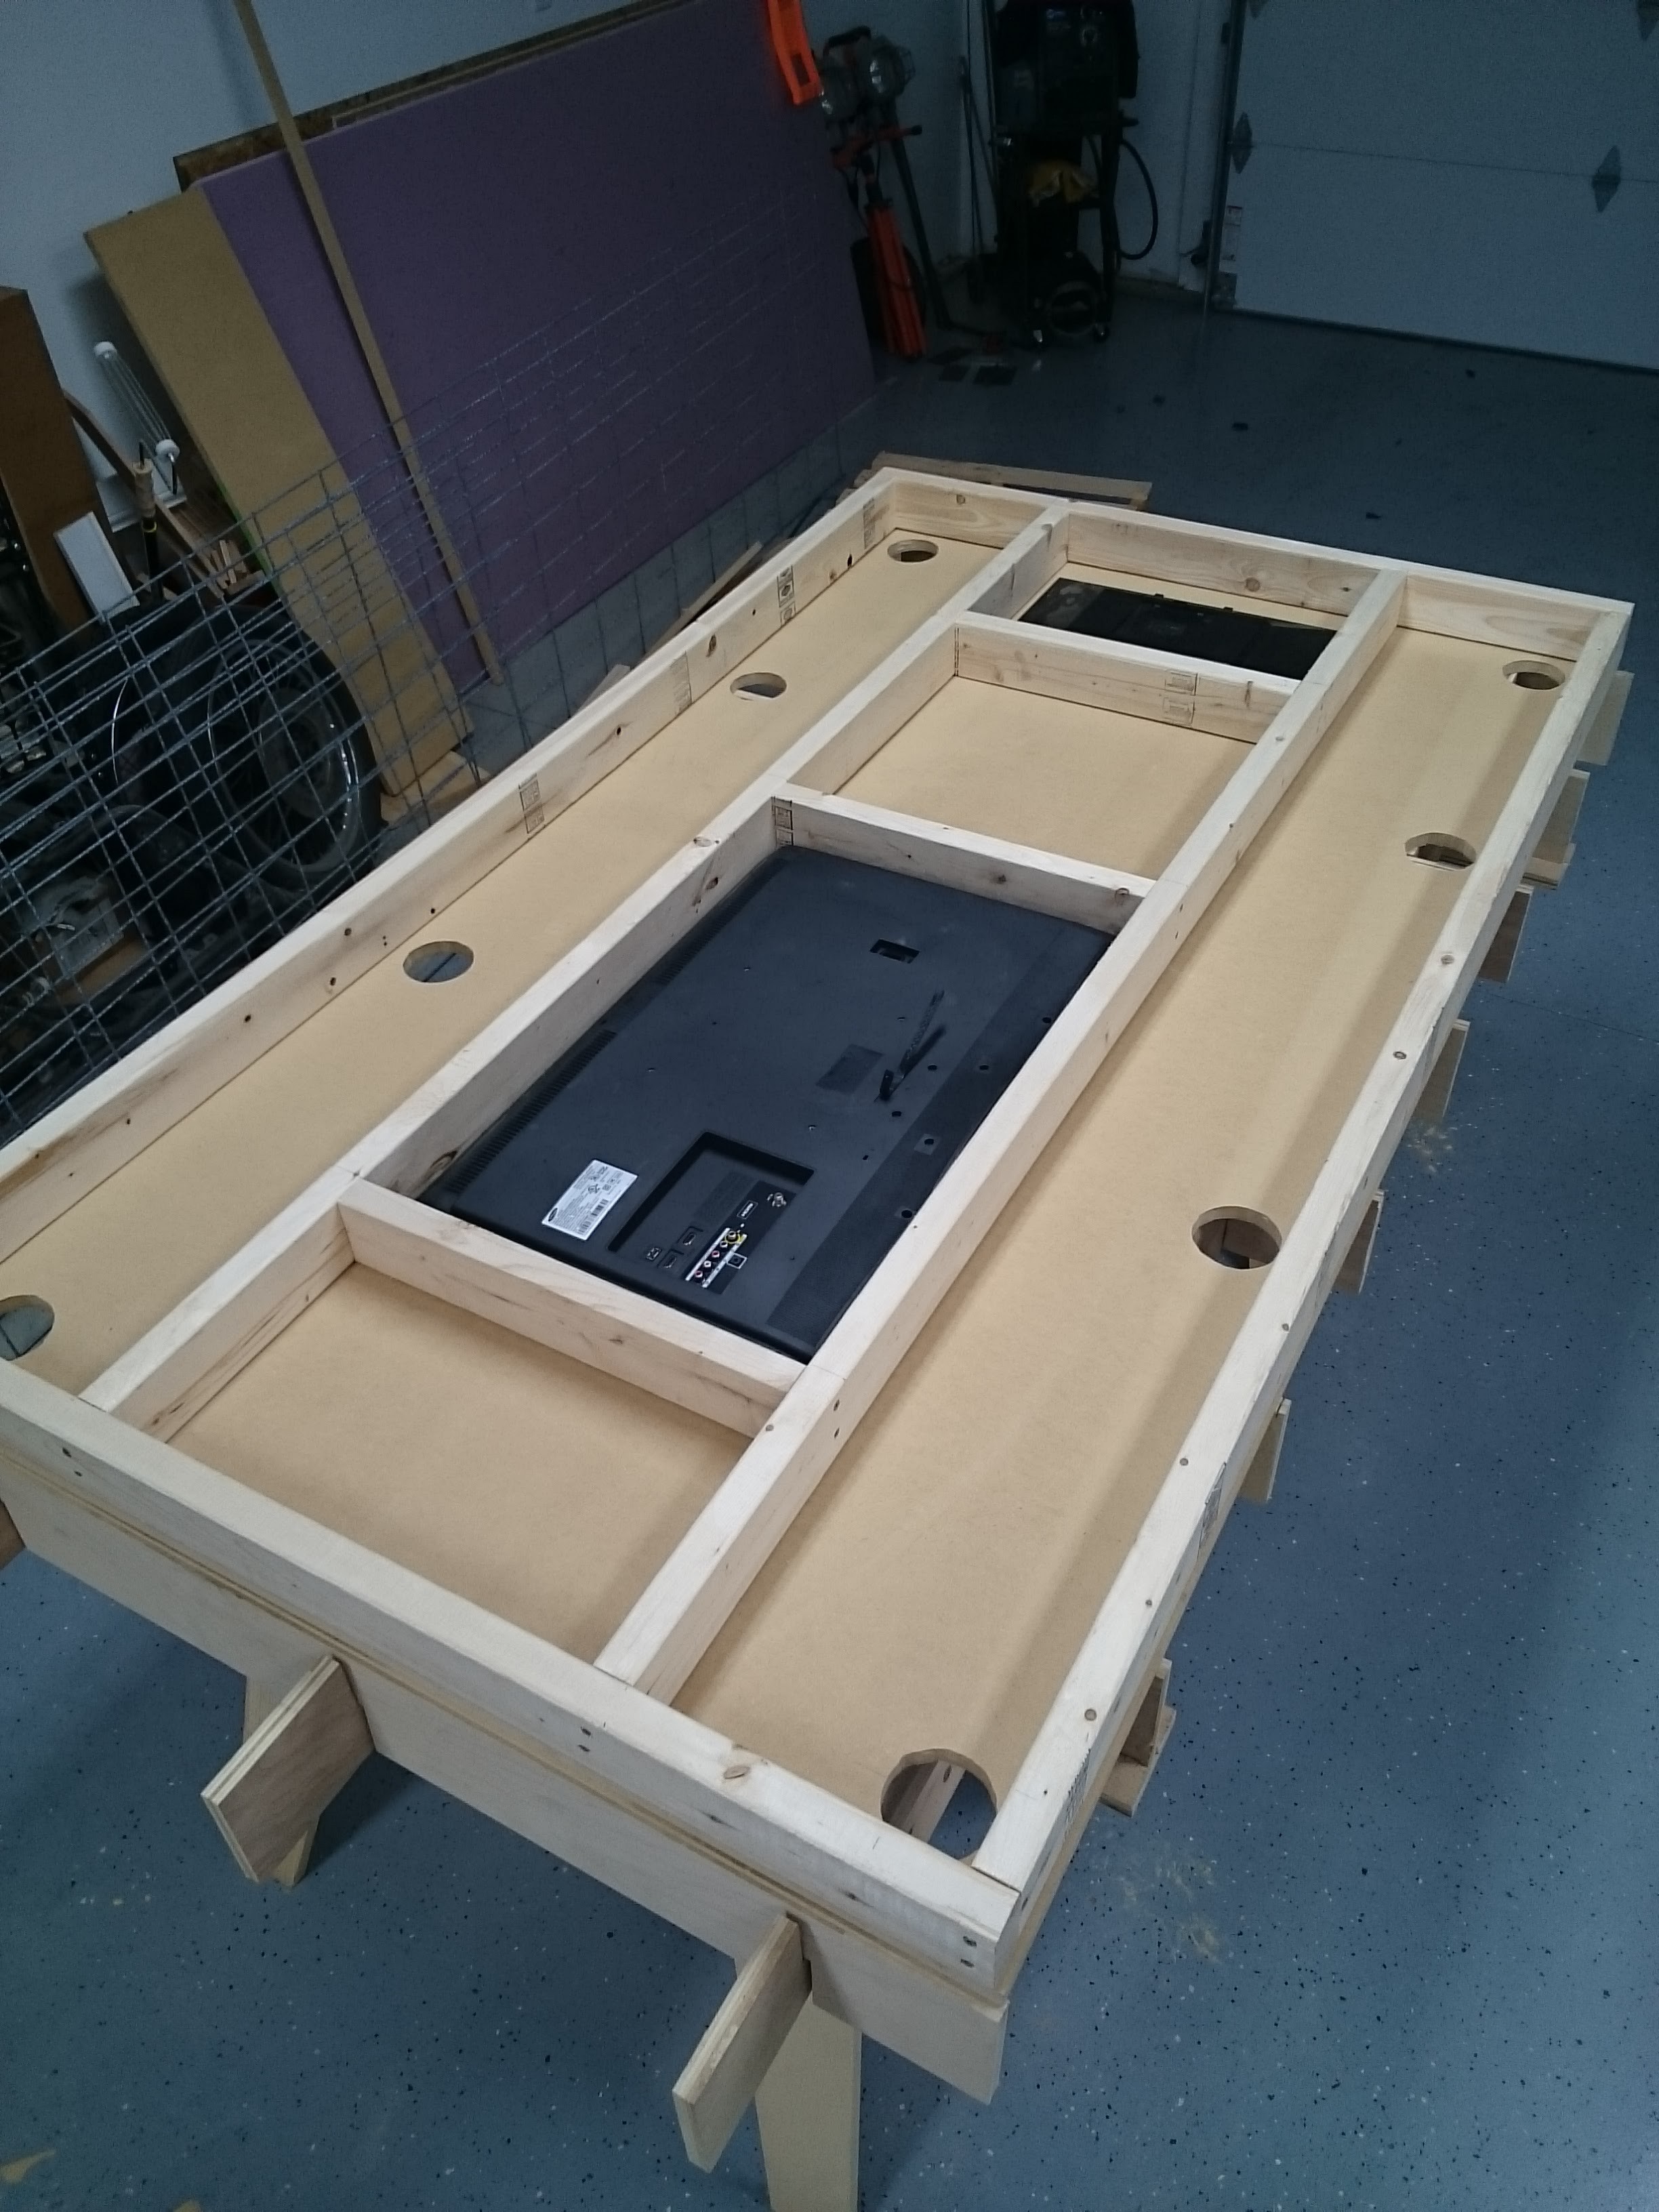
-
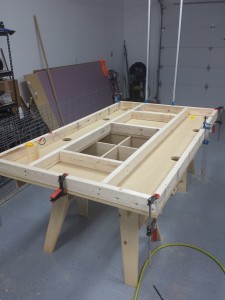
- Gluing the Frame to the tabletop

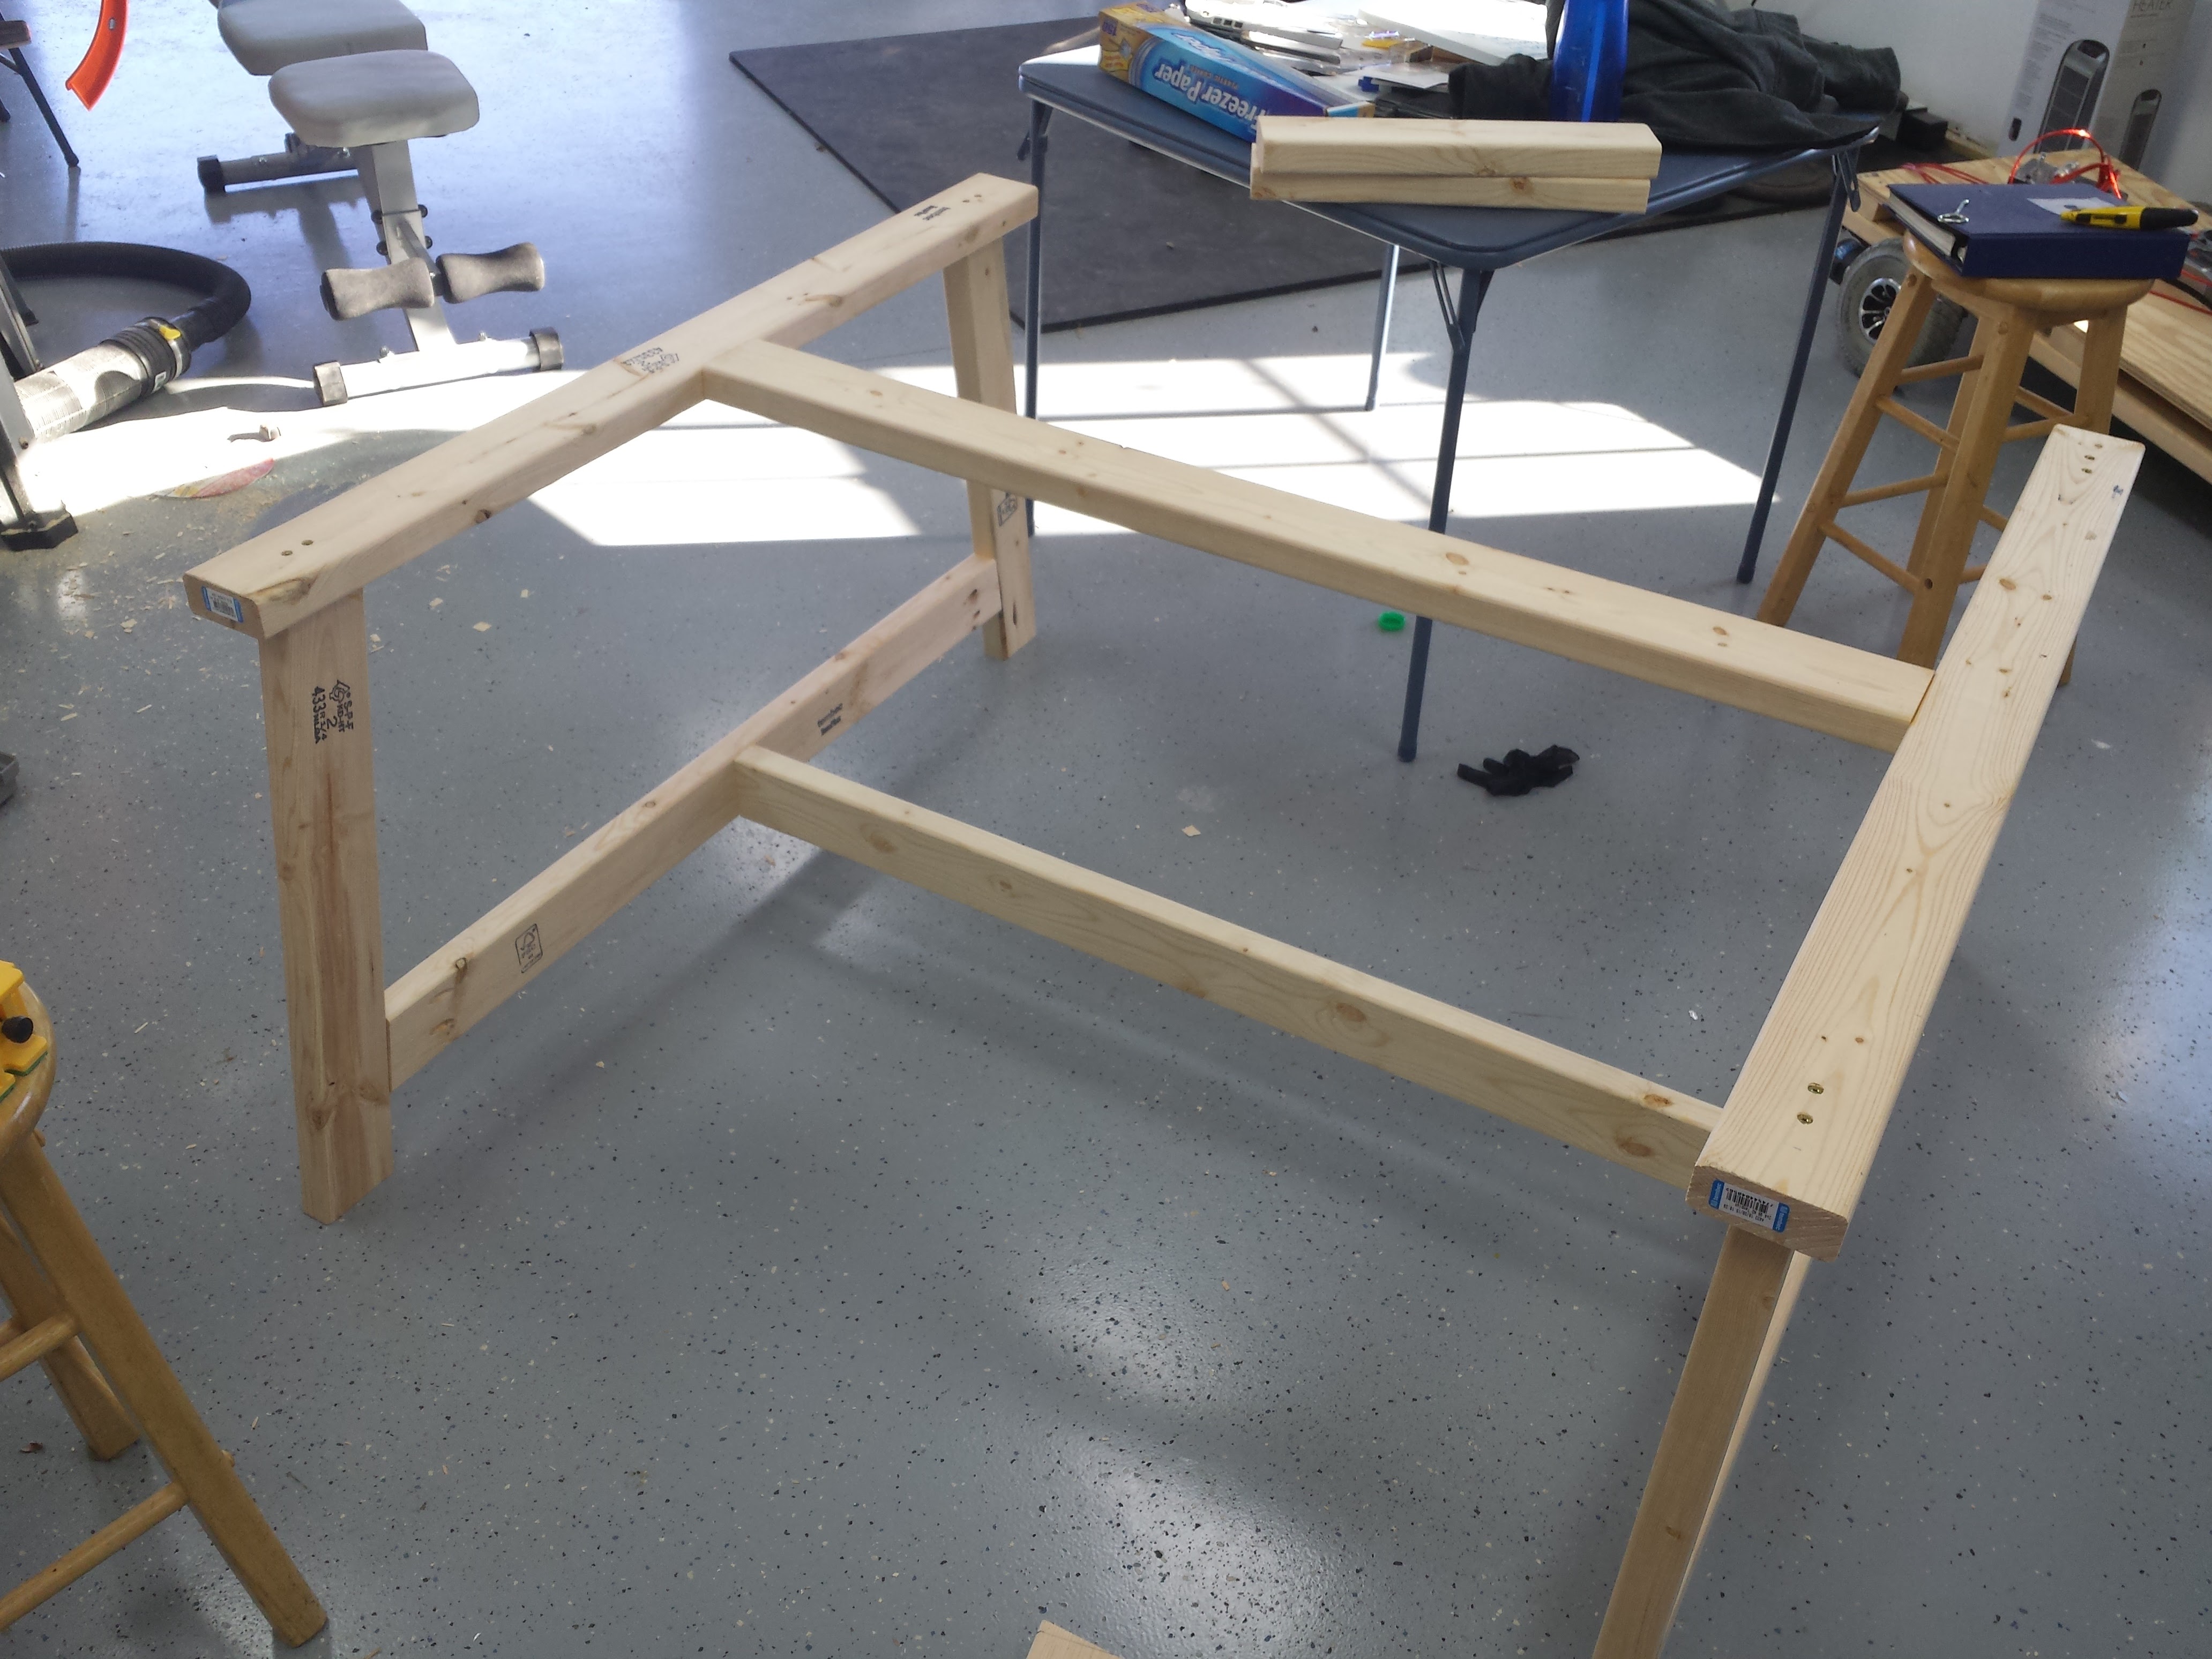
Step 4: Legs
I didn’t want to just slap 4 2×4 columns at each corner and call them legs. Reddit user lfernandes built his own gaming table, and I took inspiration off his leg design to dress up the otherwise boring structural lumber. With some simple angled cuts, impressive looking yet sturdy legs are easily achievable.
-
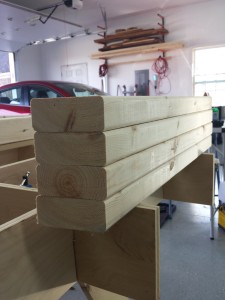
- Look at those perfect cuts

-
- Building one of the end legs

-
- Two ends together

-
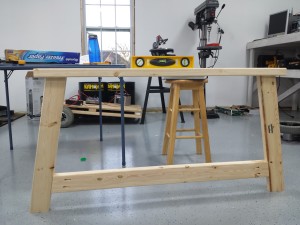
- Perfectly level

-

- Ends are attached by two runners
-
- And bracing is added
I used black enamel paint to make the legs more sleek:
![[tabletop] Leg Paint](http://www.castleseven.net/wp-content/uploads/2016/03/tabletop-Leg-Paint-e1456949315532.jpg)
I wanted to be able to move the table around my shop so as not to always compromise the same space, so I accounted for small steel casters when building the legs to the proper height. Here are the legs, in all their glory:
![[tabletop] Wheeled Legs](http://www.castleseven.net/wp-content/uploads/2016/03/tabletop-Wheeled-Legs.jpg)
At this point I was able to move the table top onto the legs and screw it down:
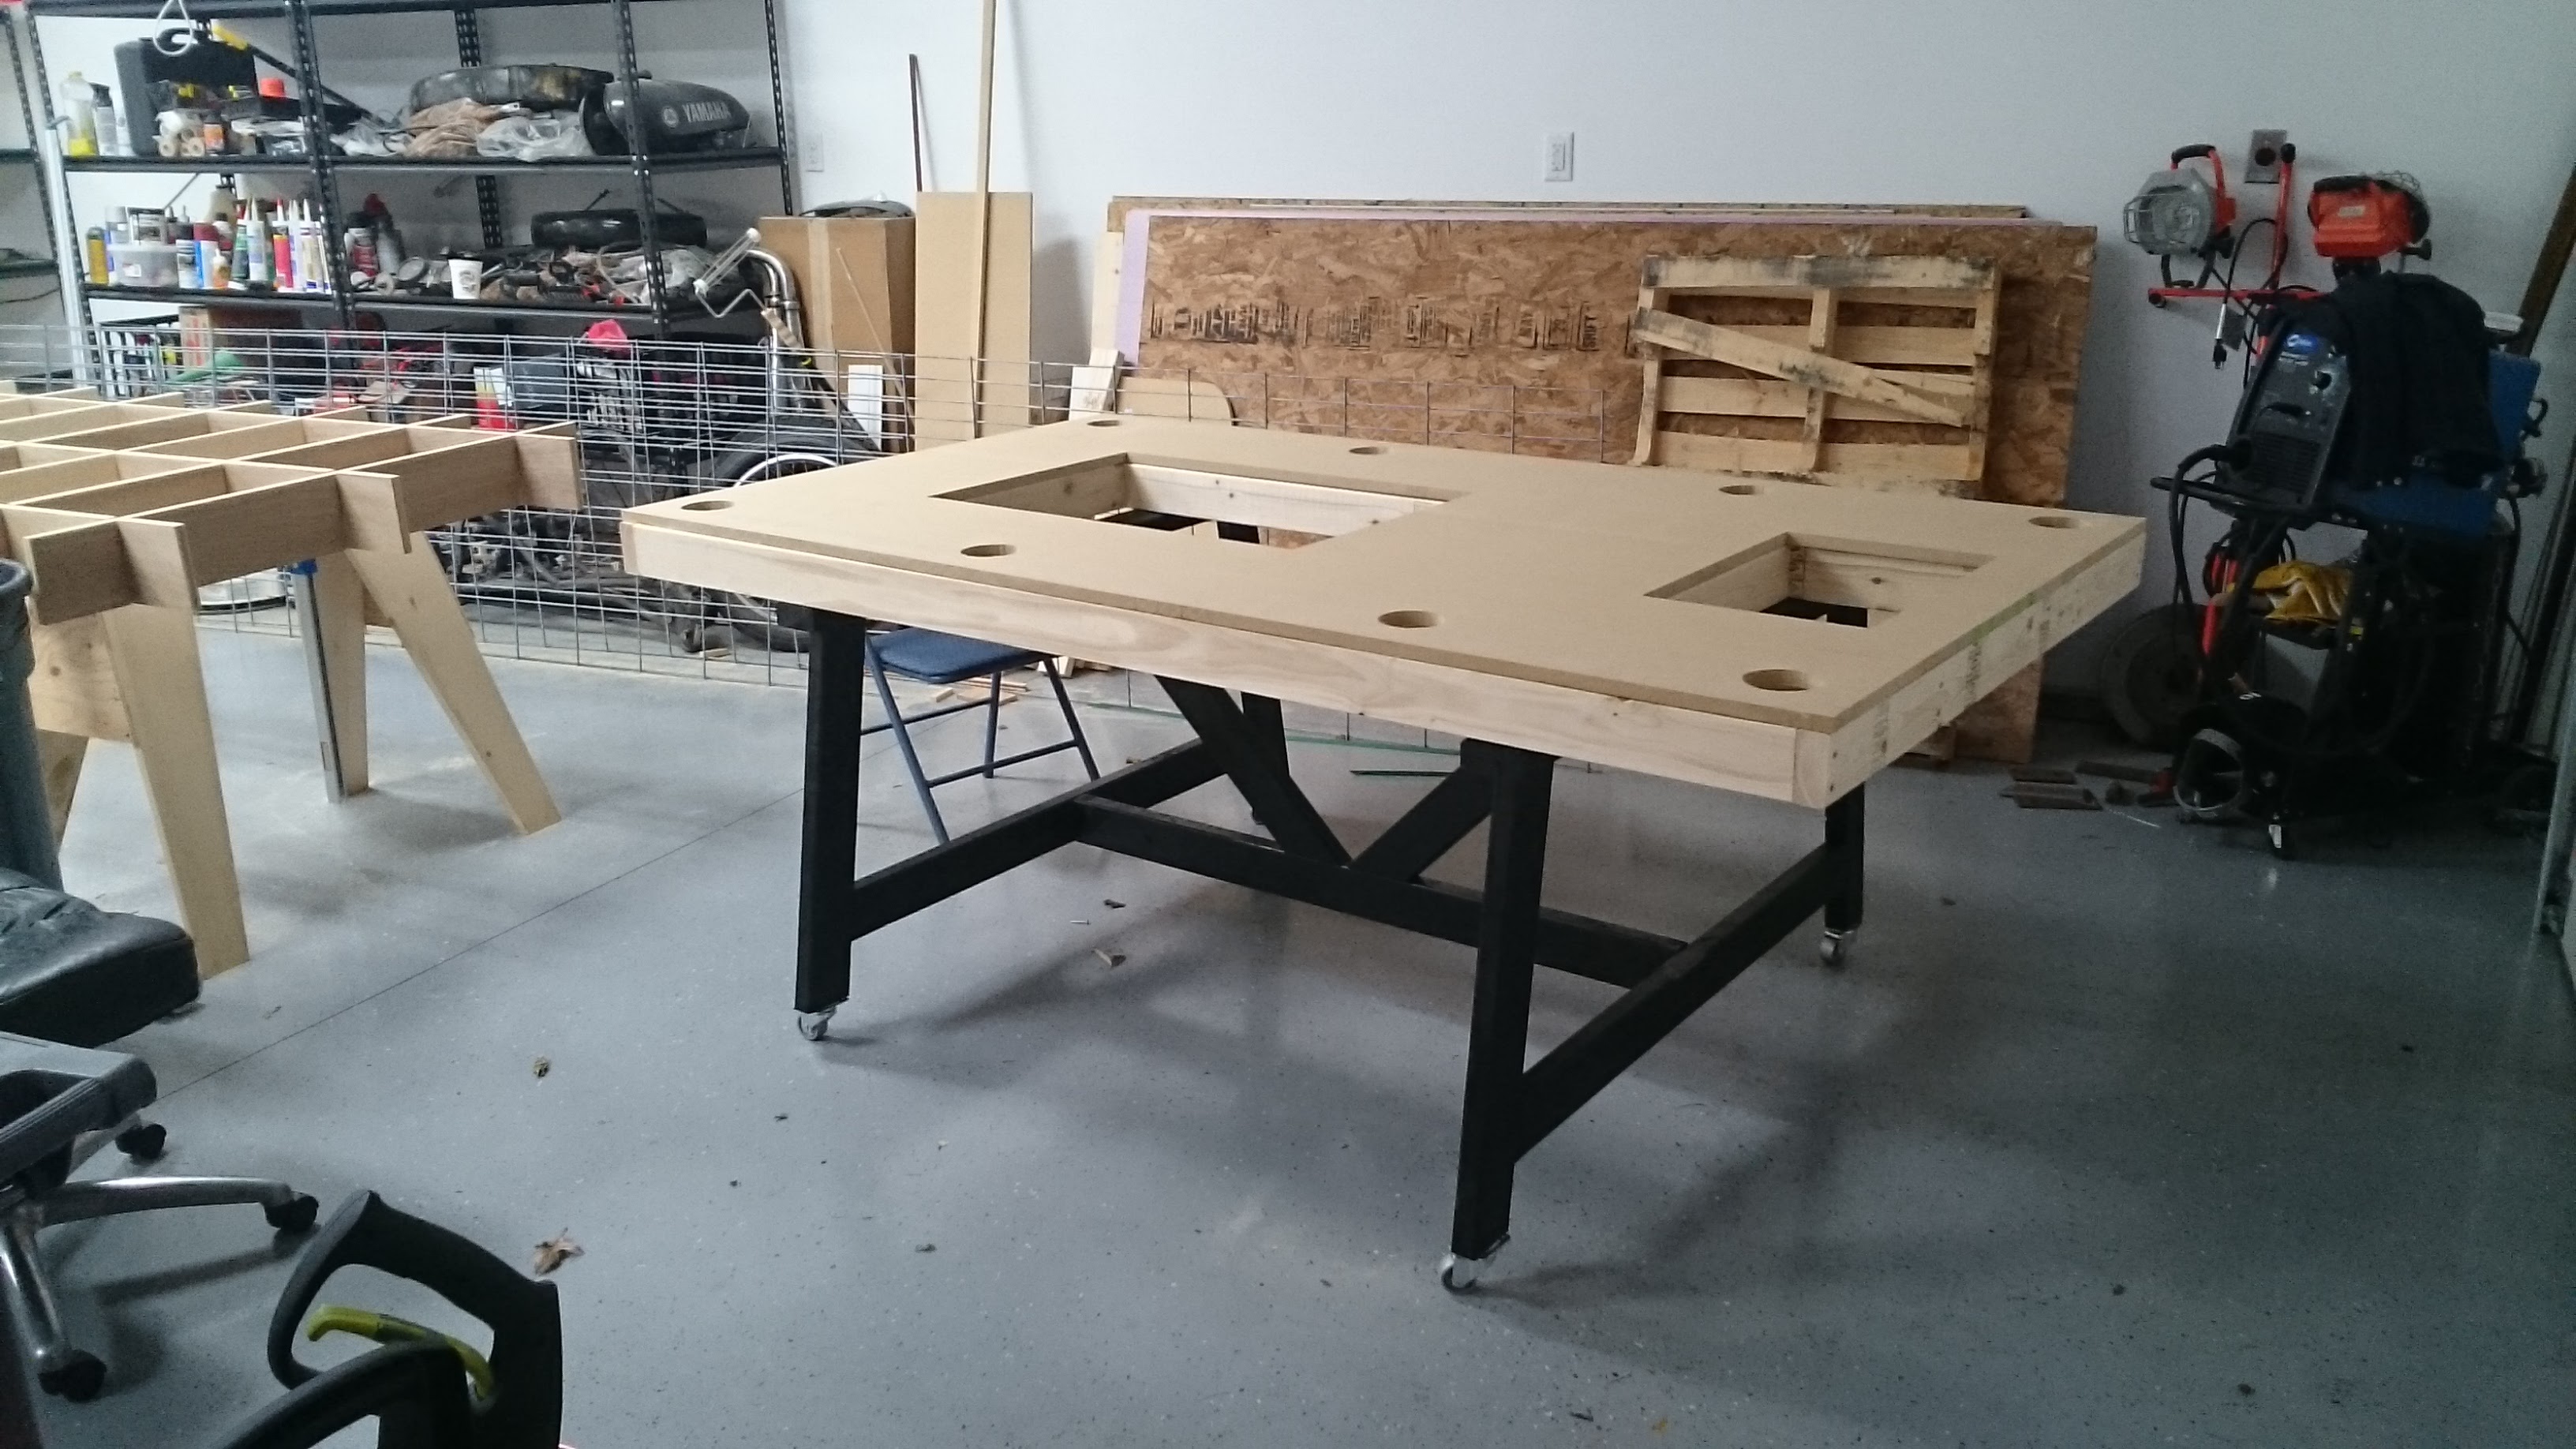
Top and Frame attached
Step 5: Routing Holes for Acrylic
I didn’t want to leave the TV and monitor unprotected against the inevitable party foul, so I routed out a space for large acrylic sheets to fit over the screens. This has no effect on the GM cheater screen, and only a small effect on the TV in terms of “parallax” and the players using the IR beacon to pick up their virtual tokens. I could likely eliminate any parallax by taking the TV out of it’s plastic shell, but it’s honestly not enough of a problem to warrant the hassle.
I learned my MDF Dust lesson from before and moved outside to route these areas.
![[tabletop] Routed Acrylic Holes](http://www.castleseven.net/wp-content/uploads/2016/03/tabletop-Routed-Acrylic-Holes-e1456949797147.jpg)
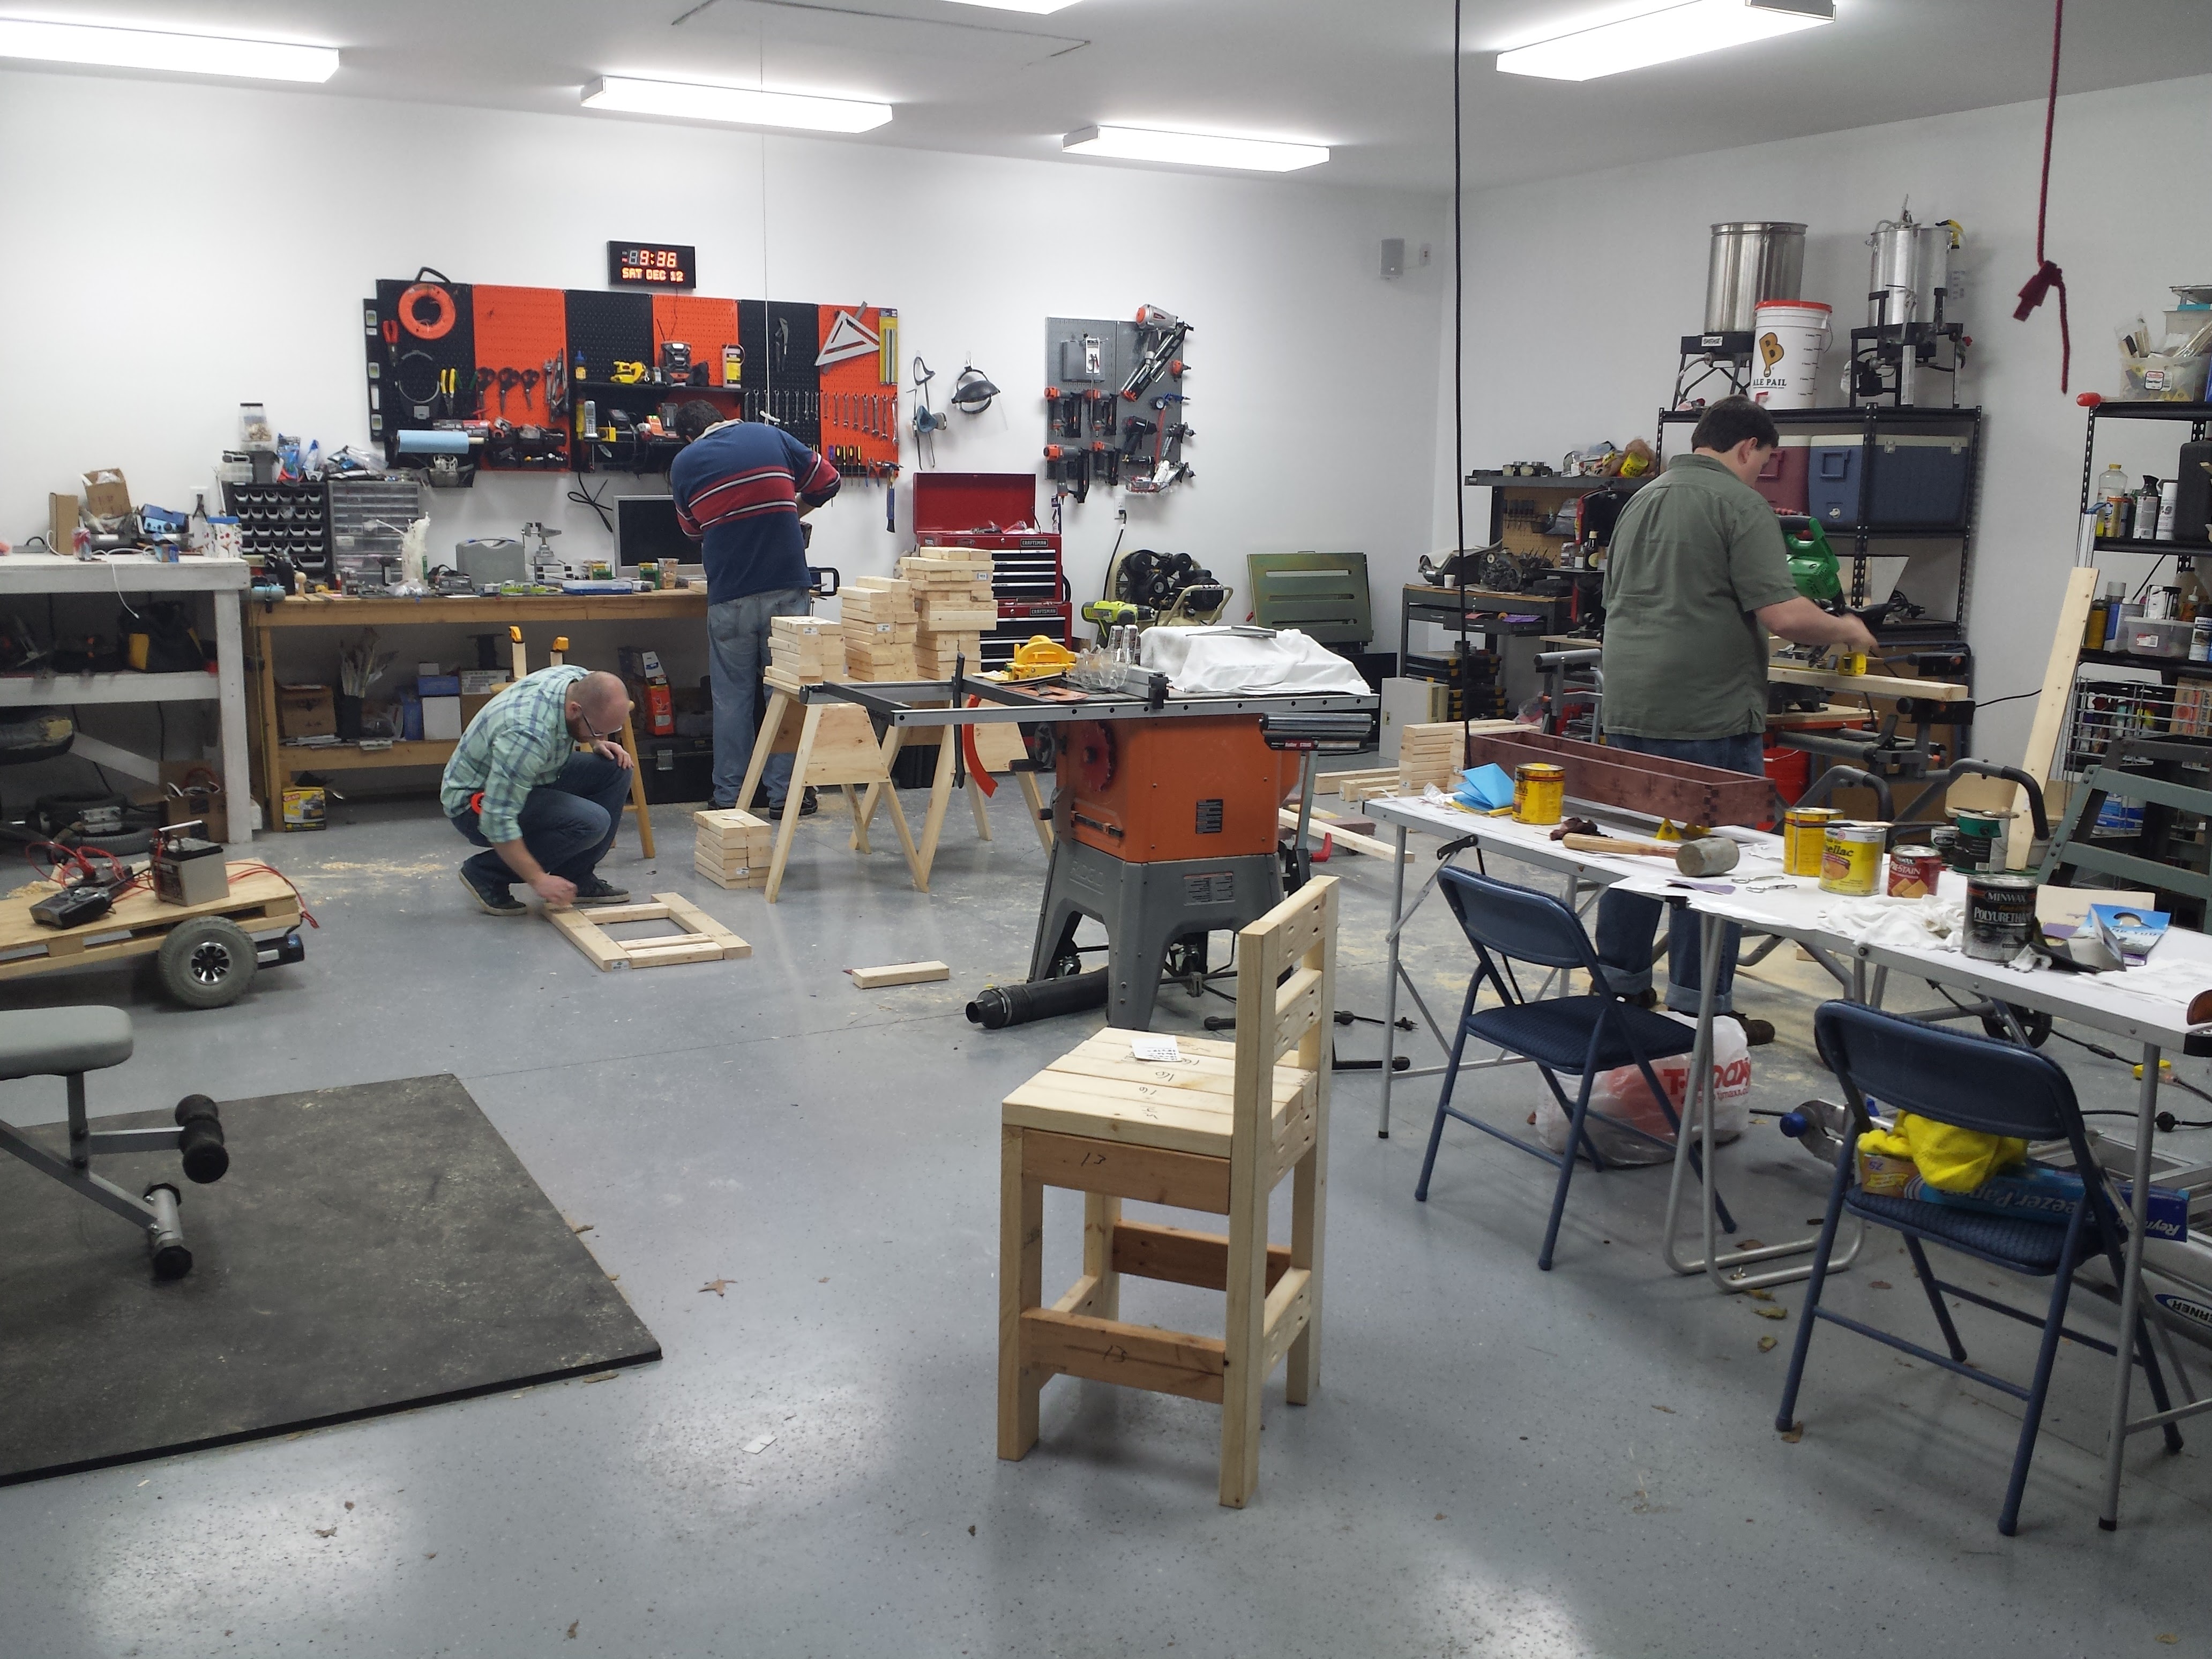
Step 6: Chair Break
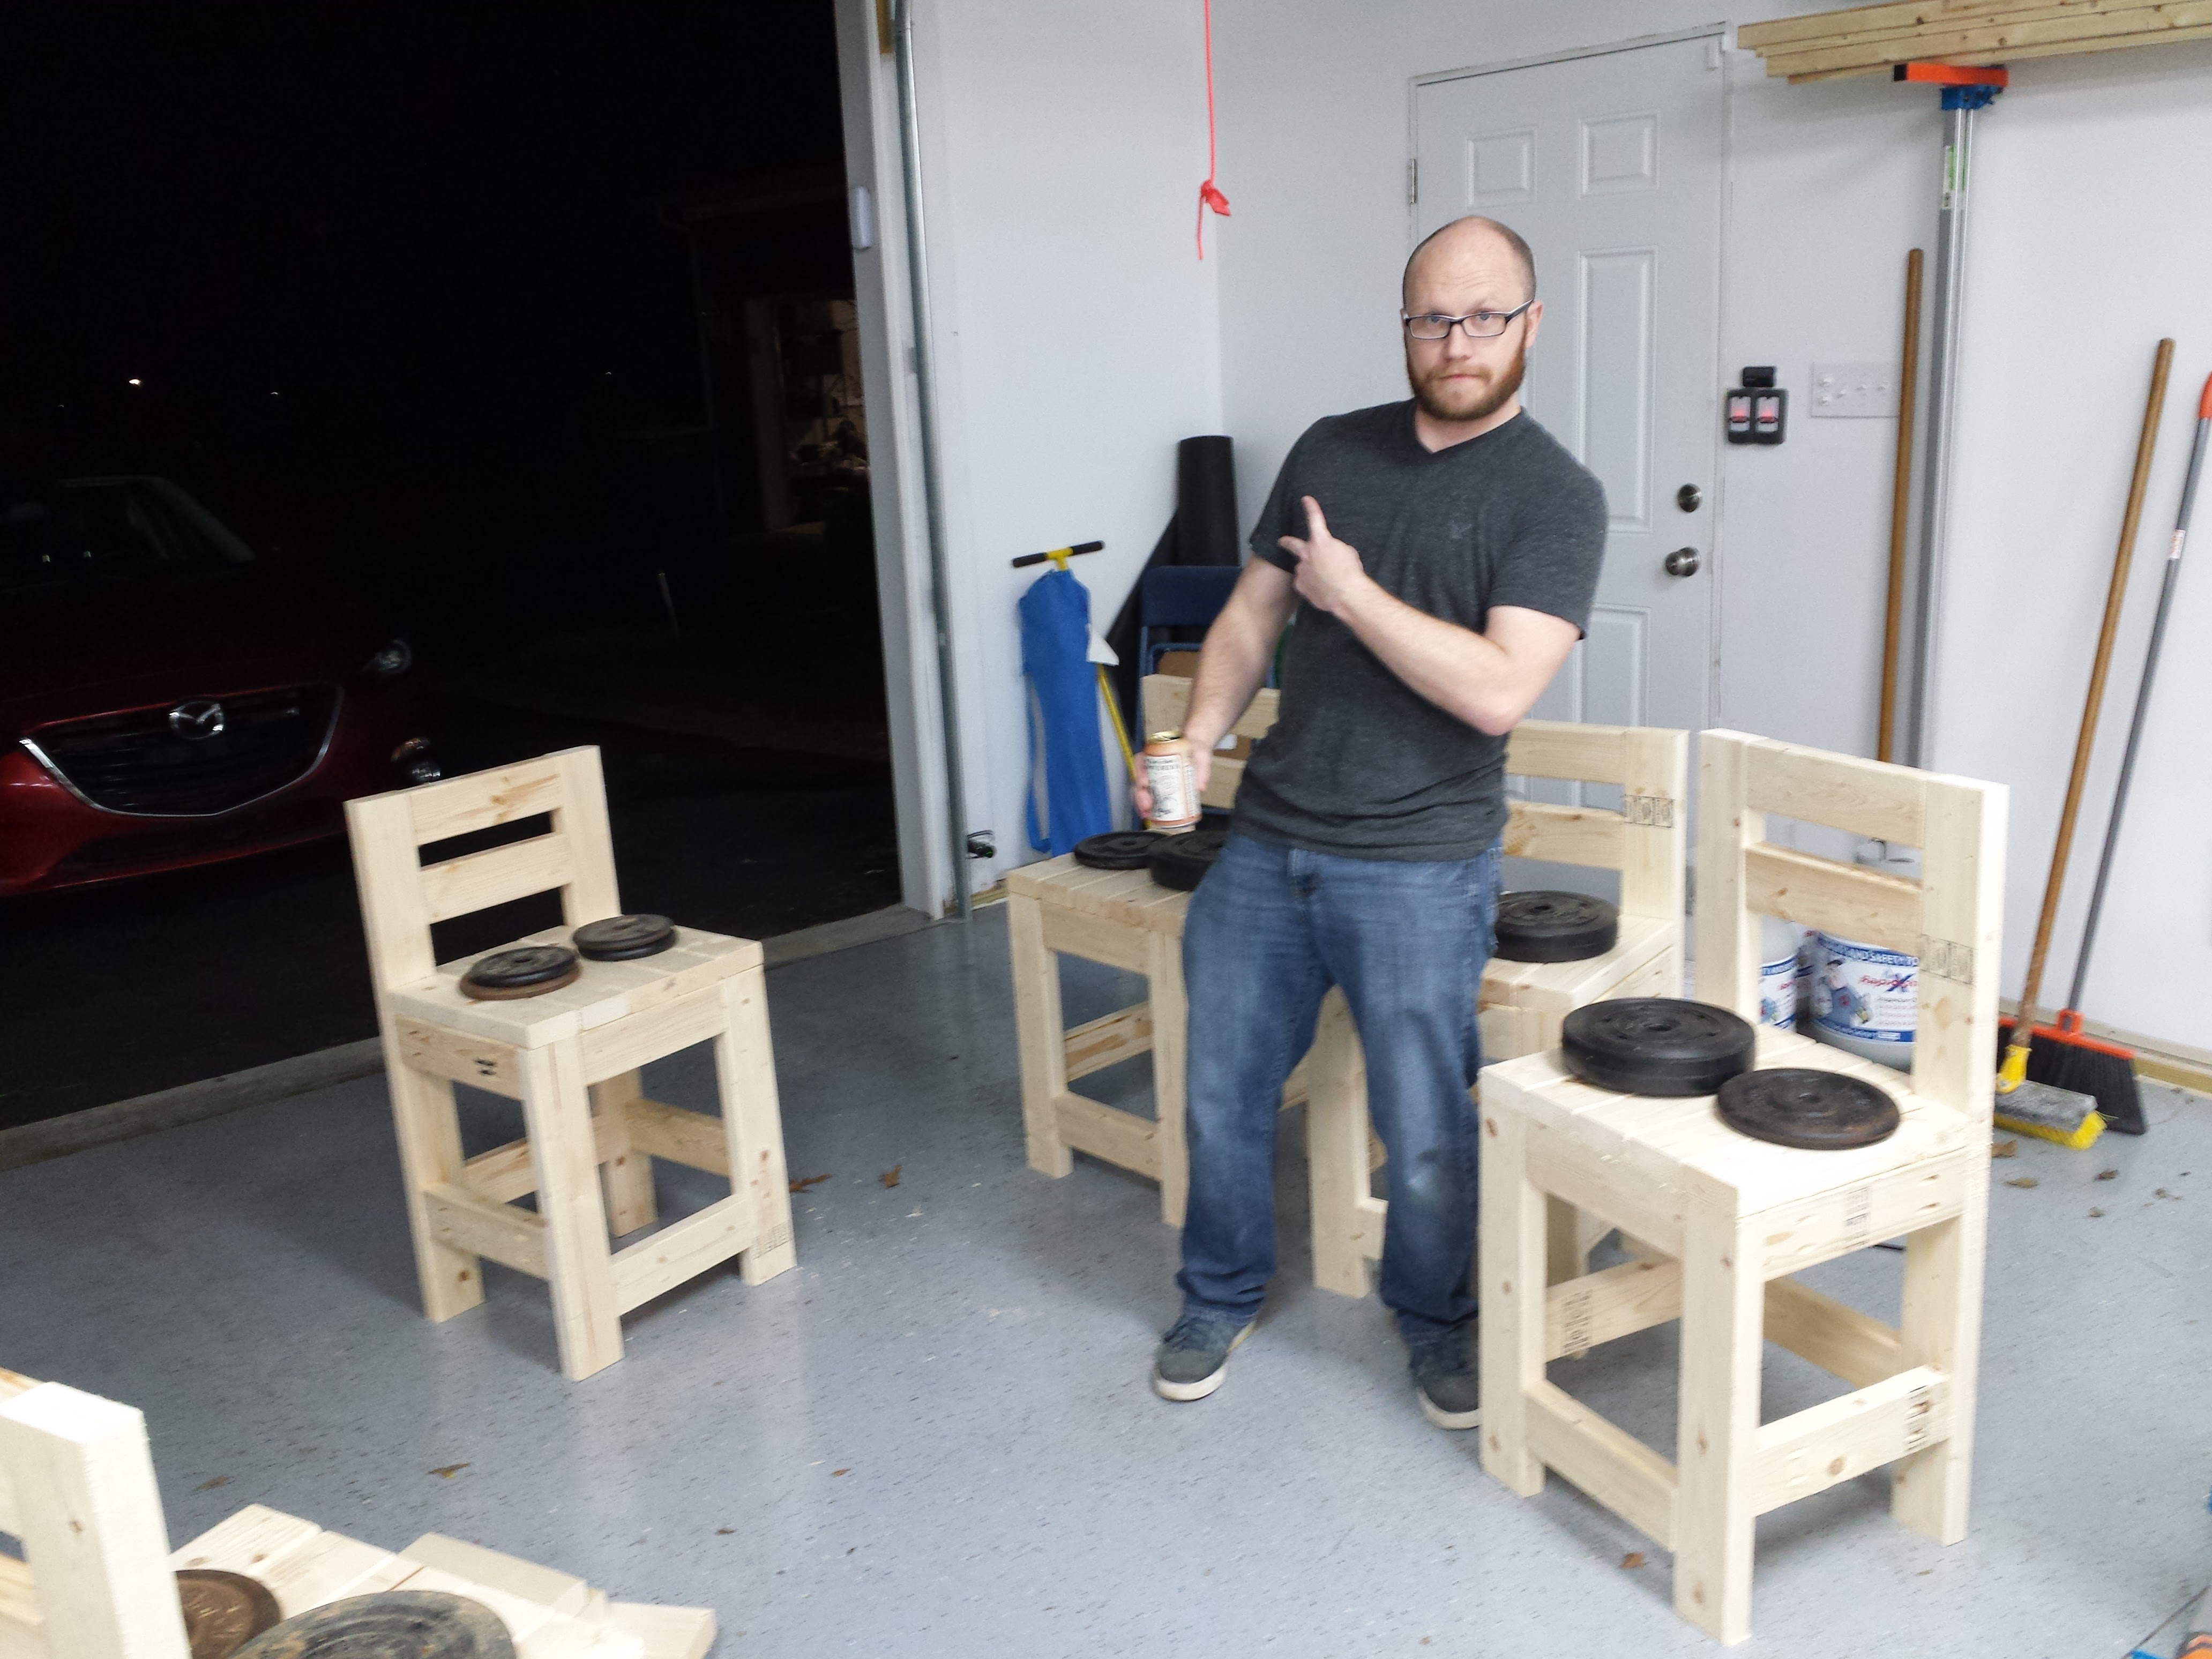
While waiting for a day of warmer weather that would allow me to paint the nearly completed table, I realized that normal height chairs were too short, and bar stools were too high for a comfortable positioning at the table. After checking out craigslist and local stores for cheap solutions, I came across instructions for 2×4 bar stools. For $20/stool for lumber and pocket screws, it was the cheapest I was gonna get. We made 7 chairs in total, and with some thick foam pads on the bottom, they work incredibly well and are comfortable to sit in for several hours at a time.
-

- I recruited some help, TONS of lumber to cut
-

- Steve, enjoying a hard rootbeer and throwing up gang signs.
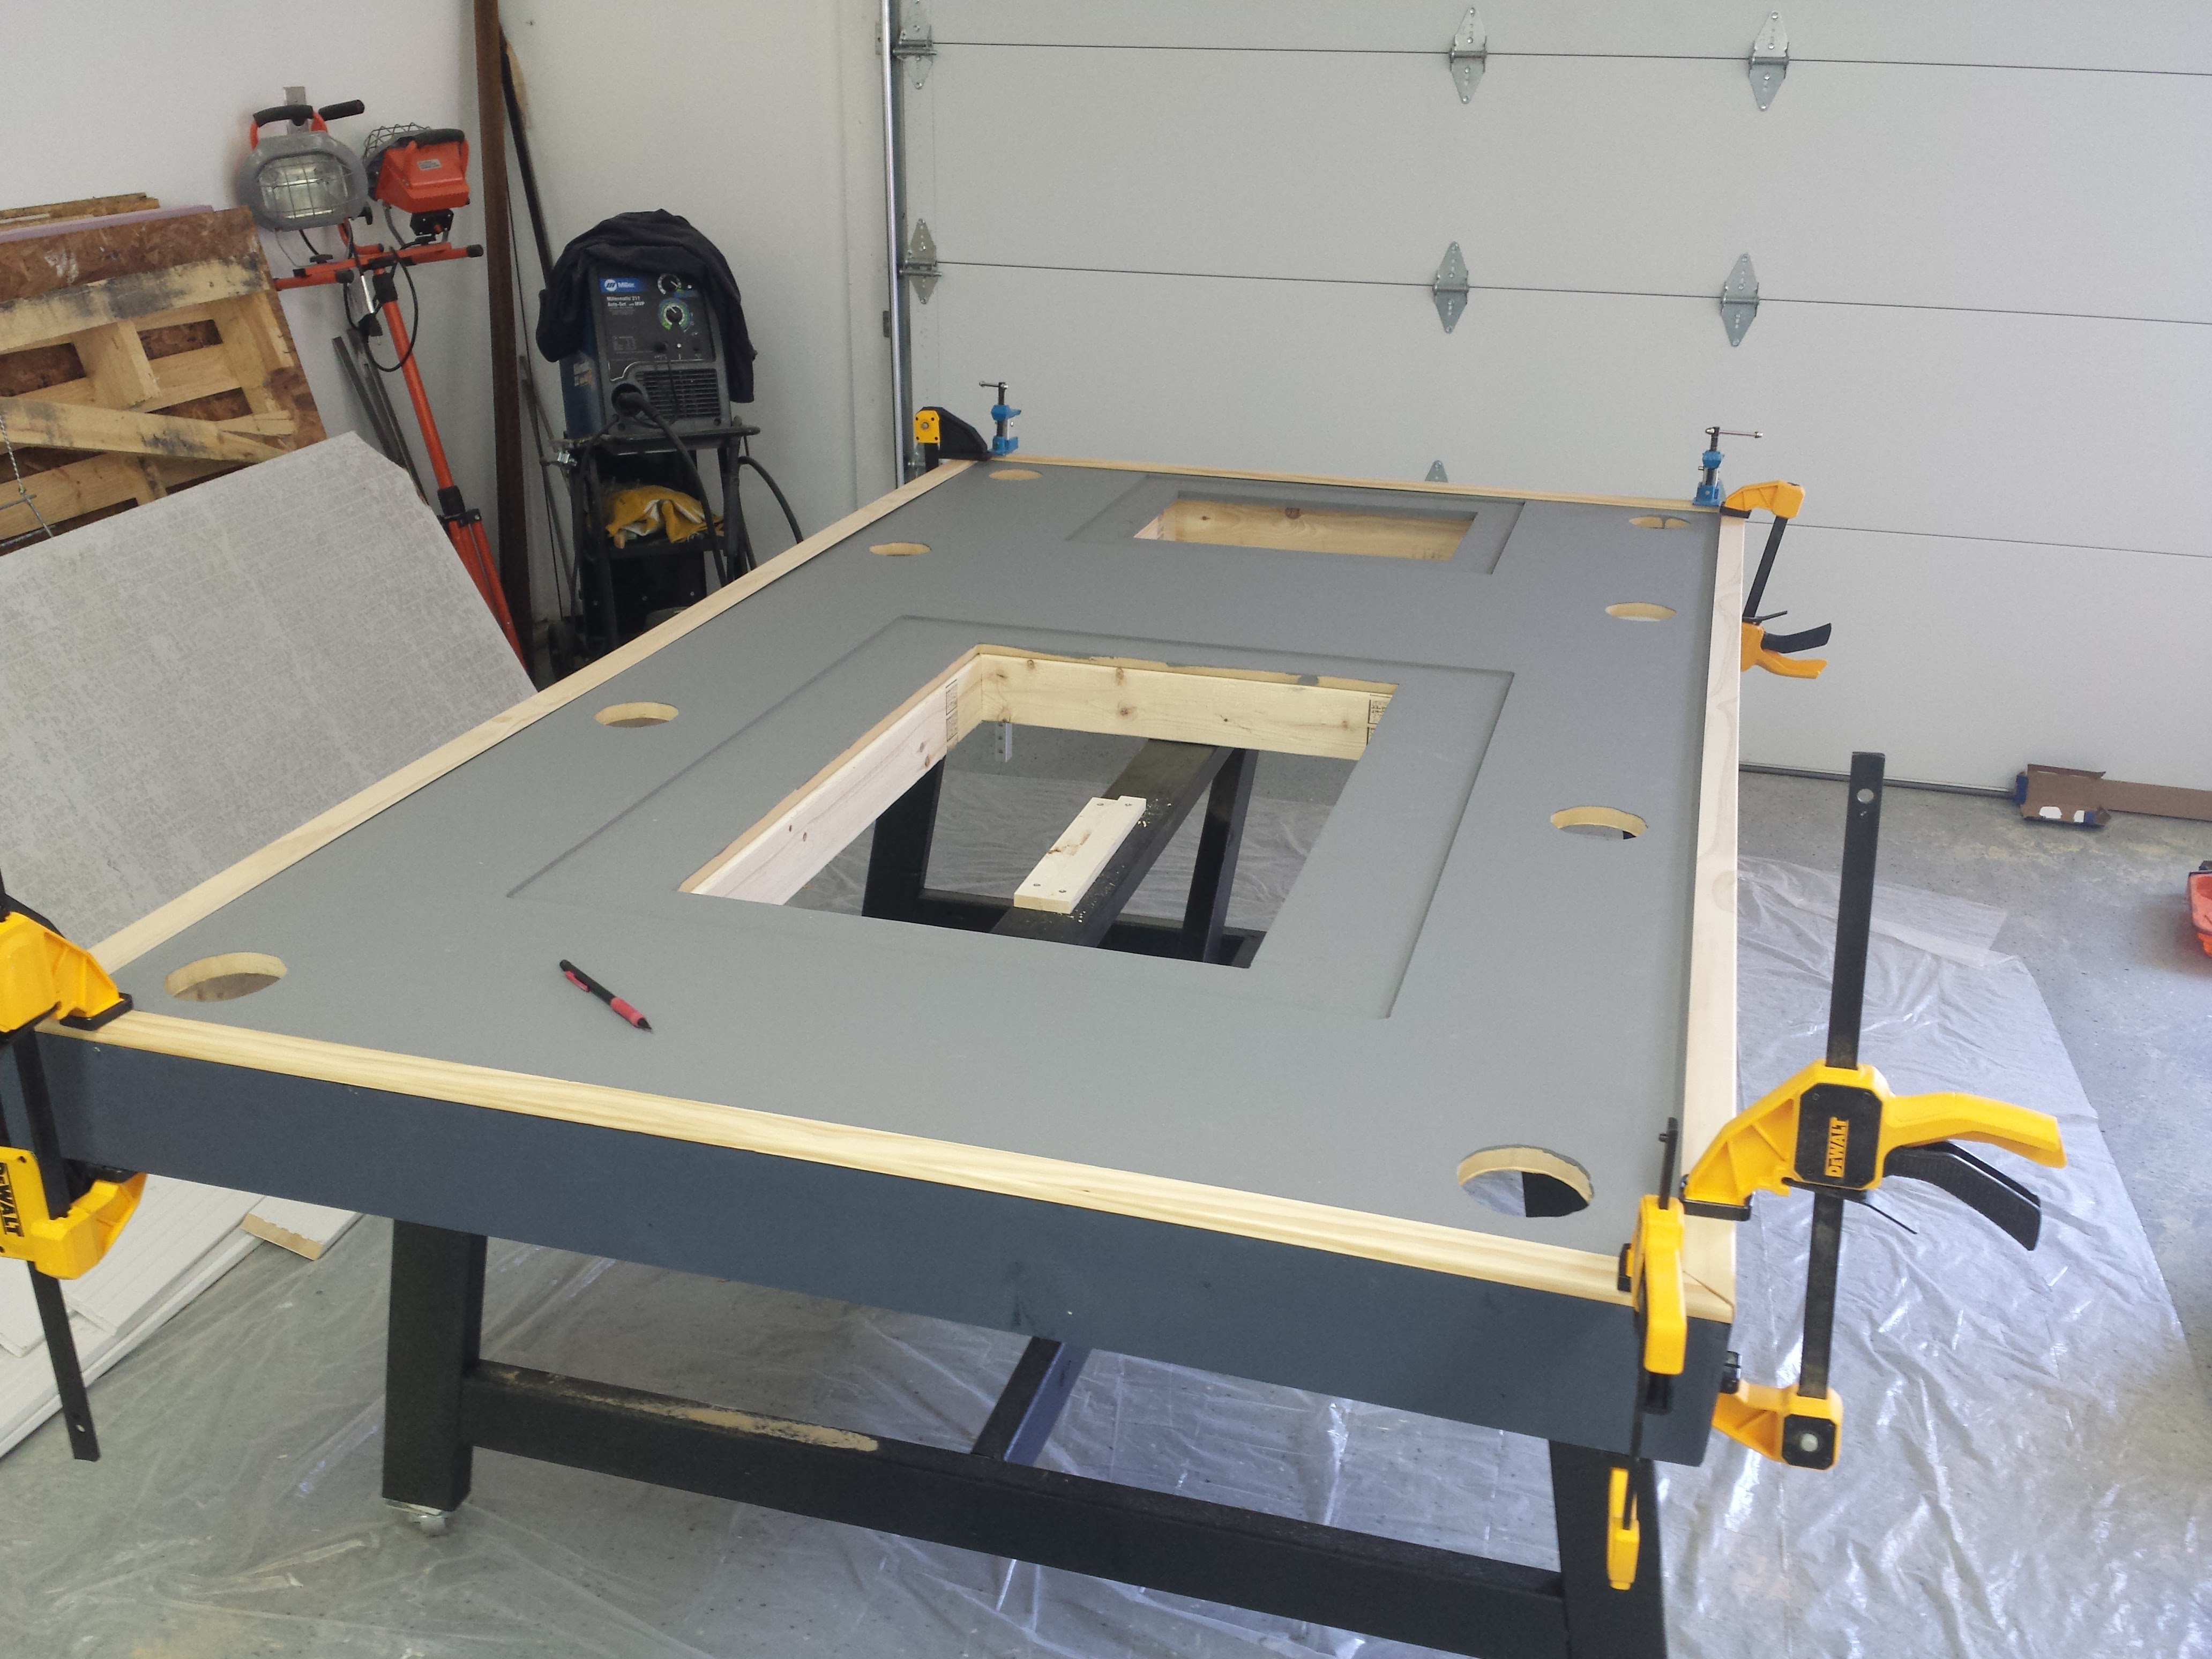
Step 7: Paint/Trim
On to the finishing touches! Last things I wanted to do was paint/seal the table top and add some trim to hide a lot of the framing. I picked a grey/blue color palette and sealed everything with polycrylic sealer. The seal coats came out less smooth than I would have liked, and I would probably use a different paint/sealant combo if I were to do it again, but the table is protected from moisture now, and that’s what matters most. After trim was complete, all that was left was mounting the electronics.
-

- Adding side trim
-

- Painted side trim, adding top trim
-

- All trim painted
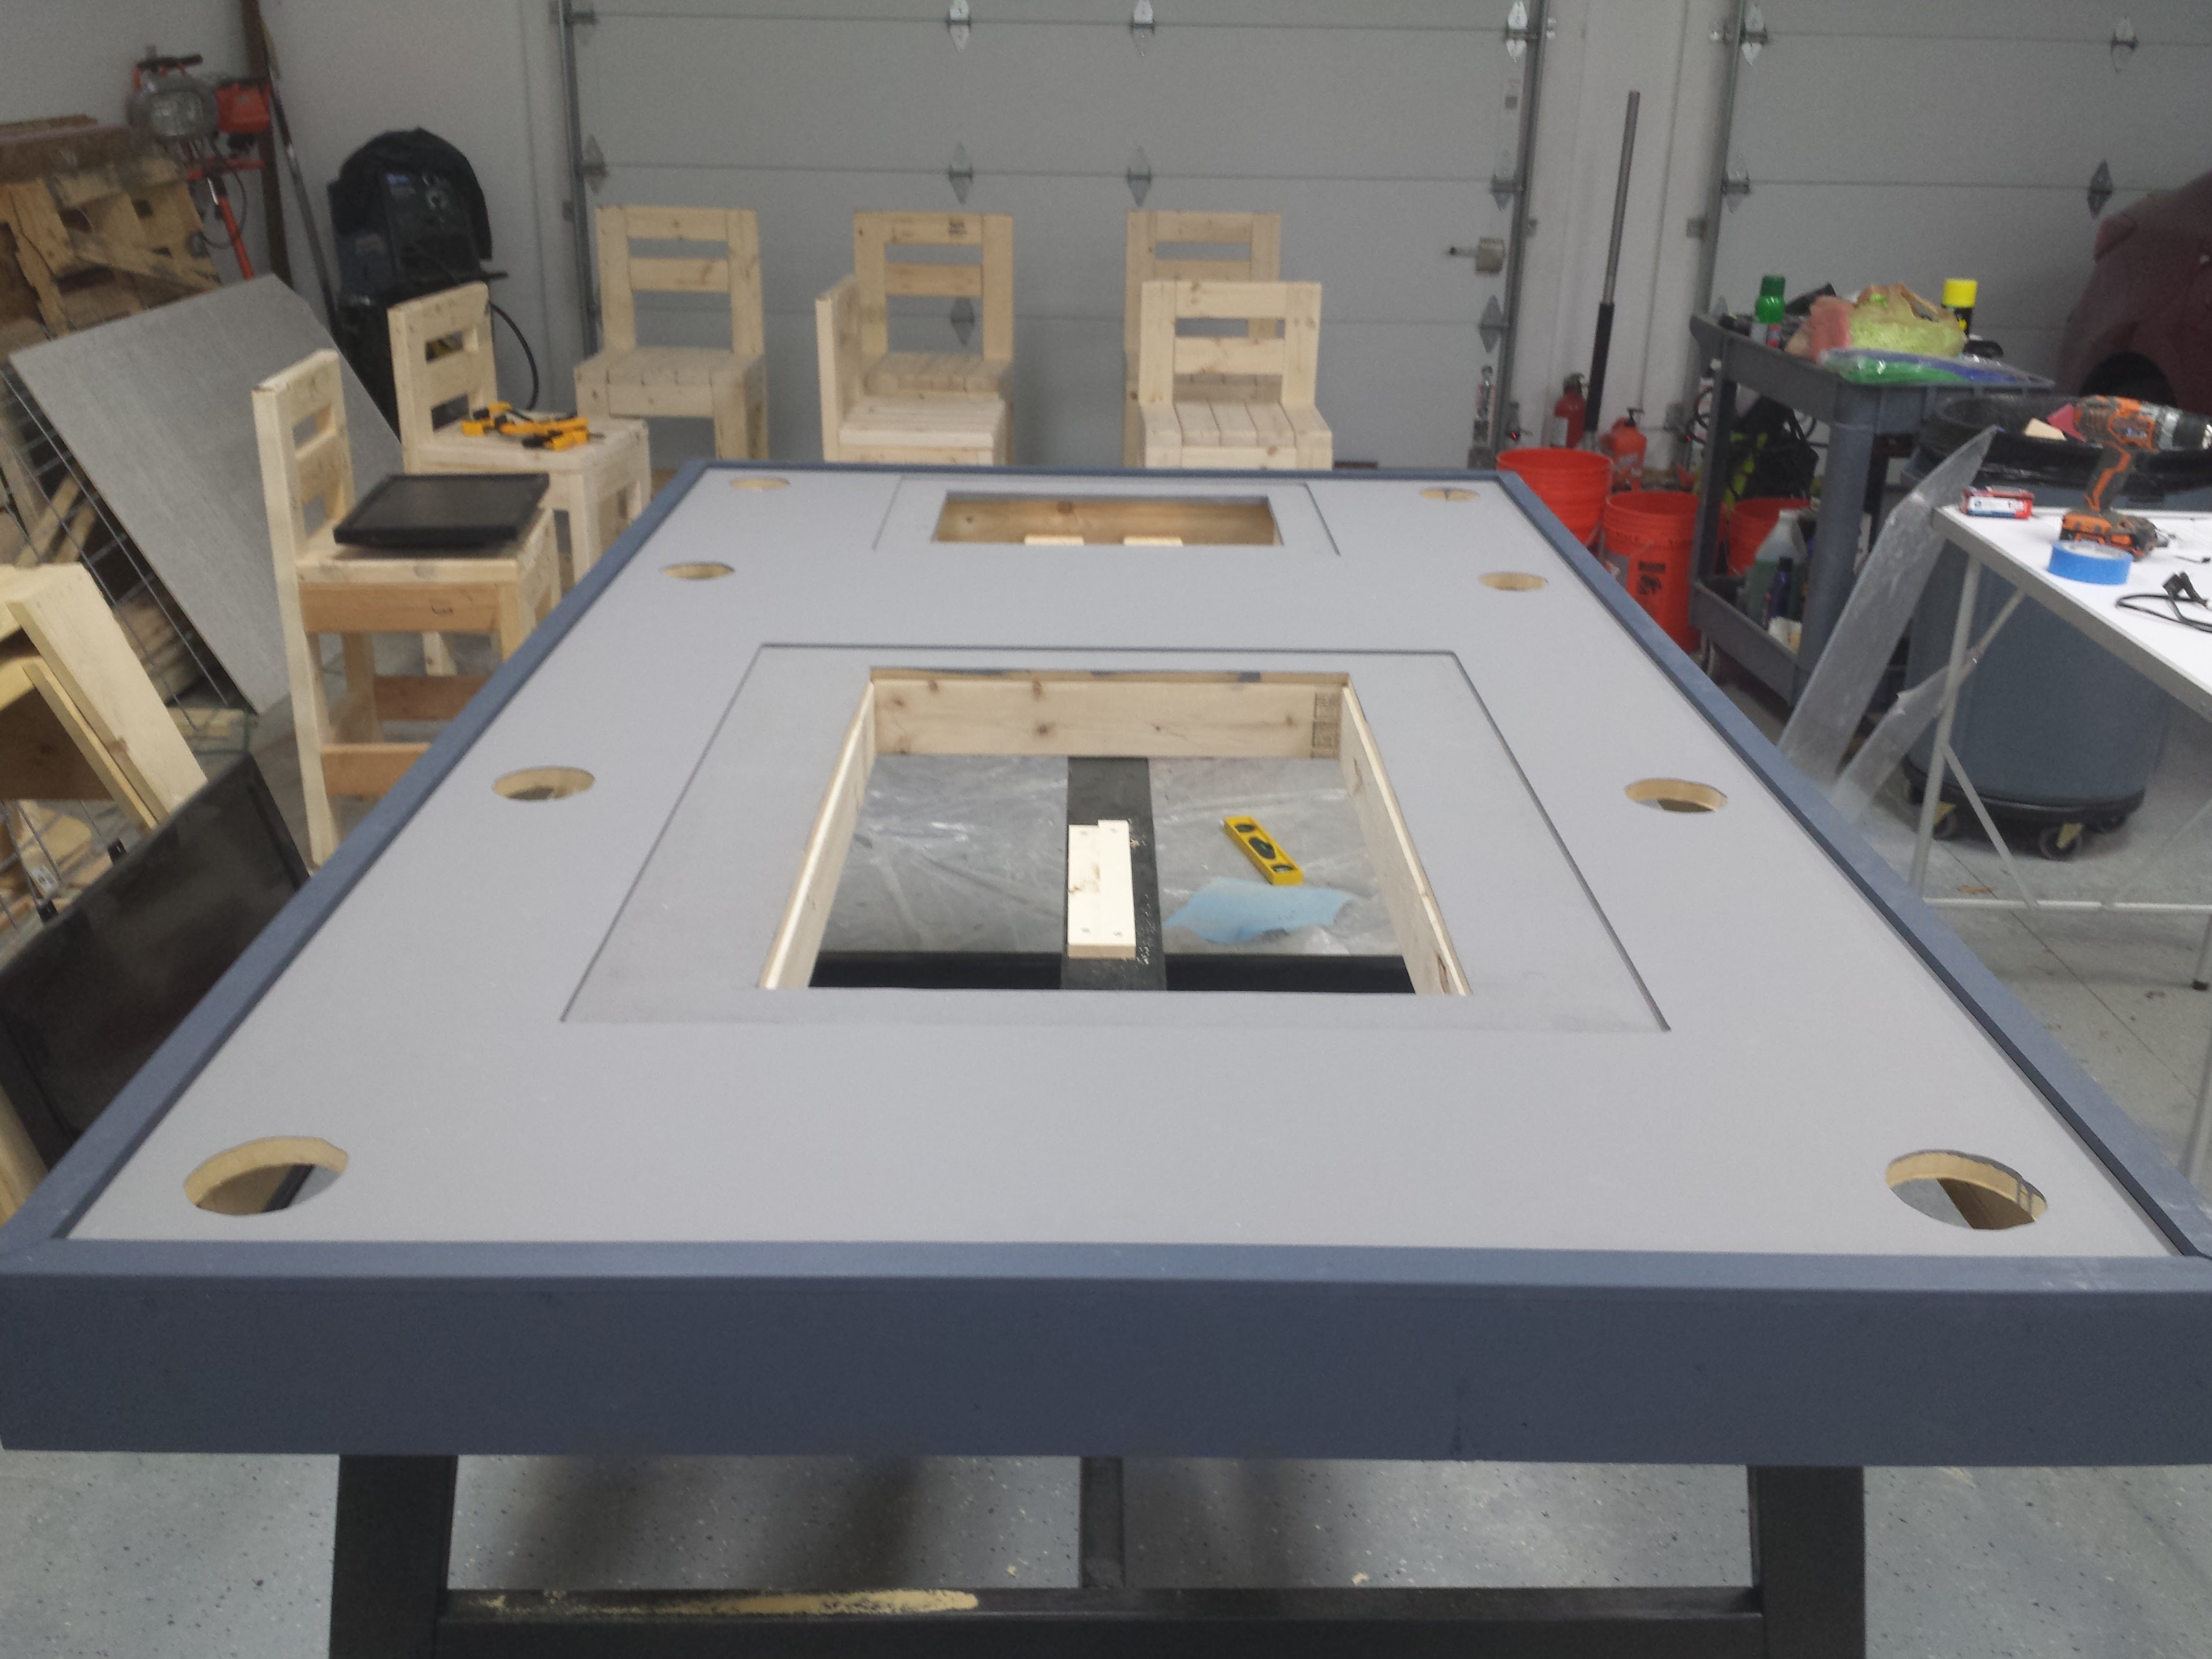
Step 8: Pathfinder!
With the table complete, TV and monitor mounted, and computers/software all setup, it was time to play some games!
![[tabletop] Finished 1](http://www.castleseven.net/wp-content/uploads/2016/03/tabletop-Finished-1-1024x576.jpg)
![[tabletop] Finished 2](http://www.castleseven.net/wp-content/uploads/2016/03/tabletop-Finished-2-1024x576.jpg)
![[tabletop] Post Session](http://www.castleseven.net/wp-content/uploads/2016/03/tabletop-Post-Session.jpg)
Ignore the sour faces, it’s not my fault a group of goblins killed them 😀
Mark